
Construction Photo Documentation Examples From Preconstruction to Closeout
What does construction photo documentation actually look like?
It is more than a folder filled with construction pictures. A documented photo is connected to a project, date, location and construction stage so someone can understand what it shows and why it was saved.
The examples below follow a project from existing site conditions through excavation, foundation work, framing, MEP rough-ins, drywall, finishes and final walkthrough.
They are not intended to be an exhaustive construction photo checklist. Instead, they demonstrate how photographs from different stages can work together to create an organized visual record of a project.
Quick answer: Construction photo documentation examples include aerial photographs of existing conditions, excavation progress, concrete forms and foundations, framing, mechanical, electrical and plumbing rough-ins, drywall installation, finish work and final walkthrough conditions
Construction Photo Documentation Examples by Stage
| Project stage | Example documentation | What the example helps show |
|---|---|---|
| Existing conditions | Preconstruction aerial and ground-level photos | What the site looked like before construction |
| Excavation | Digout, grading and exposed soil conditions | How the site changed during early work |
| Forms and foundation | Forms, reinforcement and placed foundation work | Construction before backfill or enclosure |
| Framing | Walls, openings and structural layout | The building layout before systems and finishes |
| MEP rough-in | Plumbing, electrical and mechanical installations | Systems before they are concealed |
| Drywall | Board installation and enclosed spaces | The transition from rough construction to finished rooms |
| Finishes | Cabinets, flooring, fixtures and trim | Visible progress toward completion |
| Final walkthrough | Completed rooms and remaining issues | Final conditions, punch items and project turnover |
1. Existing-Condition Documentation
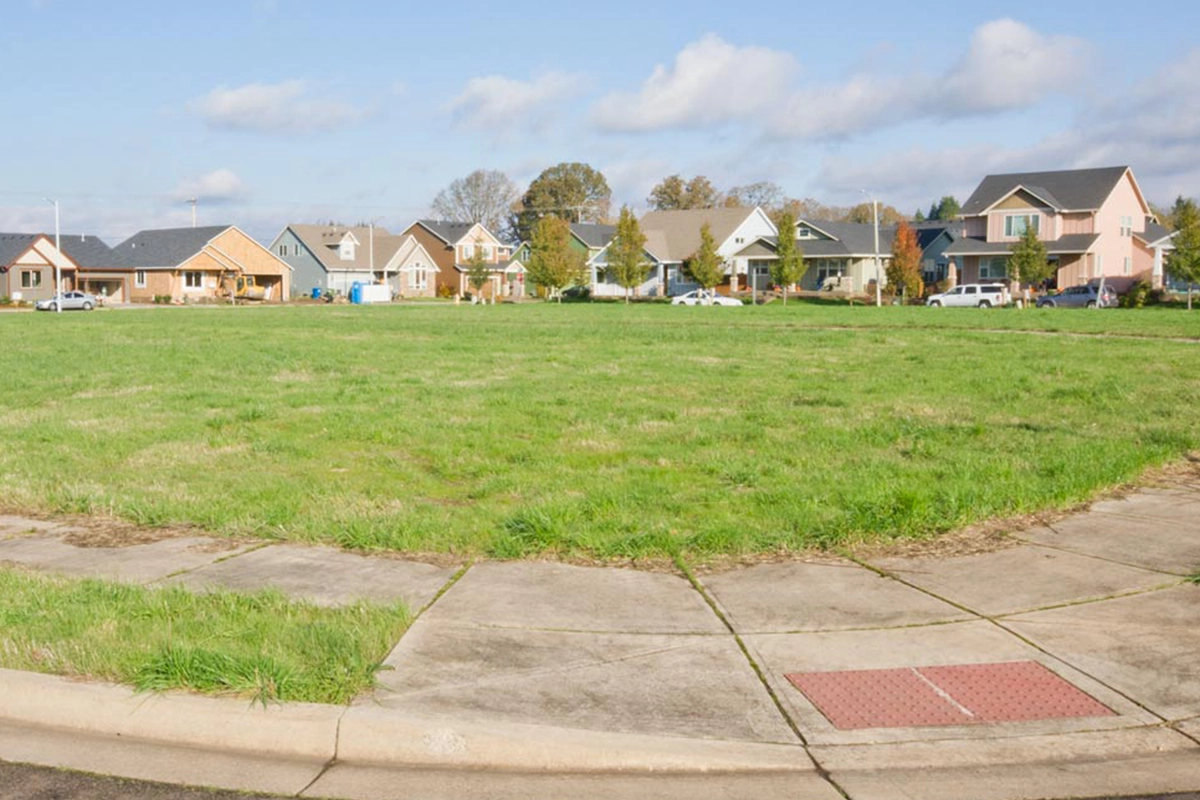
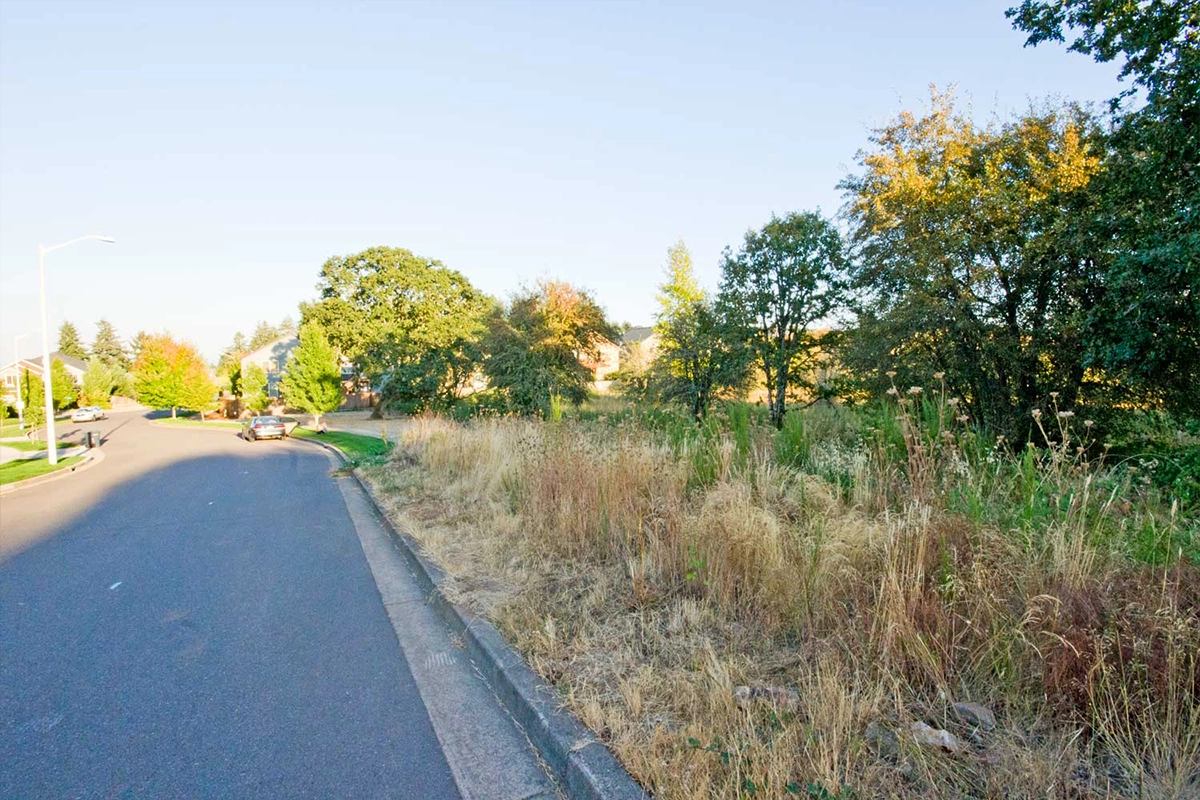
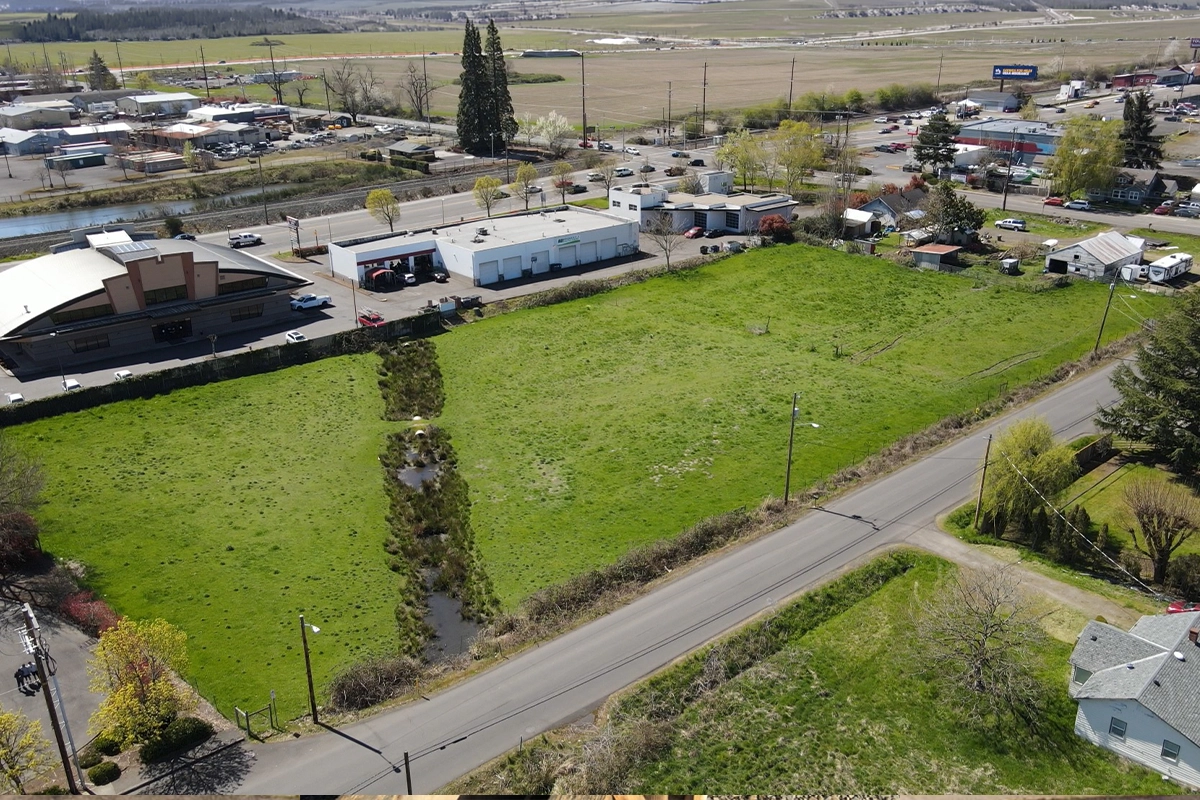
Aerial photography can establish the overall condition of a site before excavation or construction begins. From above, the viewer can see the property layout, surrounding roads, adjacent buildings, access points, vegetation and existing site features in a single image.
This example is valuable because it establishes context. A close ground-level image may document a specific condition, but an aerial photograph helps show where that condition is located within the larger property.
What this example demonstrates
- The overall project site before construction
- Relationships between the site and adjacent property
- Existing access routes
- Nearby roads and structures
- The limits and general layout of the work area
The Clemson documentation requirements recommend photographing the limits of the work and the immediately surrounding area before construction. Aerial photography can help provide that broad view when it is used alongside ground-level documentation.
How it could be organized in ACTABUILD
Project → Preconstruction → Existing Site Conditions → Aerial Overview
2. Excavation and Digout Documentation
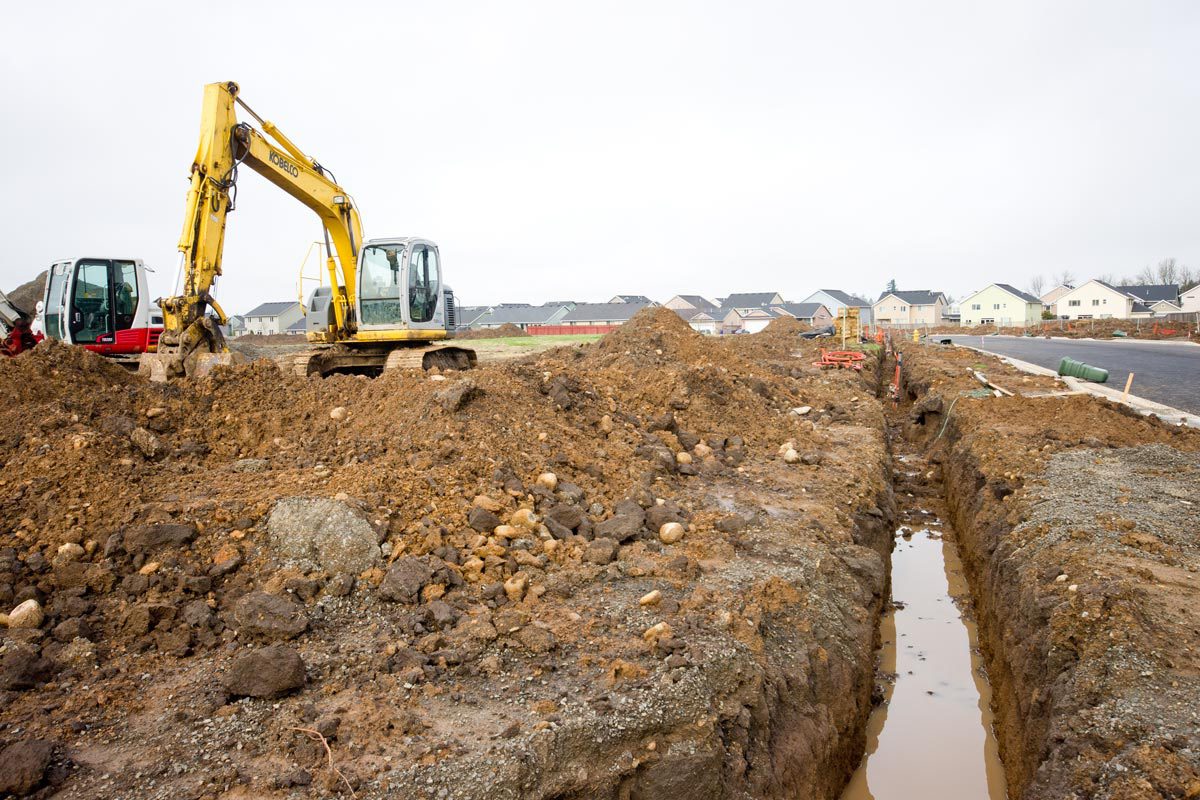
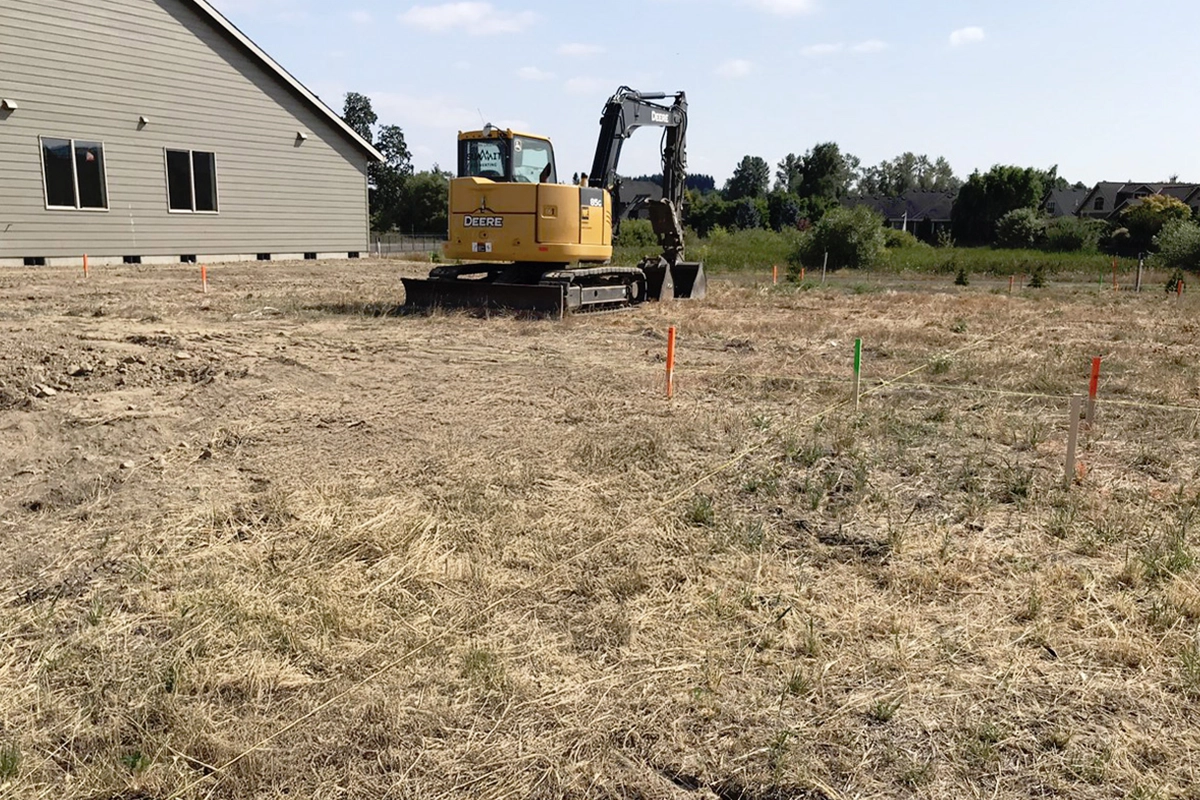
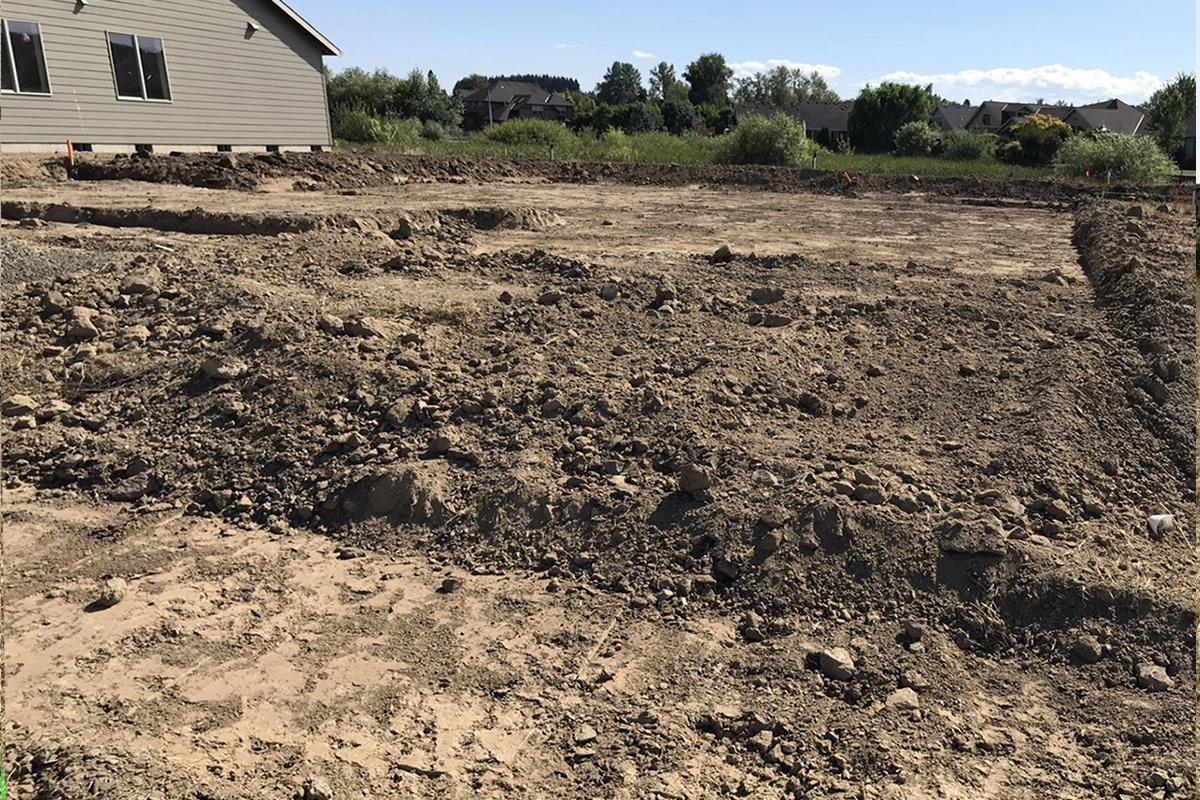
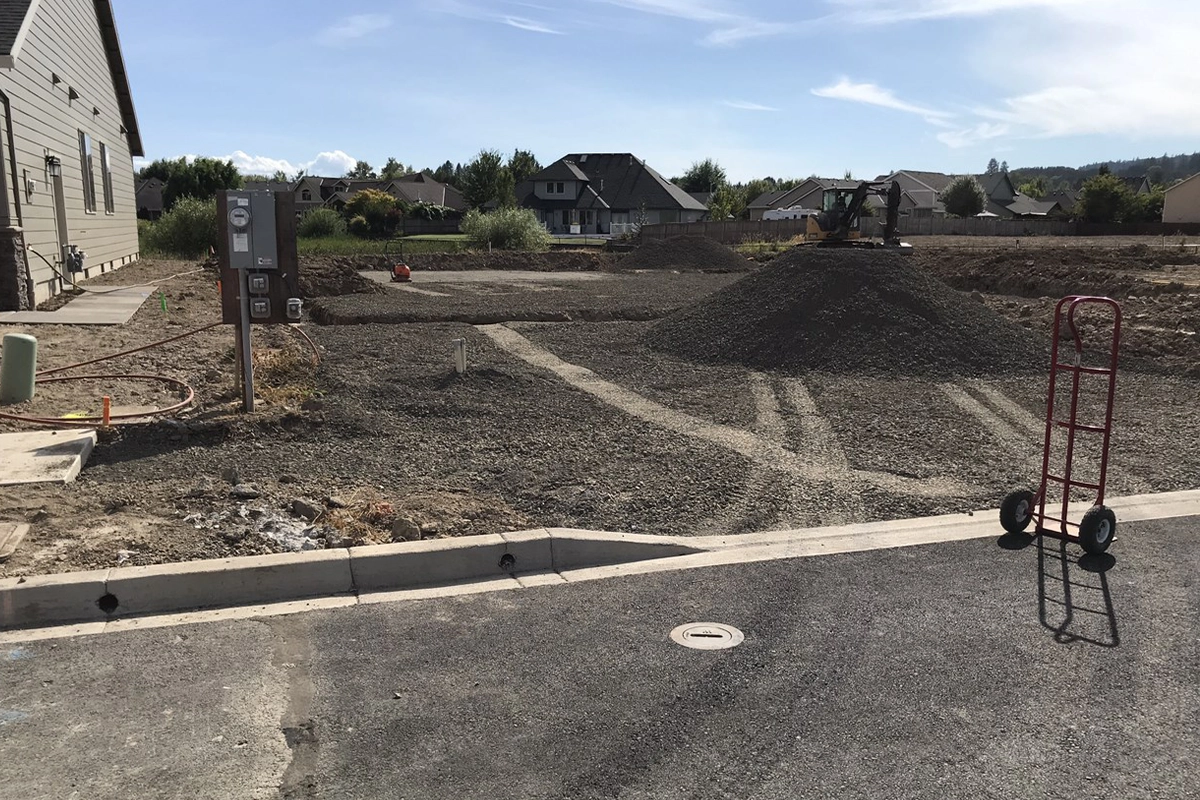
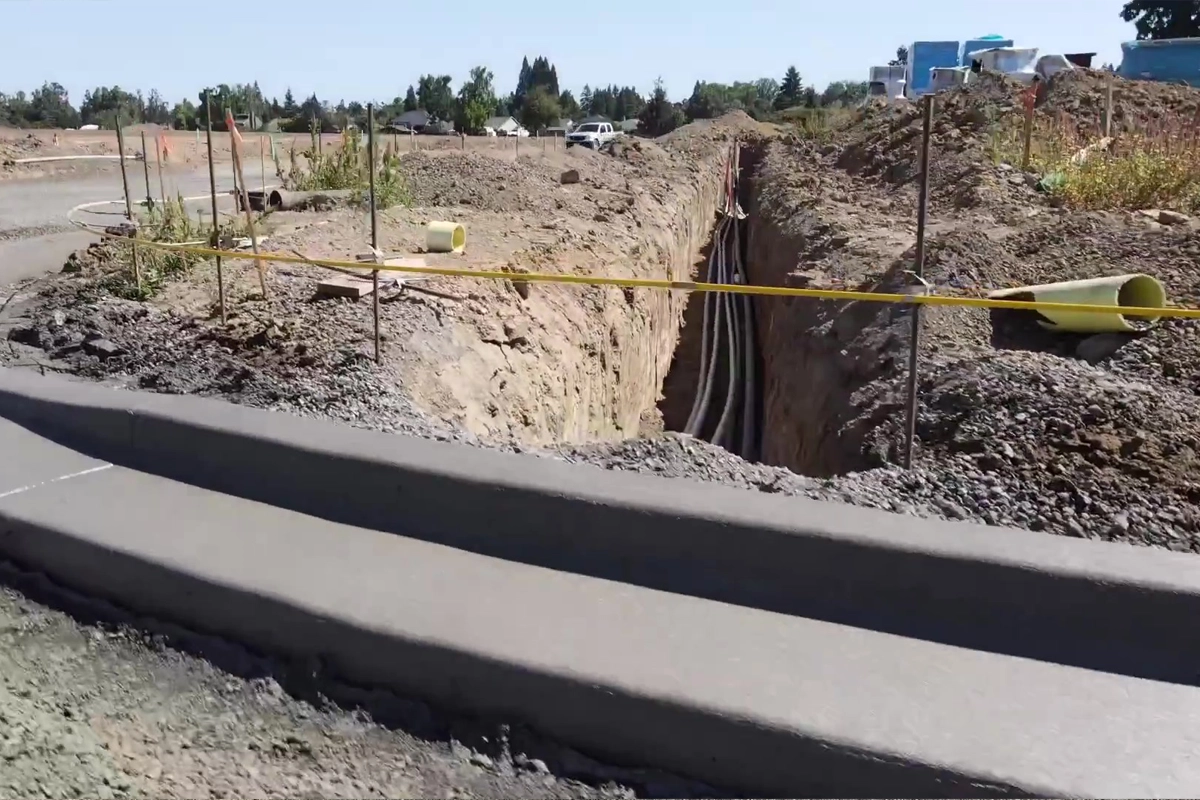
Excavation photos show the first major physical changes to the site. They can record the extent of the digout, exposed soil, access conditions and the relationship between the excavation and surrounding property.
The value of this example is timing. The excavated condition will not remain visible after foundation work, utilities, fill and grading move forward.
What this example demonstrates
The image shows the site after excavation began but before foundation construction changed the area again. It creates a reference point between the original site condition and the foundation stage.
A strong excavation example should make the overall location understandable. A wide image usually provides more value here than a close photo of dirt or equipment without surrounding context.
How it could be organized in ACTABUILD
Project → Sitework → Excavation → Digout Progress
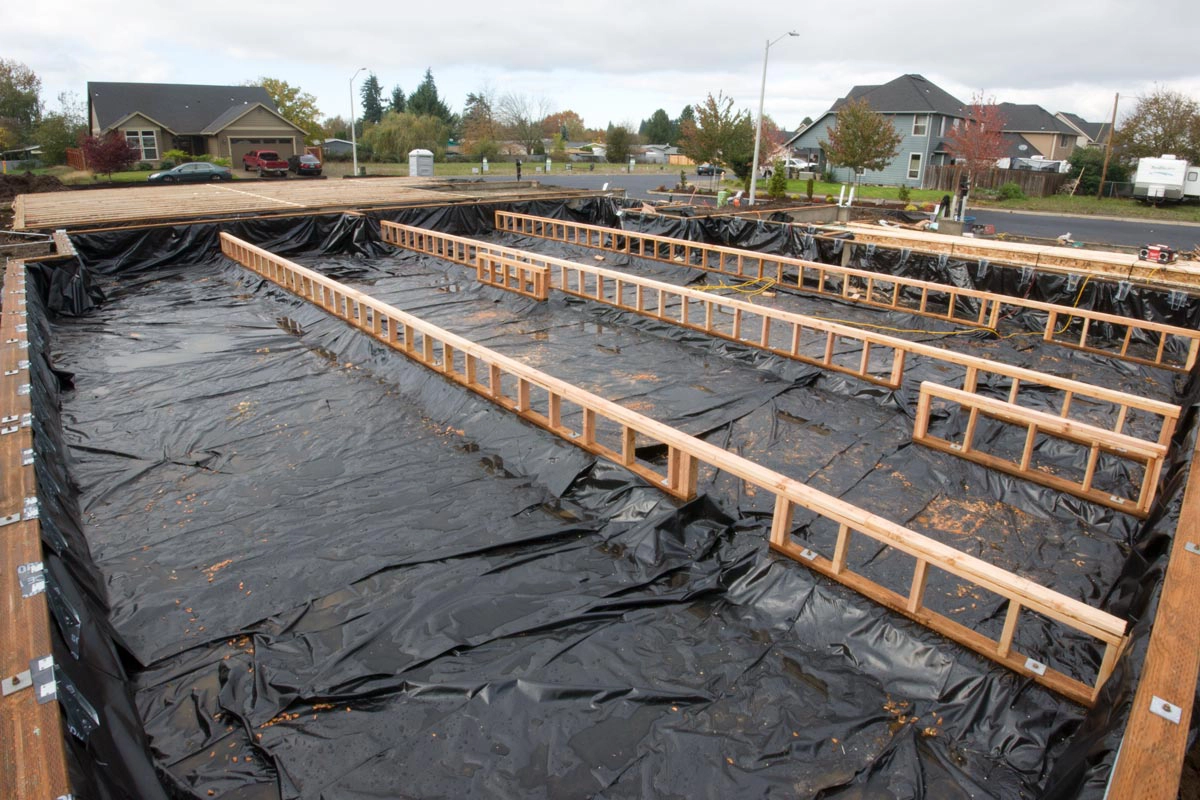
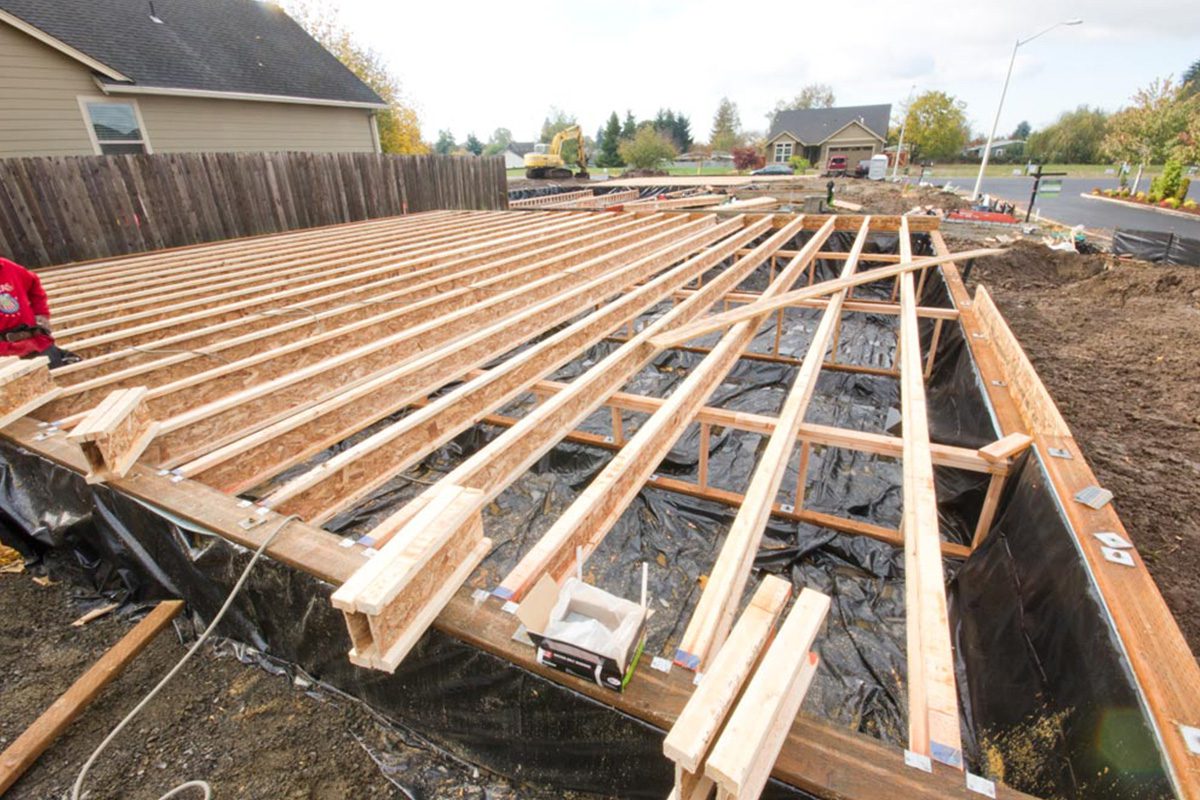
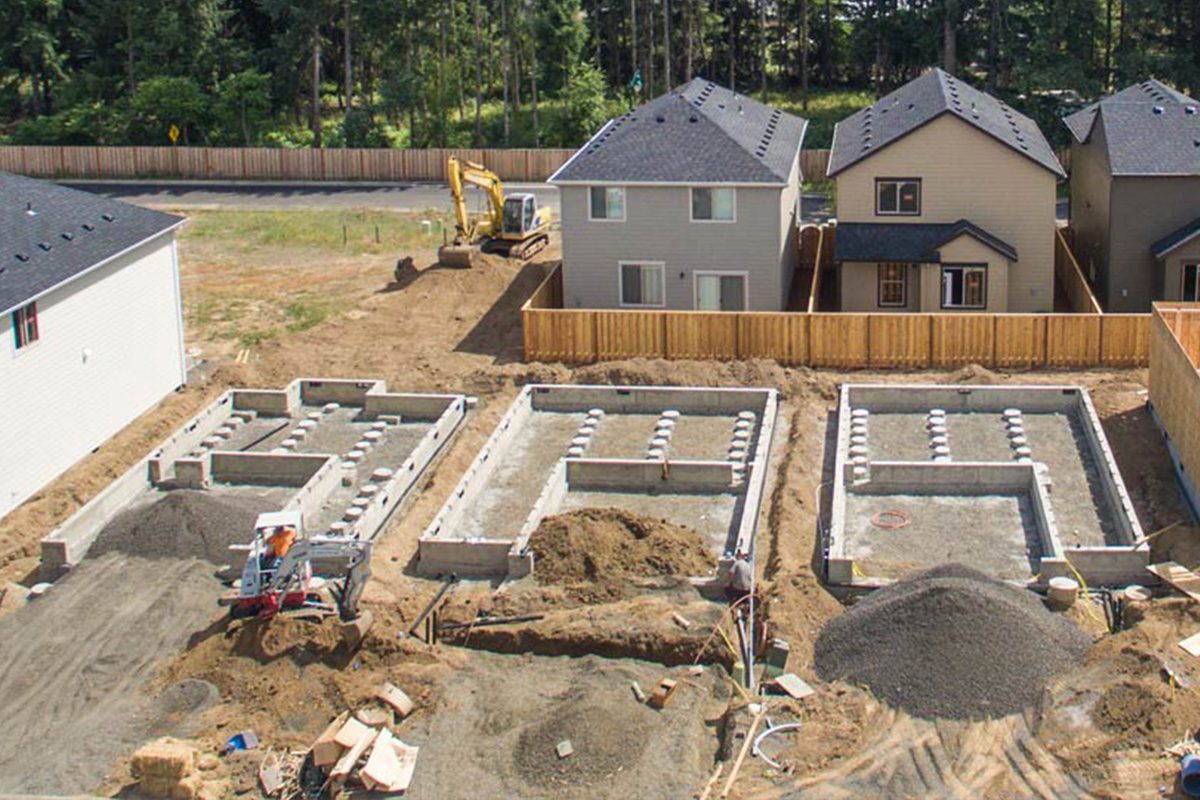
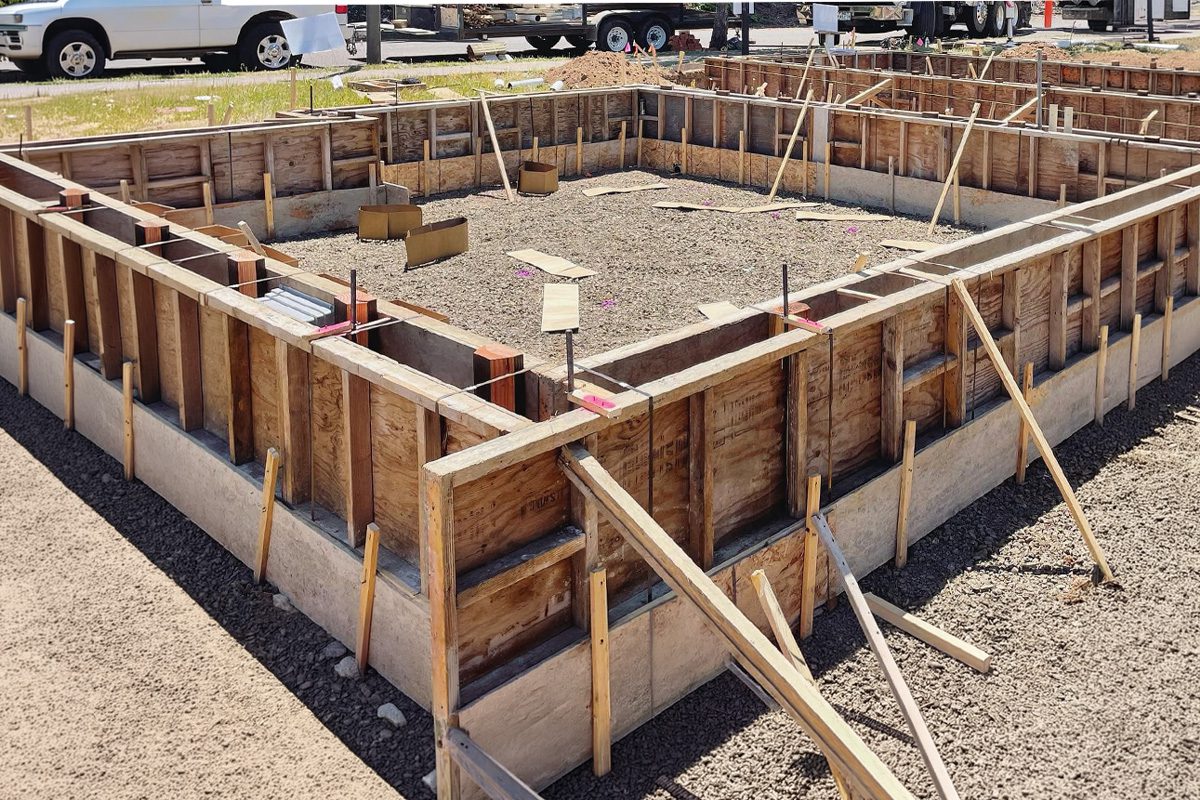
3. Concrete Forms and Foundation Documentation
Why it matters:
Everything sits on this. If there’s ever a structural question, this is where people go back.
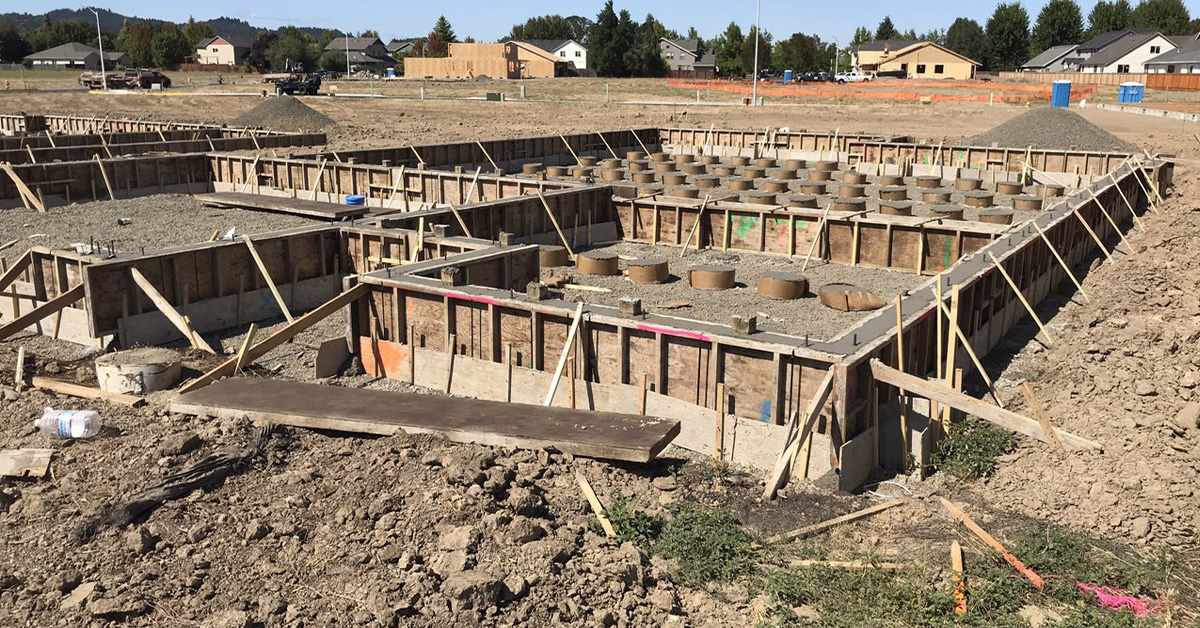
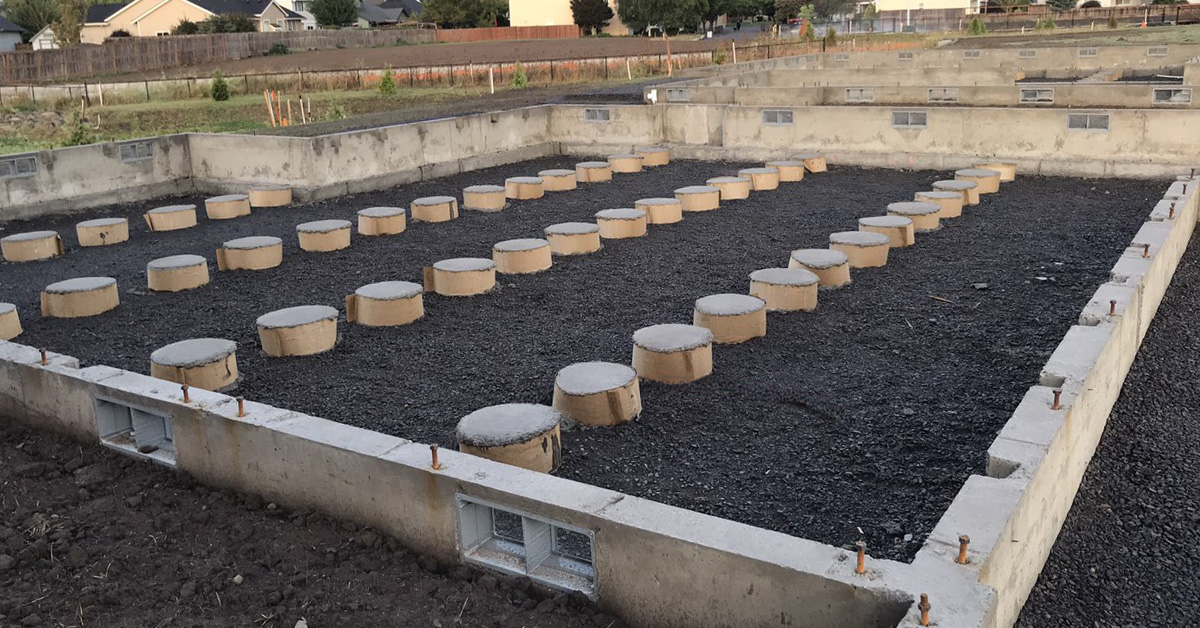
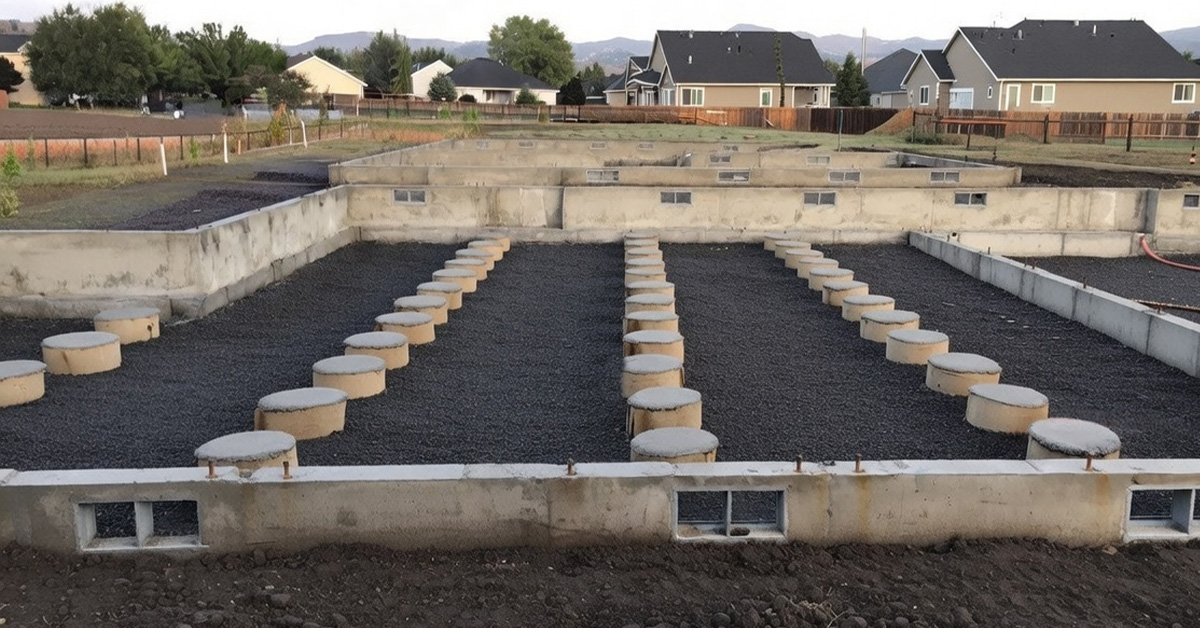
Foundation documentation can show a sequence rather than a single finished result.
The first example might show concrete forms, reinforcement or utility penetrations before the concrete is placed. The second might show the completed foundation before framing or backfill.
Together, the images explain how the project moved from excavation to a completed structural base.
What this example demonstrates
- Form locations and foundation layout
- Visible reinforcement or embedded components
- Openings and penetrations
- Foundation walls after form removal
- Conditions before backfill
- Progress from one stage to the next
This is where photo documentation becomes more useful than an isolated jobsite picture. A dated sequence allows someone to compare the work before, during and after concrete placement.
More Examples of Foundation & Forms
How it could be organized in ACTABUILD
Project → Foundation → Forms and Reinforcement
Project → Foundation → Completed Foundation
4. Framing Photo Documentation
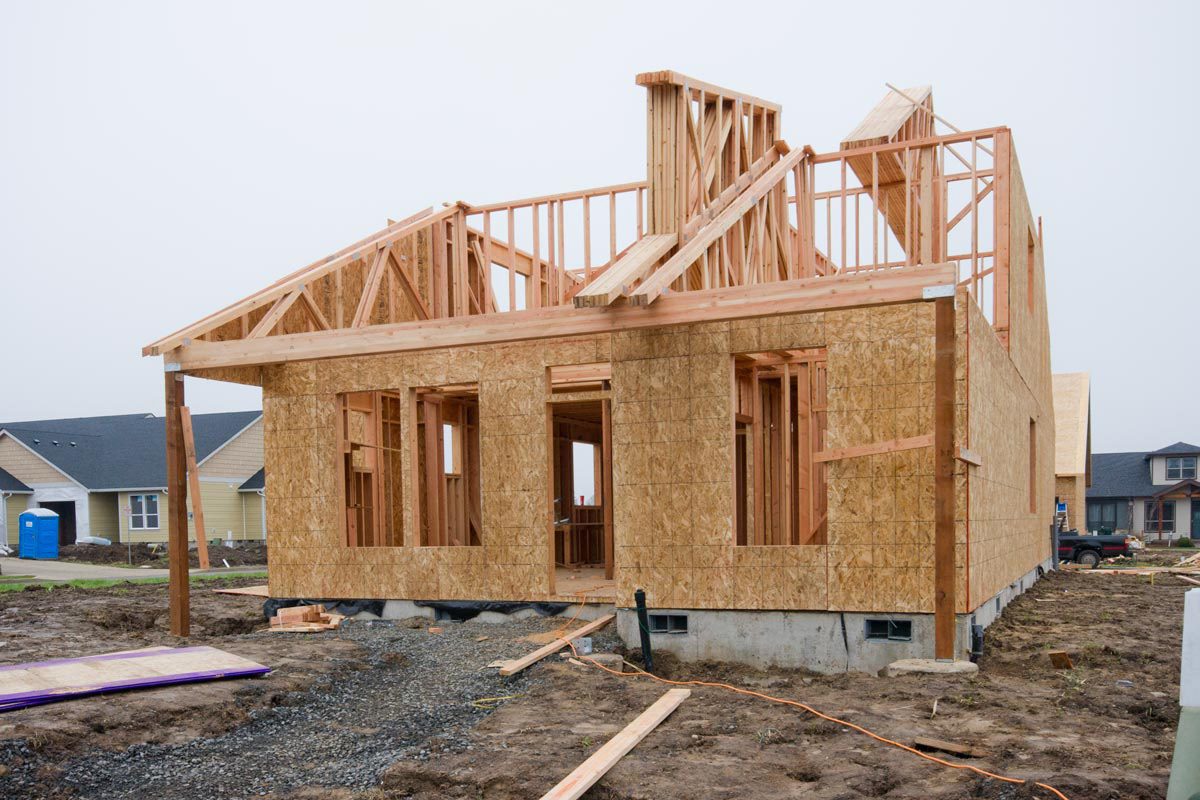
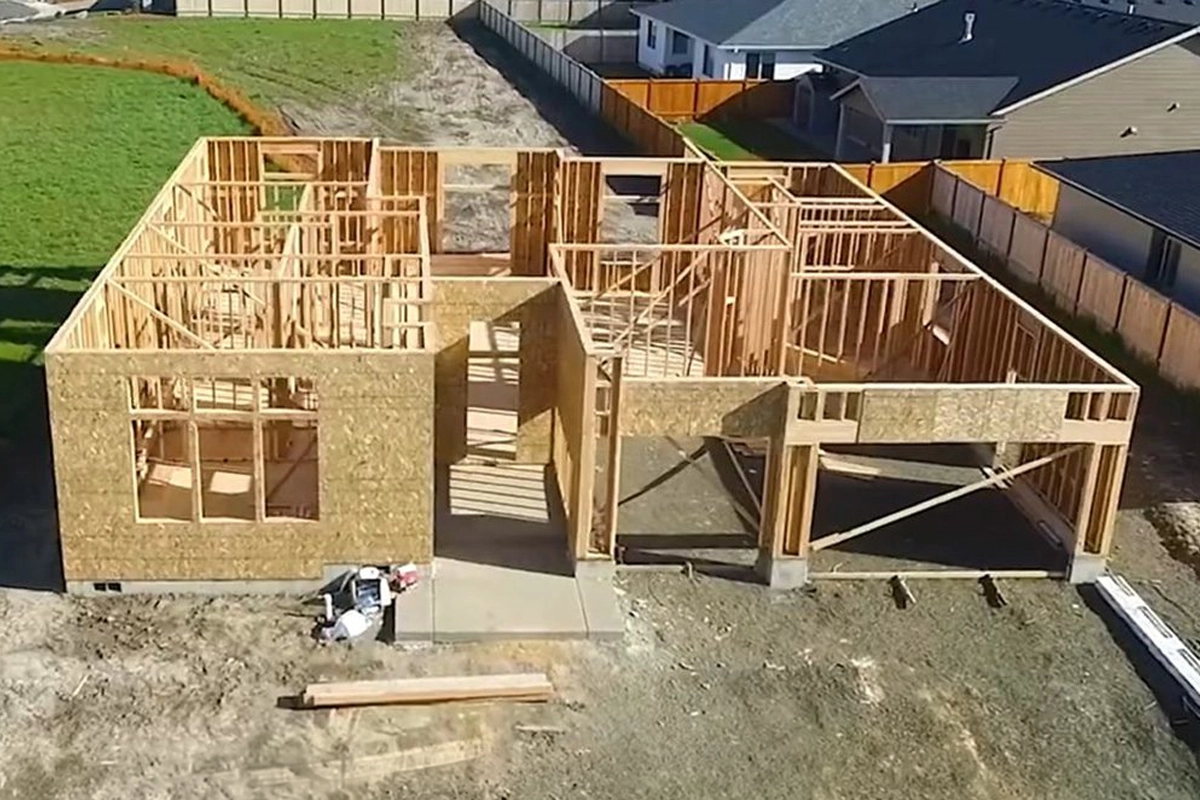
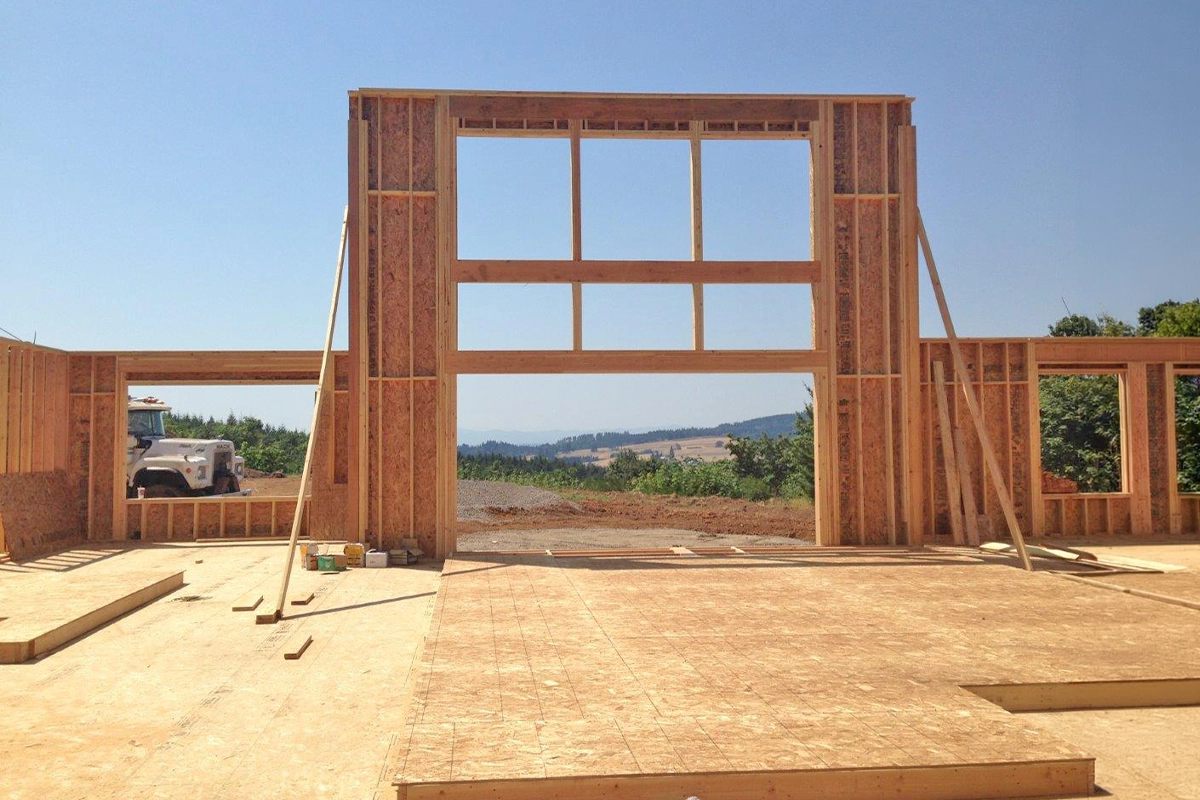
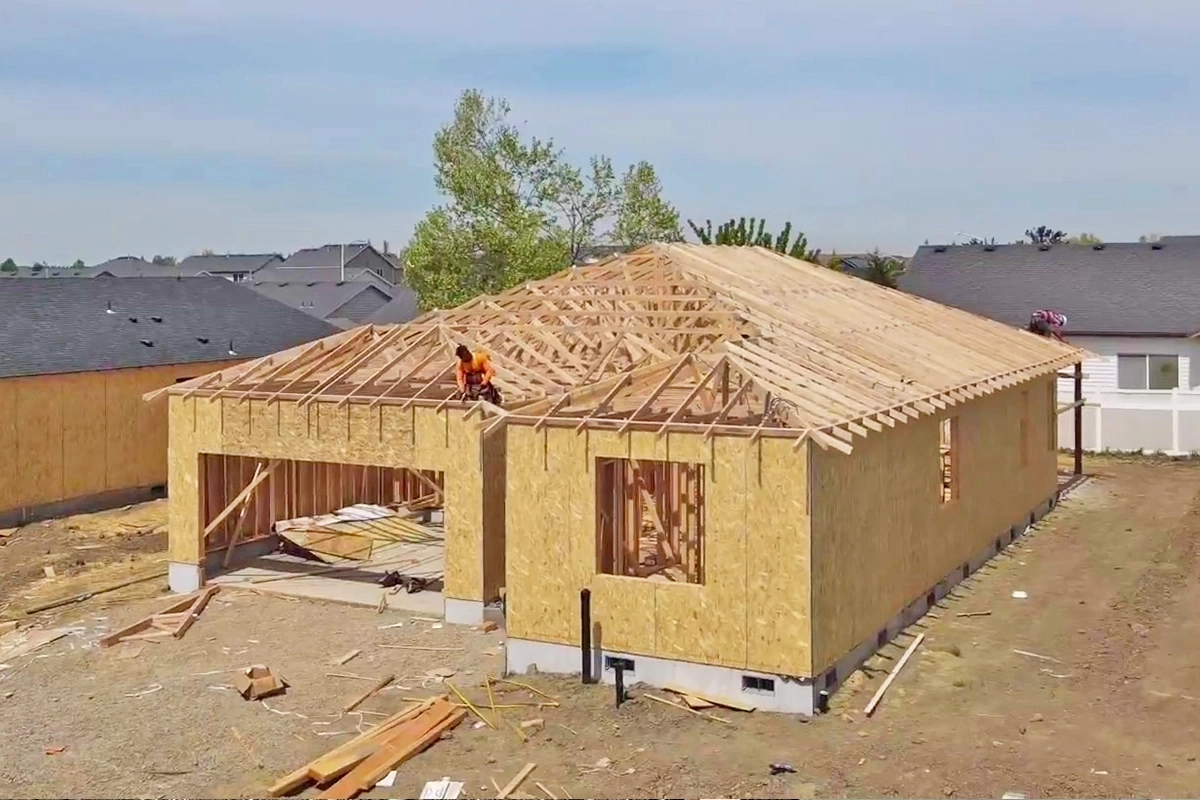
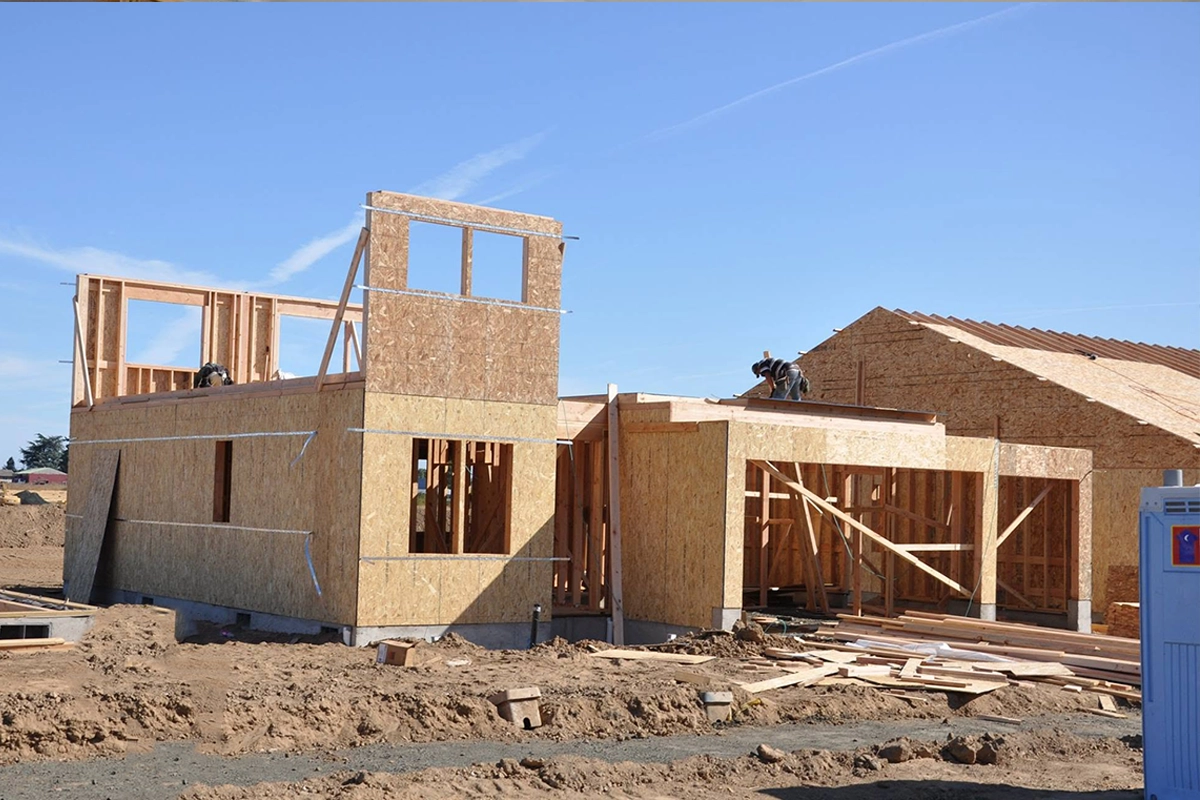
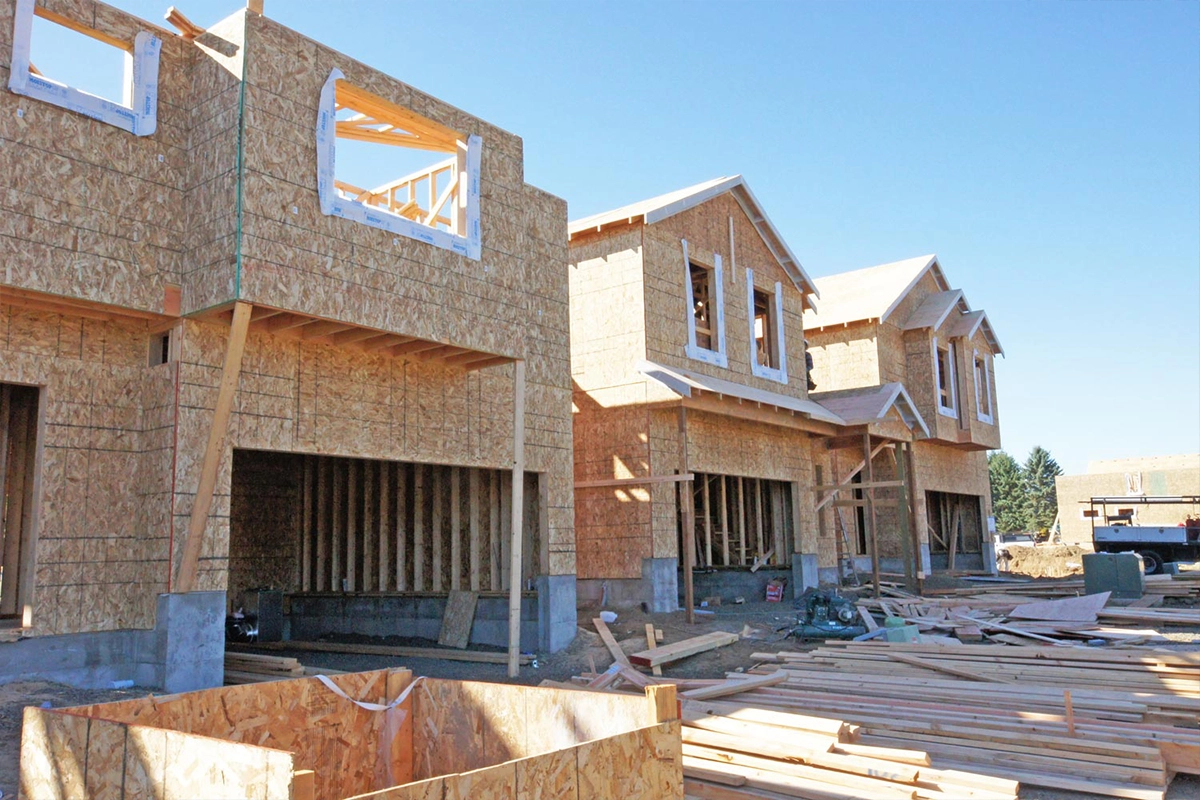
Framing photos begin to show the shape and layout of the building. Rooms, walls, openings and structural components become easier to identify, but most of the construction remains visible.
A framing documentation example should show more than lumber. It should help the viewer understand the space.
What this example demonstrates
A wide framing photo can show the relationship between walls, door openings, windows and adjoining rooms. A closer image can preserve a visible detail such as blocking, a connection or an opening before other construction covers it.
At this stage, photos can also be connected to specific rooms or floor plan locations. This gives future viewers more context than a folder labeled “framing photos.”
How it could be organized in ACTABUILD
Project → Framing → First Floor → Room or Plan Location
5. MEP Rough-In Documentation
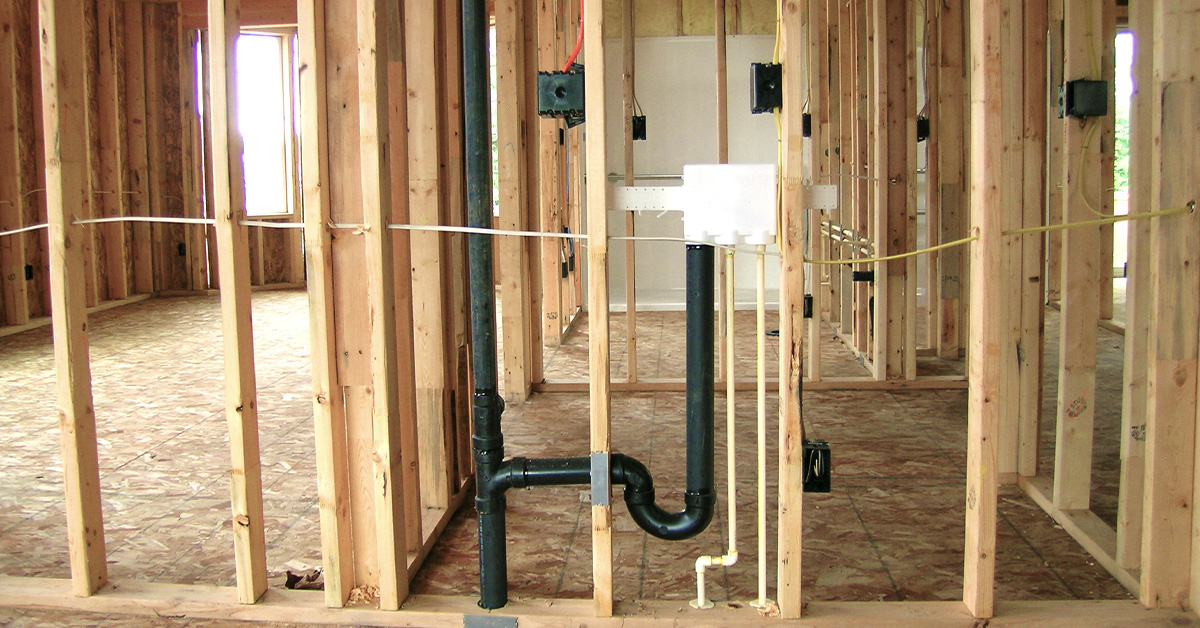
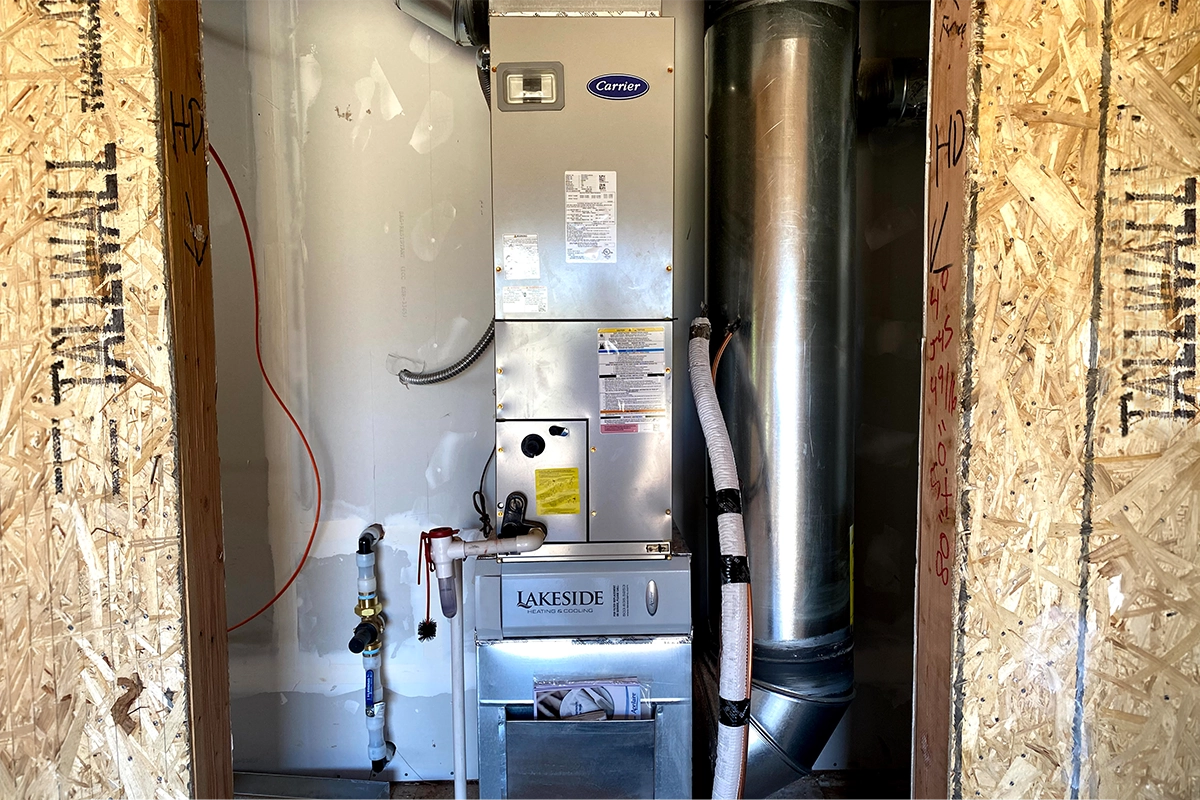
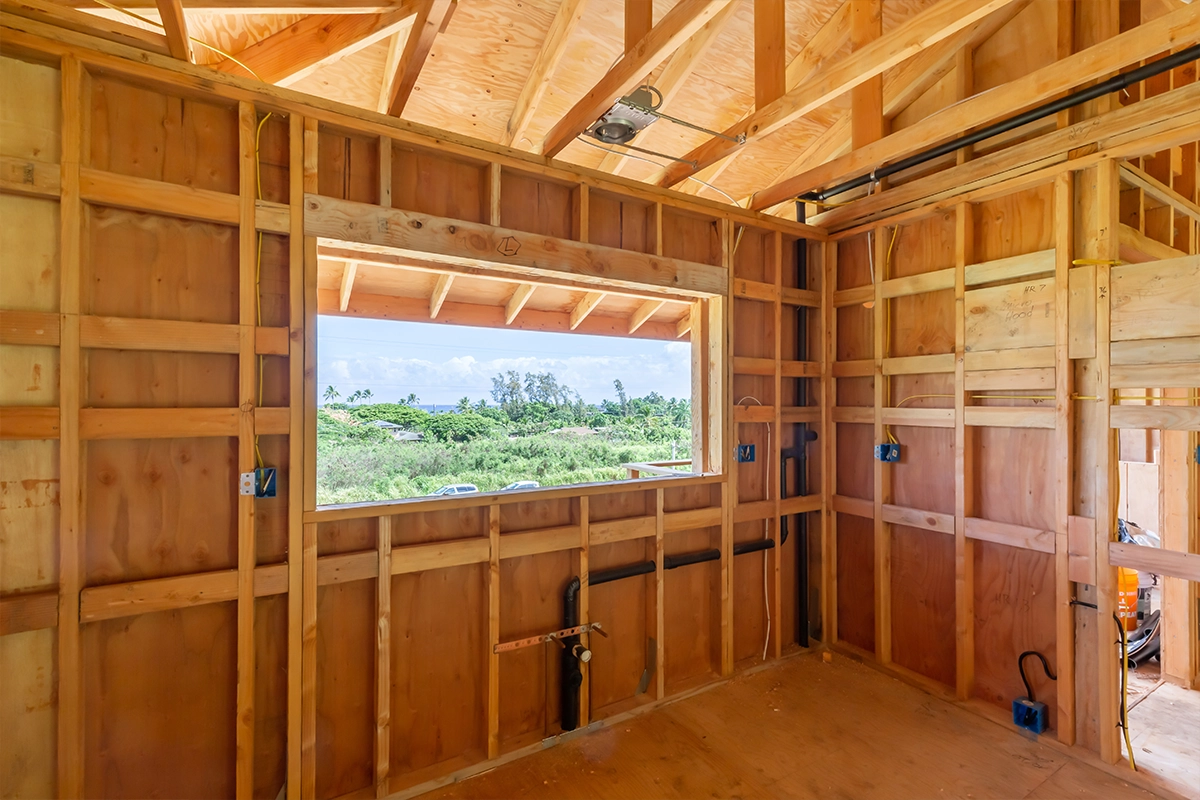
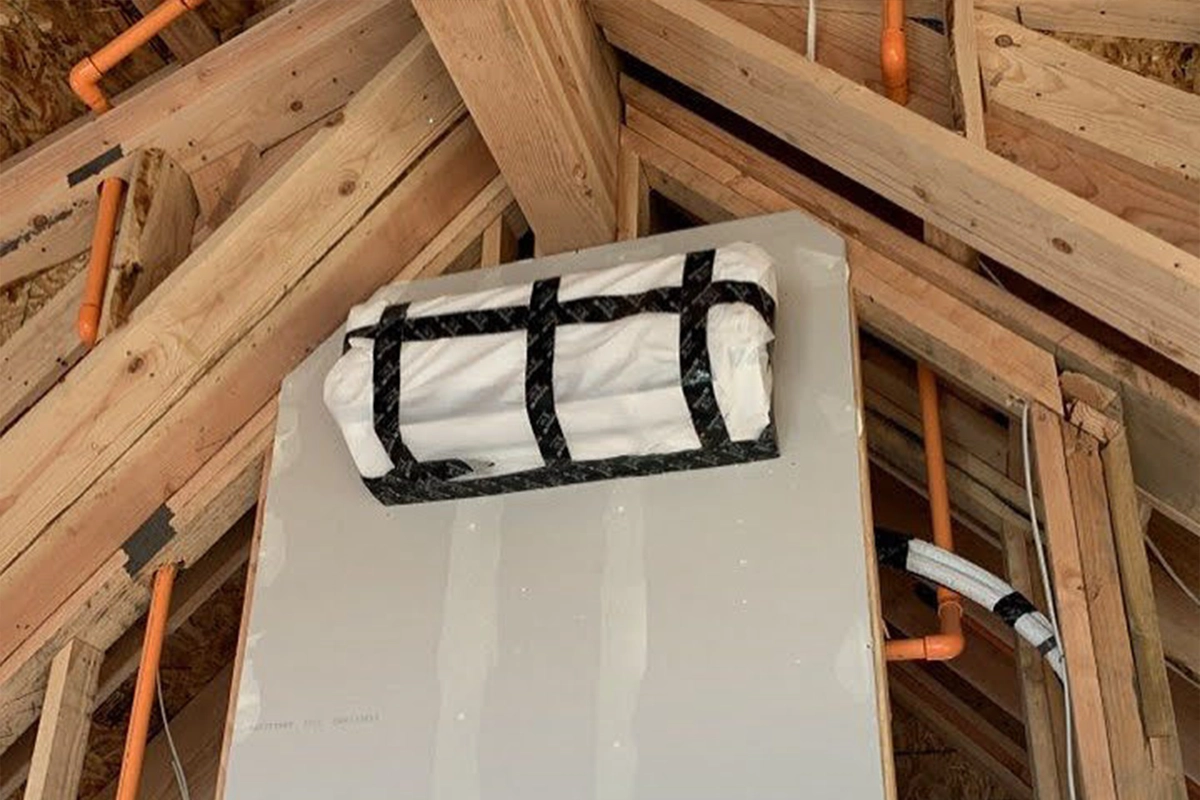
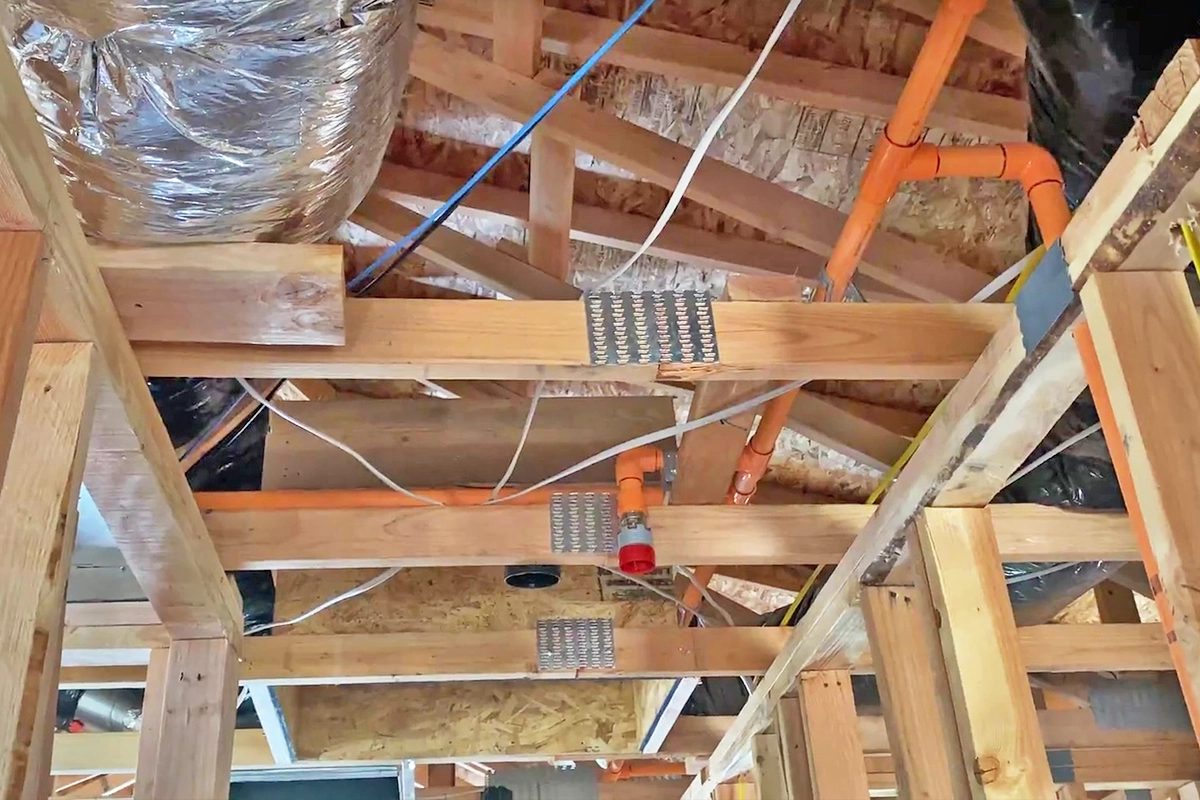
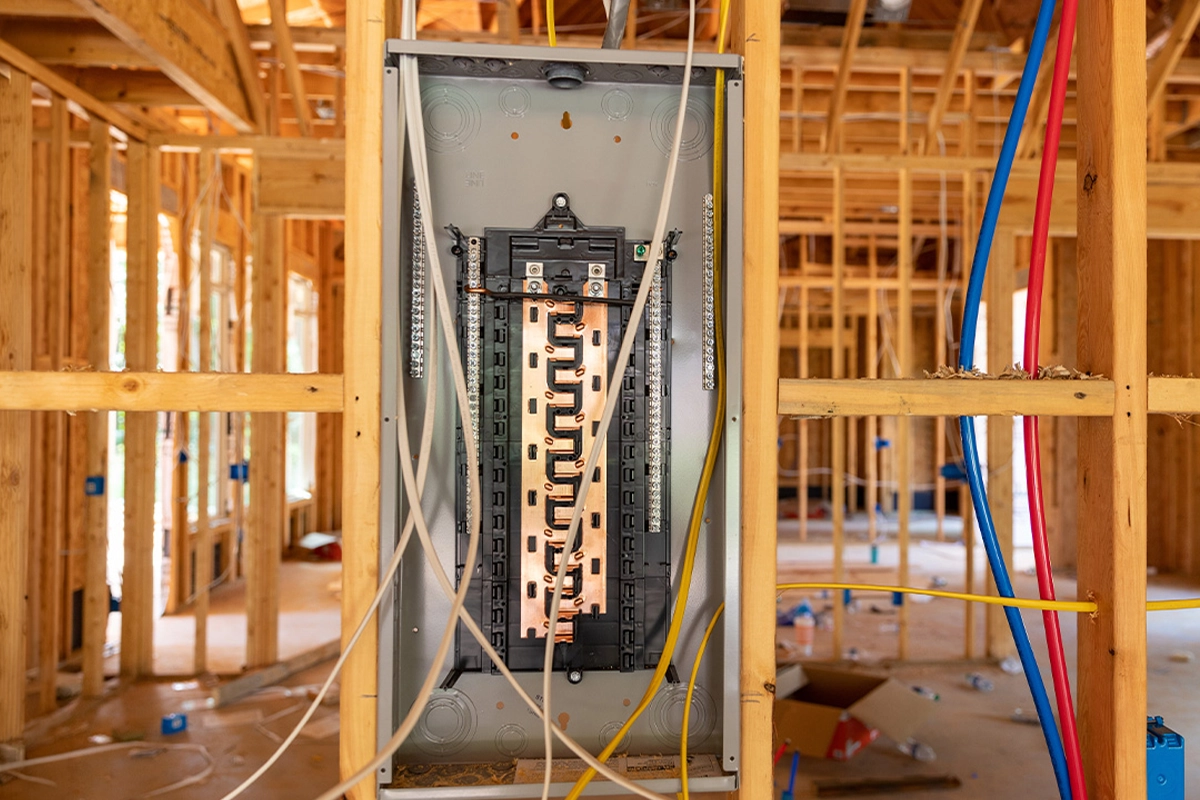
Mechanical, electrical and plumbing rough-ins are some of the most useful construction photo documentation examples because much of the work will eventually be hidden.
Once insulation and drywall are installed, wiring, plumbing lines, ducts, connections and in-wall components become difficult to locate visually.
What this example demonstrates
The photograph provides a reference to systems while they are still exposed. It may show where lines run, how different systems relate to the framing and where visible connections or penetrations are located.
Clemson’s documentation requirements specifically identify MEP rough-ins in walls and ceilings as milestone documentation to complete before concealment. The National Park Service similarly includes subsurface conditions and work that will be covered in its project photography guidance. Review the NPS project photograph guidance.
The photo does not replace an inspection, approved plan or as-built drawing. It provides visual context that can assist with later questions.
How it could be organized in ACTABUILD
Project → Rough MEP → Floor → Room → Wall or Plan Location
6. Insulation, Coverup, Drywall Progress Documentation
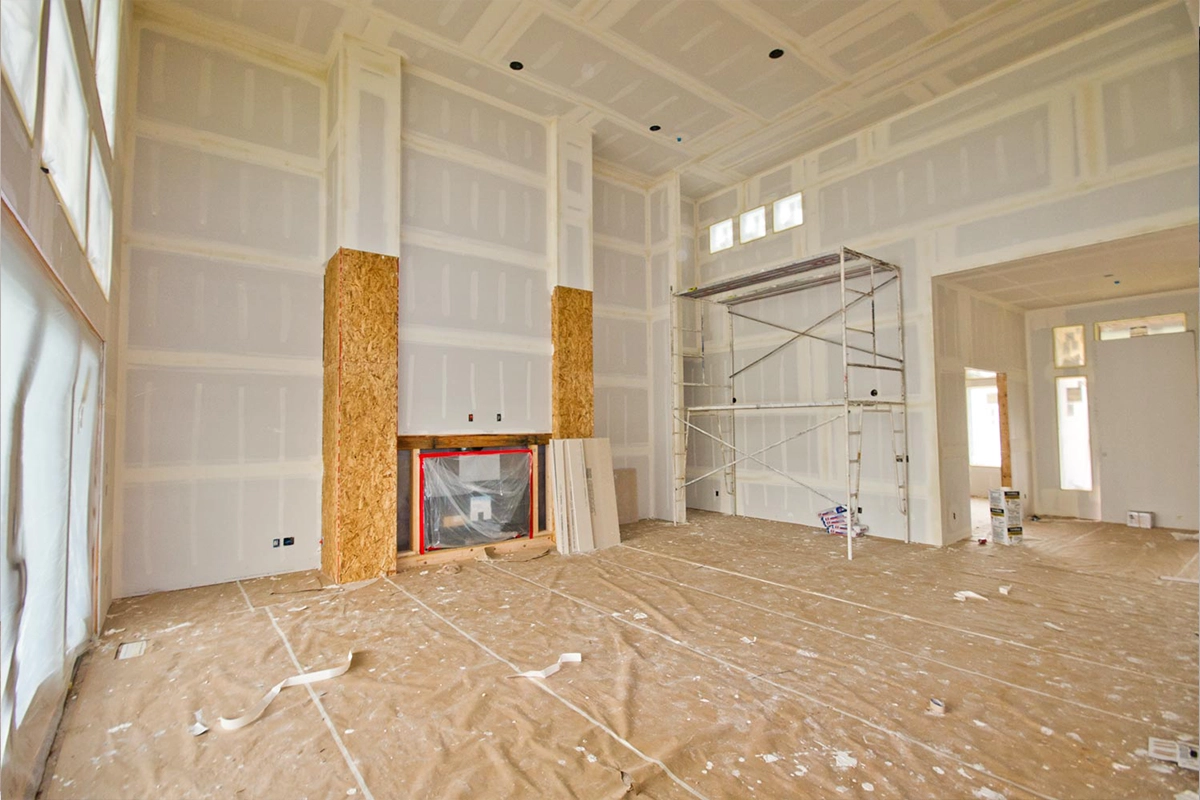
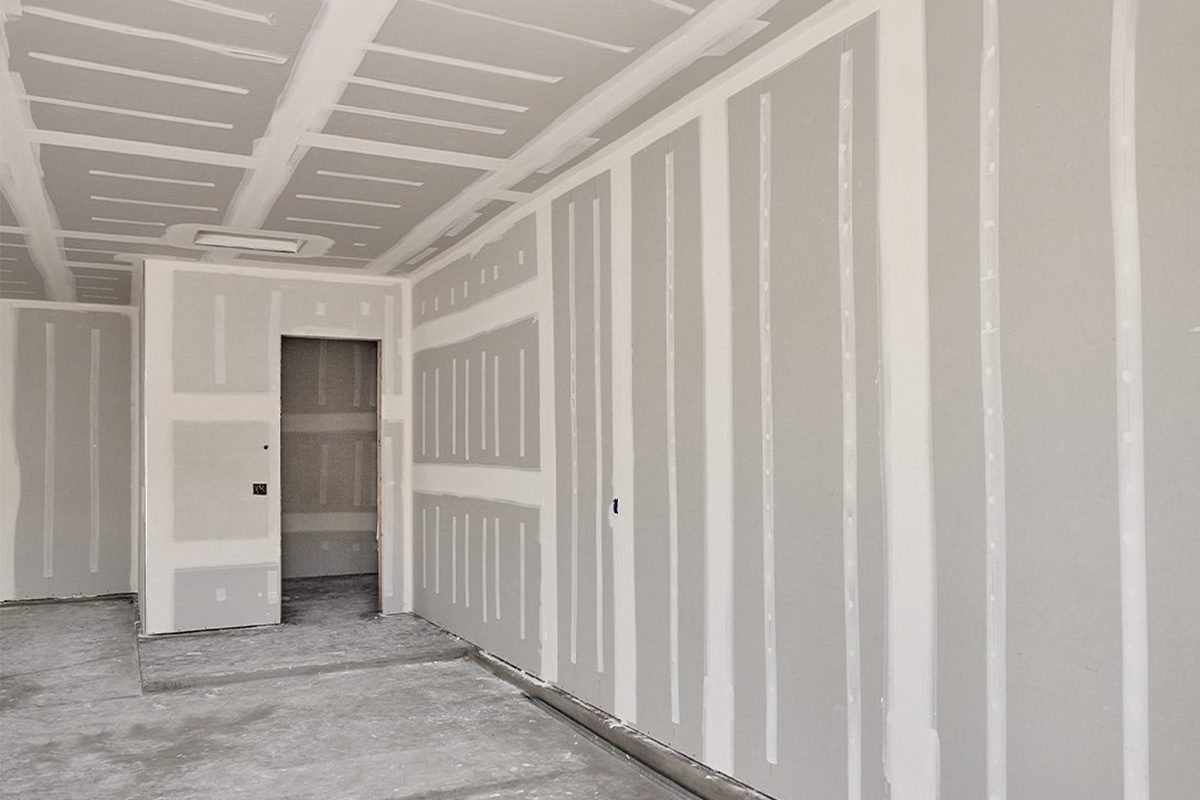
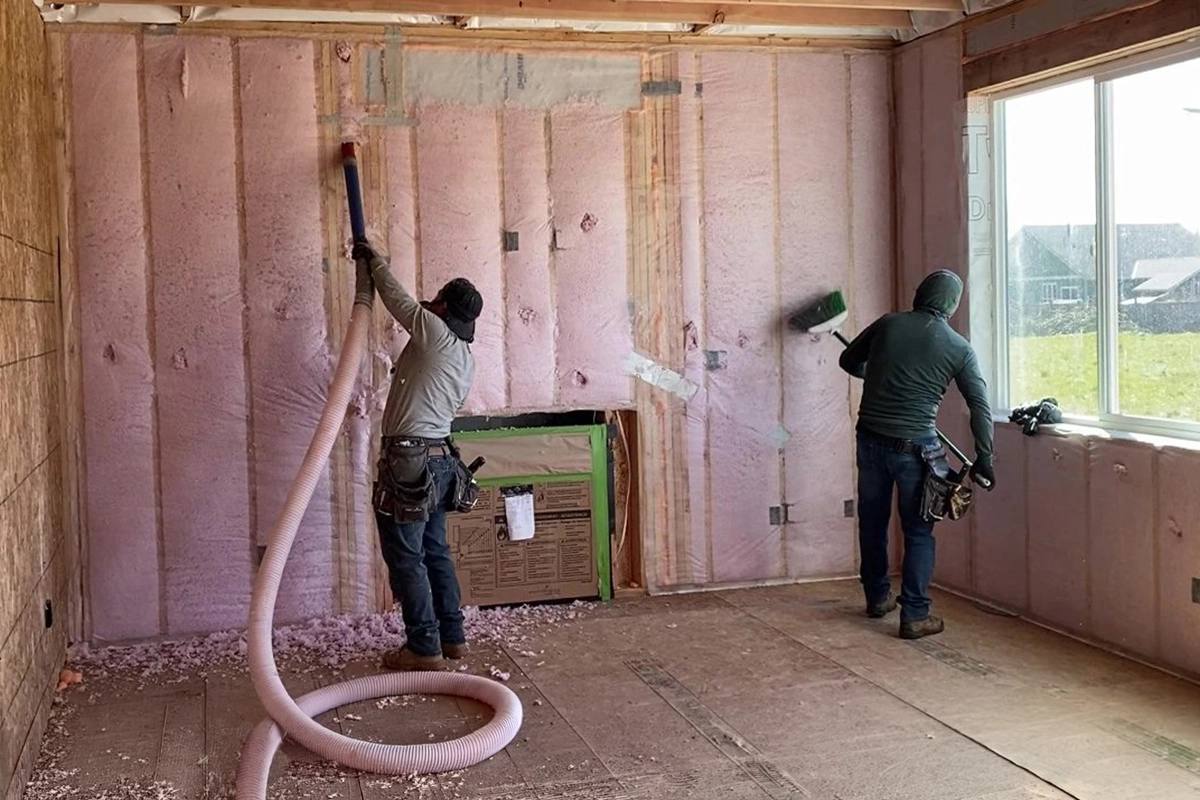
Drywall marks a clear transition in the project record. The framing and rough-in systems that were previously visible are now becoming enclosed, and the interior begins to look like a collection of finished rooms.
This image is most useful when viewed alongside the framing and MEP photographs captured earlier.
What this example demonstrates
The drywall photo confirms the project has advanced from exposed construction to enclosed interior spaces. It can also show which rooms or areas are complete, underway or still waiting for work.
This is an example of why construction documentation should be organized by both location and milestone. A user could open a room in ACTABUILD and compare how it looked during framing, rough-in and drywall without searching several unrelated folders.
How it could be organized in ACTABUILD
Project → Drywall → Floor → Room or Area
How it could be organized in ACTABUILD
Project → Final Walkthrough → Floor → Room → Completion or Issue
7. Interior Finish Documentation
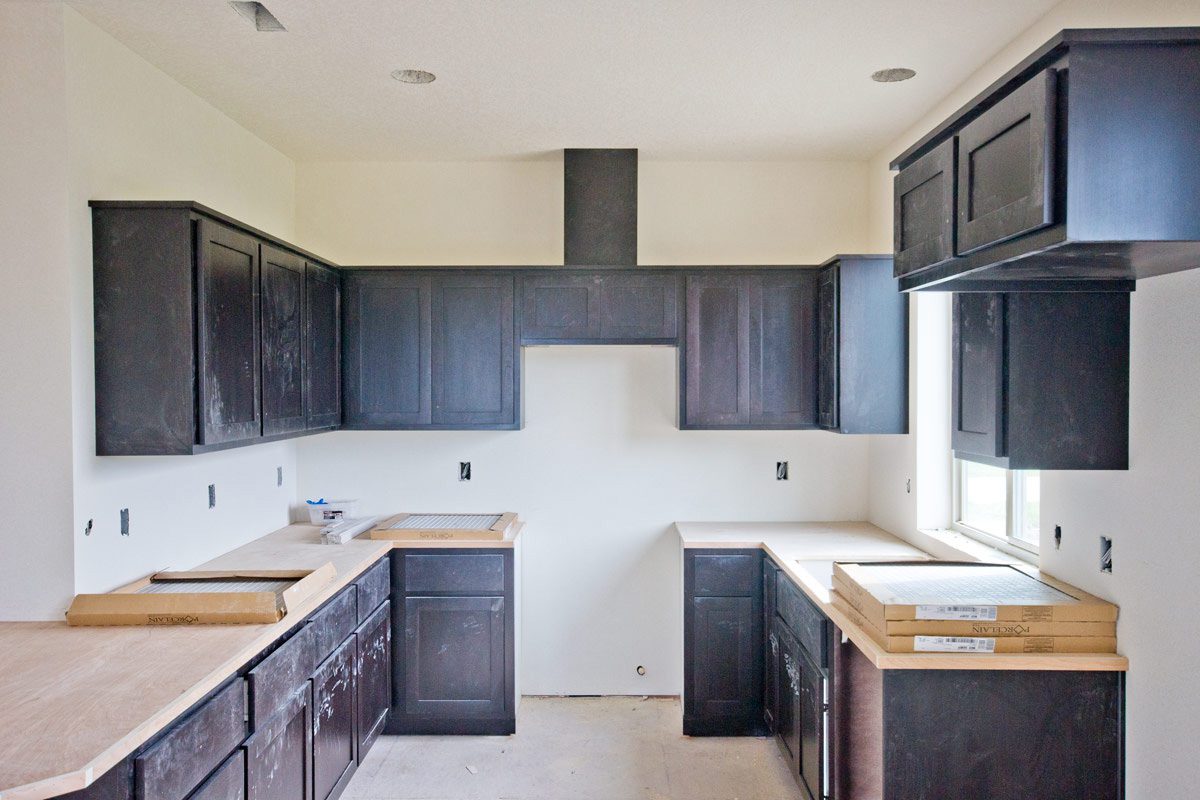
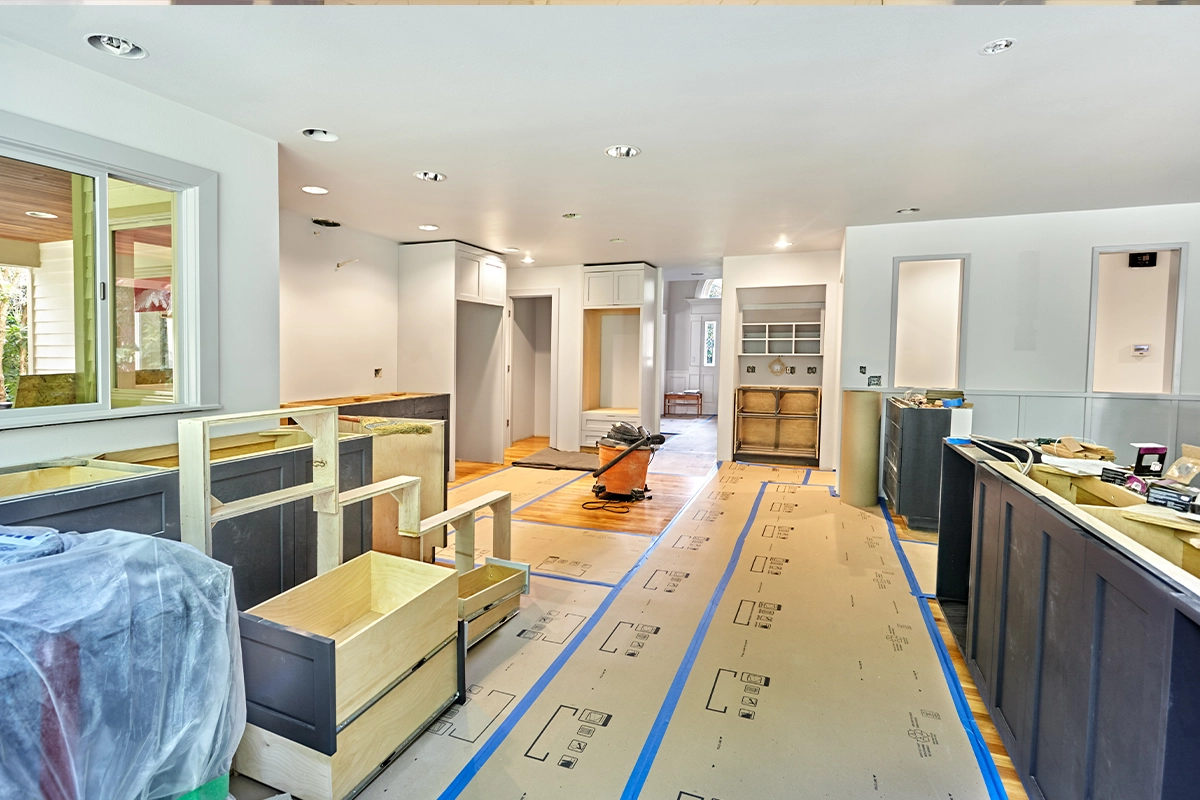
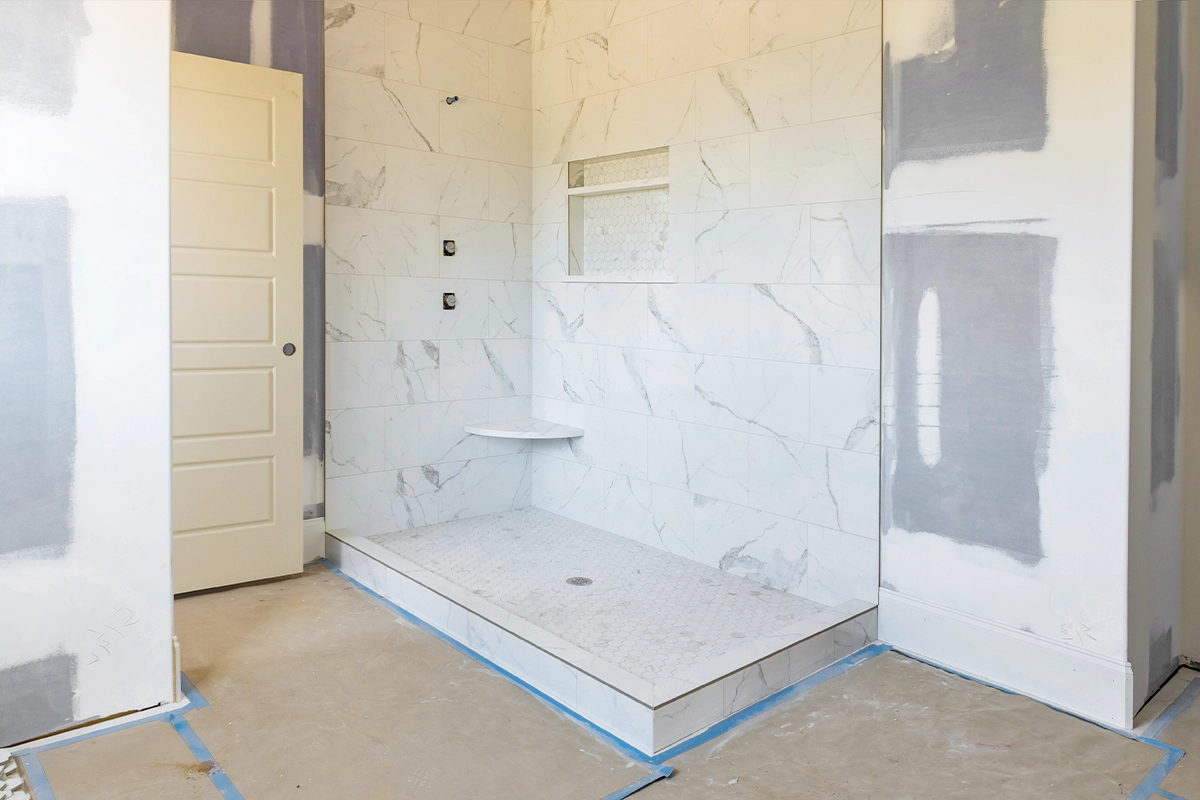
Finish-stage photographs show the project taking its final form. Flooring, cabinets, paint, trim, fixtures and other visible materials make completion easier to recognize.
These photos can support progress updates, owner communication and internal review.
What this example demonstrates
A finish photograph shows more than an attractive room. It records which materials and visible components were installed at that point in the project.
If work remains incomplete, the same photograph can provide context for a field update or issue. For example, an image could show installed cabinets while also documenting missing hardware or an unfinished section of trim.
8. Final Walkthrough Documentation
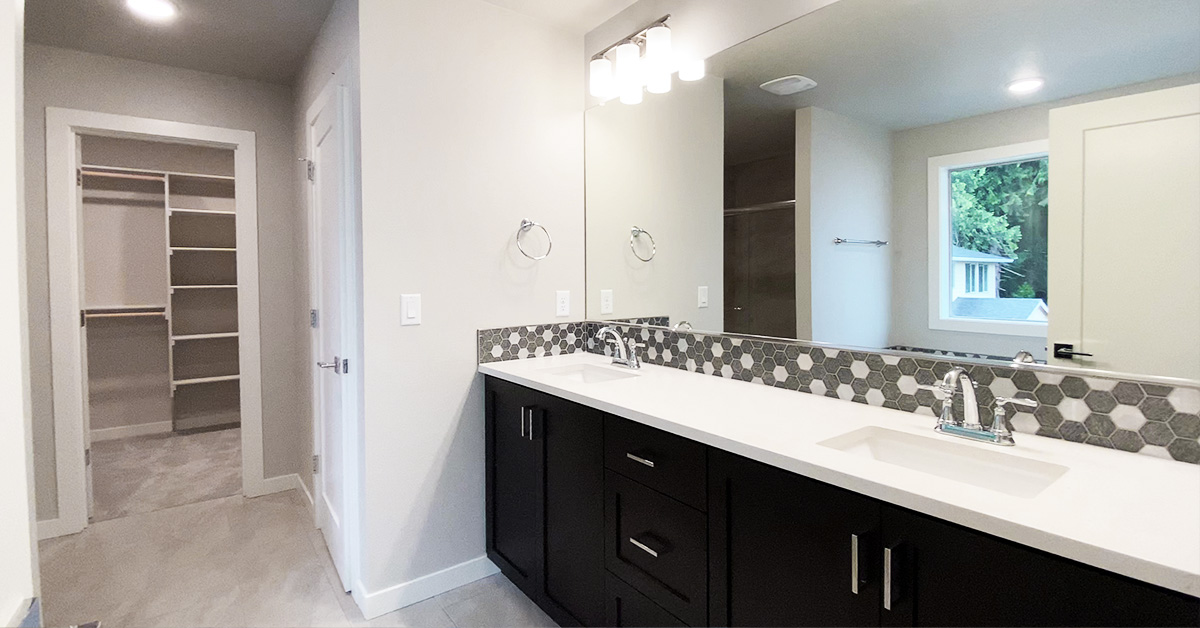
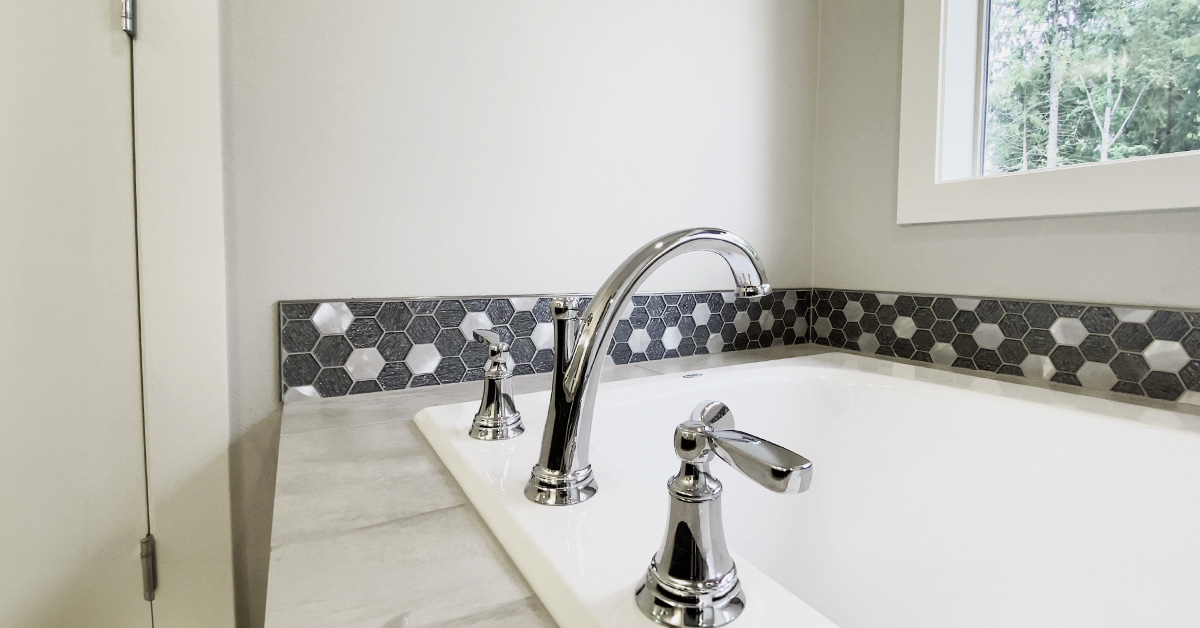
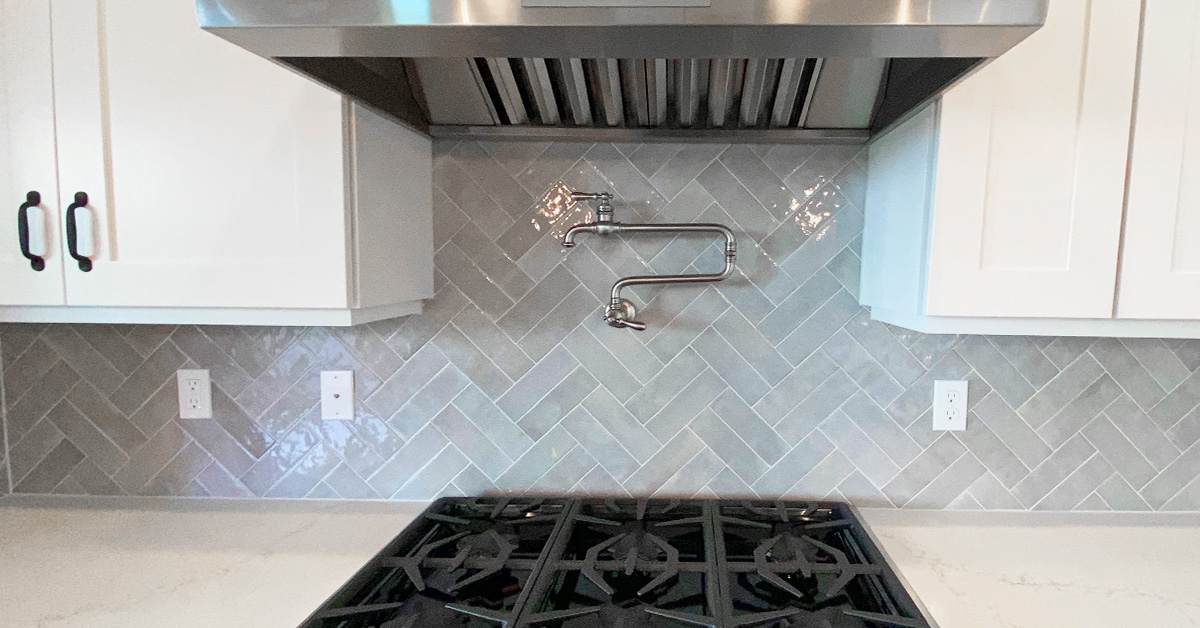
Final walkthrough photographs document the completed condition of the project and any items that still require attention.
This stage can include both broad completion photos and closer images connected to punch list issues.
What this example demonstrates
A completed room photograph establishes the final condition of the space. If an issue is identified, a second photo can show the exact location and condition. A follow-up image can later confirm that the item was addressed.
This creates a simple visual sequence:
- Final room condition
- Punch item identified
- Corrected condition documented
Formal documentation specifications commonly include both substantial completion and final completed conditions. The Clemson requirements, for example, identify finished exterior, interior and site conditions as part of the final project record.
How it could be organized in ACTABUILD
Project → Final Walkthrough → Floor → Room → Completion or Issue
What Turns These Photos Into Documentation?
The subject of the photo is only one part of the record.
A framing photograph without a project name, room or date may be difficult to use months later. A documented image has enough context for another person to understand where it belongs.
For the examples on this page, that context could include:
- Project
- Construction stage
- Date
- Floor, unit or room
- Floor plan location
- Short description
- Related issue or field update
This distinction is important. Your other article explains the important stages or subjects to capture. These examples show what the resulting visual record can look like once those photos are captured and organized.
For a fuller planning guide, read The 7 Construction Milestones Every Project Should Document.
From Individual Photos to a Project Record
One photo can answer a specific question. A sequence of organized photos can show the history of the project.
For example:
- An aerial image establishes existing site conditions.
- An excavation photo shows how the site changed.
- Foundation photos record early structural work.
- Framing photographs establish the building layout.
- MEP photos preserve systems before concealment.
- Drywall images show the building becoming enclosed.
- Finish photos document visible completion.
- Final walkthrough photos preserve turnover conditions.
ACTABUILD helps connect these images to the project, milestone, floor plan, room and issue they relate to.
Instead of searching through a phone, text thread or loosely named folder, the team can follow the visual record of the project from one stage to the next.
Frequently Asked Questions
What does construction photo documentation look like?
Construction photo documentation usually includes photographs from multiple stages of a project. Examples include existing site conditions, excavation, foundations, framing, MEP rough-ins, drywall, finish work and final completion. Each image should be connected to enough project information to make it understandable later.
What is the difference between a construction photo and photo documentation?
A construction photo shows something on the jobsite. Photo documentation connects that image to a project, date, location, milestone or issue so it becomes part of an organized record.
Do construction documentation examples need to cover every part of a project?
No. The scope should reflect the project, owner requirements and intended use of the documentation. Some projects need comprehensive milestone coverage, while others focus on progress, concealed work or specific areas.
Can aerial photos be included in construction photo documentation?
Yes. Aerial photos can show overall site conditions, access, excavation, development progress and the relationship between the project and surrounding property. They work best when combined with closer ground-level photos.
Why are MEP photos useful?
A construction photo shows something on the jobsite. Photo documentation connects that image to a project, date, location, milestone or issue so it becomes part of an organized record.