
How to Take Good Construction Photos: A Practical Jobsite Guide
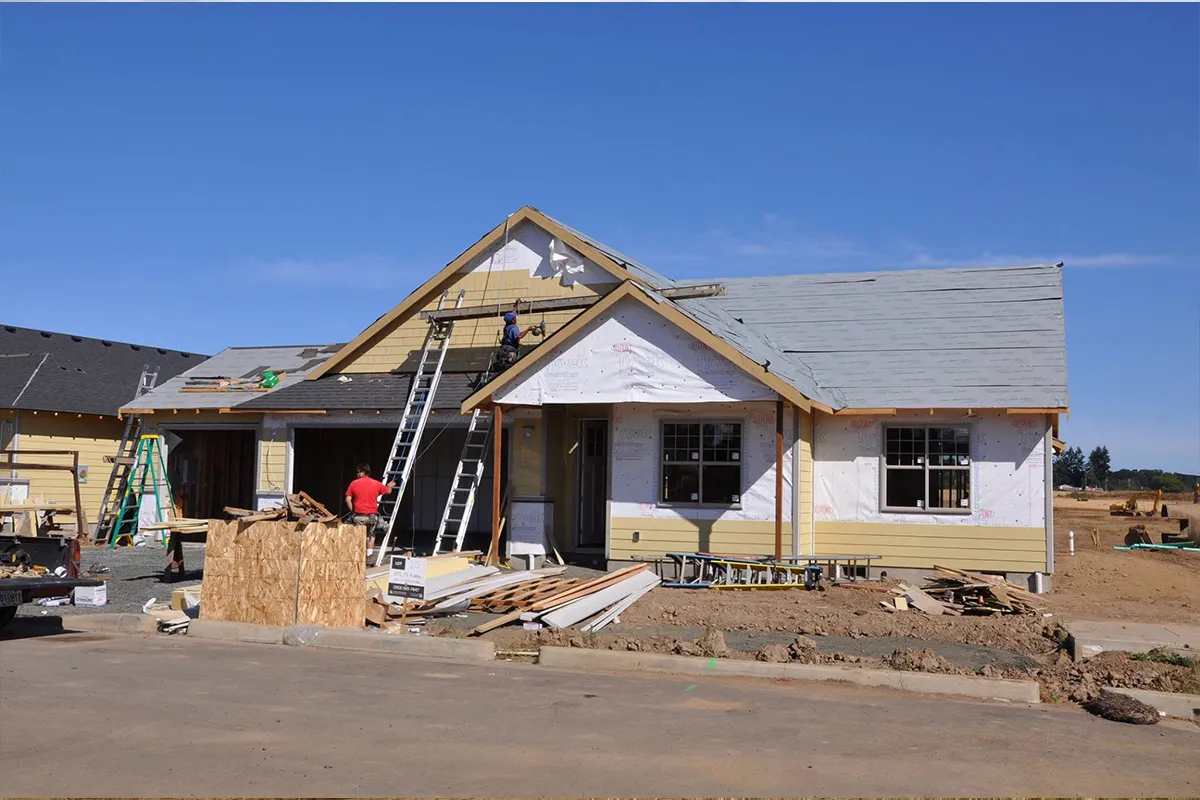
Taking good construction photos is about more than getting a sharp image.
A useful construction photo should help someone understand what they are looking at, where it is located, when it was captured, and why it matters.
That distinction becomes important months or even years later. A close-up of plumbing inside a wall might be perfectly exposed and in focus, but it has limited value if nobody can determine which wall or room it came from.
Whether you are documenting construction progress, creating owner updates, recording work before it is covered, need photos for marketing, or building a project archive, these practices can make your jobsite photos much more useful
1. Start With a Photo Documentation Plan
Before walking around the jobsite taking pictures, determine what you actually need to document.
A simple checklist might include:
- Current construction milestone
- Areas where work has recently been completed
- Work that will soon be covered
- Important MEP installations
- Structural details
- Changes since the previous visit
- Existing or newly identified conditions
- Equipment or materials worth documenting
- Overall progress views
- Specific photos requested by the project team
Construction moves quickly. Important details can disappear behind concrete, insulation, drywall, ceilings, flooring, and finishes.
If you are not sure what should be captured at different stages, see our guide to what to capture during a construction milestone visit.
The goal is not to leave the site with hundreds of photos. It is to leave with the right photos.
2. Capture the Context Before the Detail
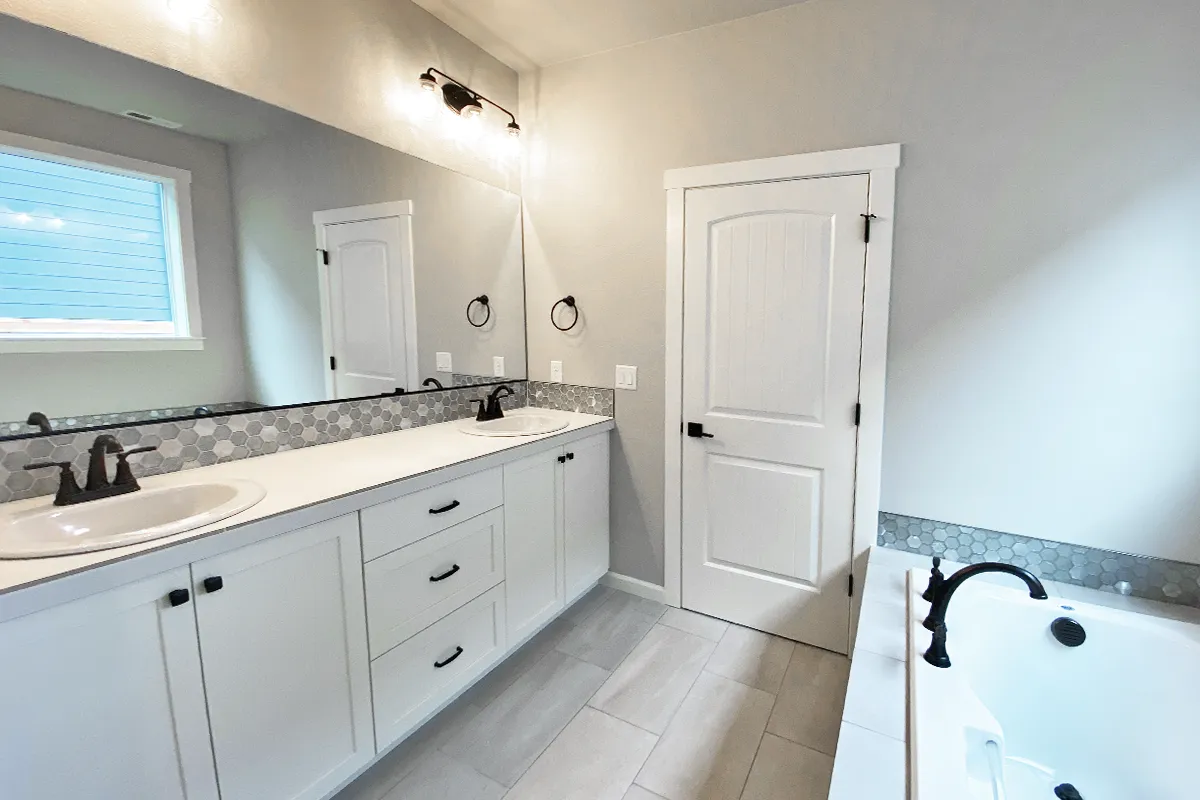
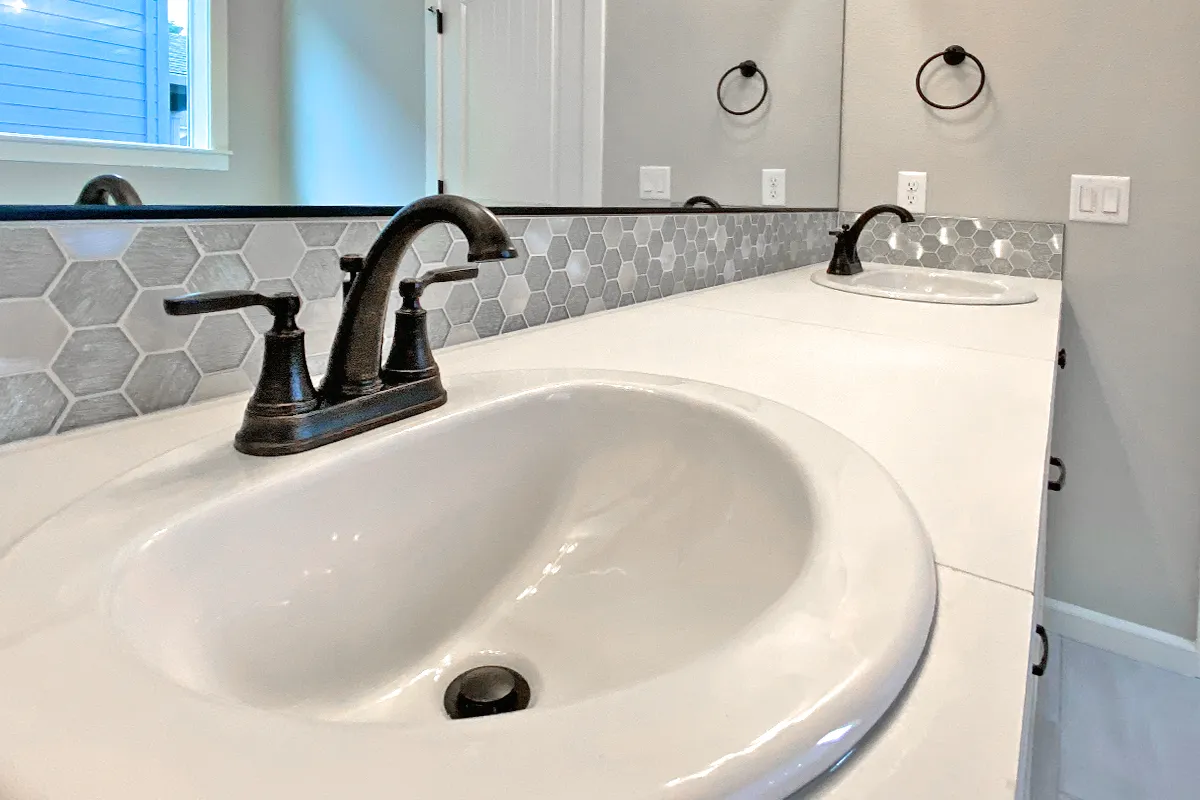
One of the most useful habits in construction photography is moving from wide to tight.
Start with a wider photograph showing the room, elevation, building area, or surrounding work. Then move closer to capture the important detail.
For example, when documenting rough plumbing:
- Photograph the entire room.
- Photograph the wall containing the plumbing.
- Photograph the specific rough-in.
- Capture close-ups of connections, labels, measurements, or other important details.
The wider photos establish where something is located. The close-ups establish what you need to see.
This combination is especially valuable for pre-drywall and jobsite documentation, where the photograph may eventually become the only easy visual reference for something hidden inside a wall.
3. Make Sure You Actually Photograph the Subject
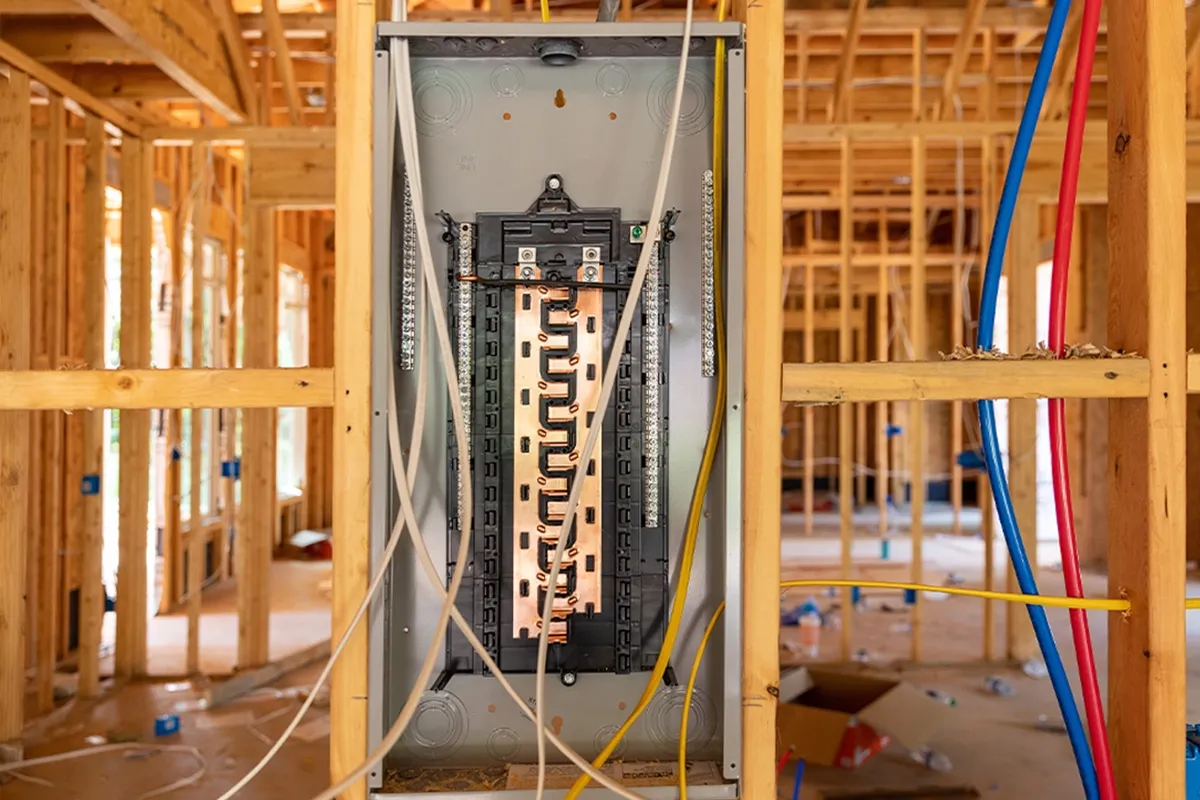
This sounds obvious, but it is easy to get distracted by taking lots of photos and miss the one detail you actually came to document. I've done it before and I think any photographer has.
Before pressing the shutter, ask:
What am I trying to show with this photograph?
If you are documenting an electrical panel, make sure the panel is clearly visible. If you need the manufacturer's information, get close enough that the label can be read. If you are documenting a wall before drywall, make sure the important framing and systems are actually in the frame.
A photograph should have a purpose.
4. Avoid Shooting Directly Into the Sun
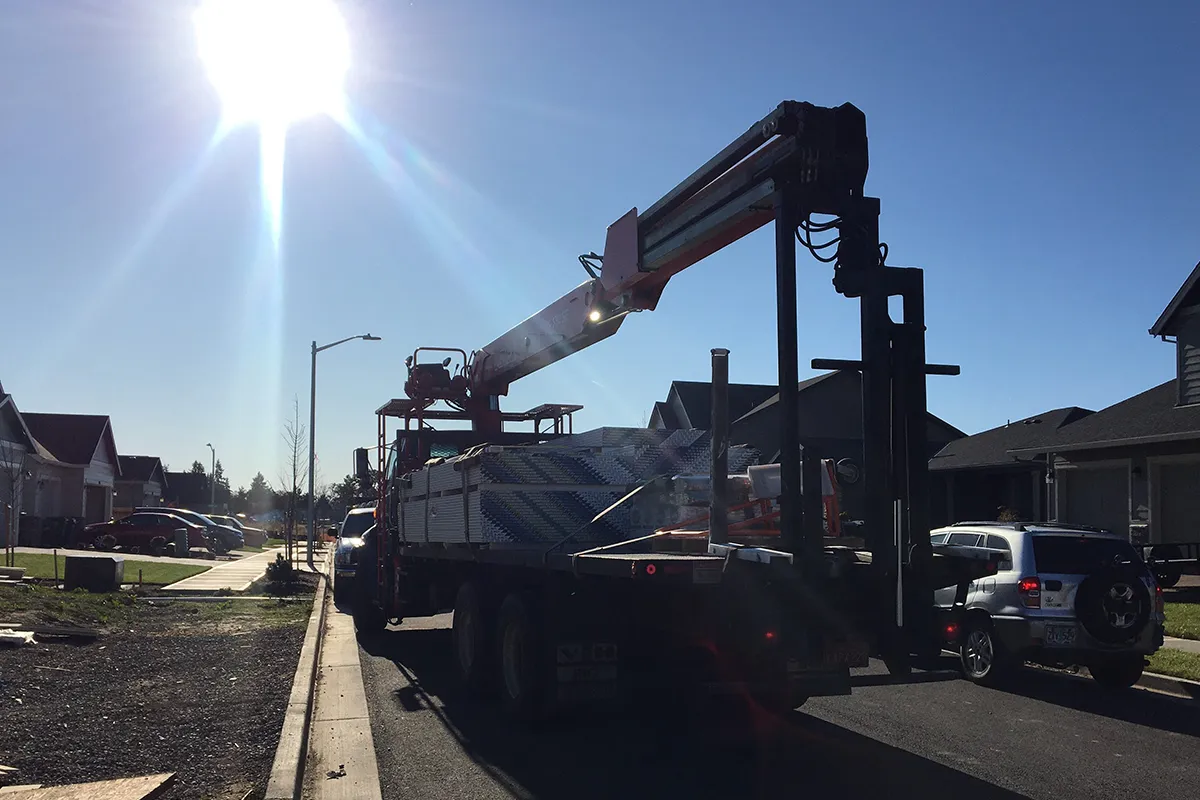
Harsh sunlight can create glare, lens flare, deep shadows, and overexposed portions of an image.
Whenever possible, change your position so you are not photographing directly toward the sun.
Sometimes you cannot avoid difficult lighting, especially when documenting exterior construction. In those situations, try another angle or capture additional photographs from different positions.
The goal of construction photography is clarity, not dramatic lighting.
5. Use Good Composition
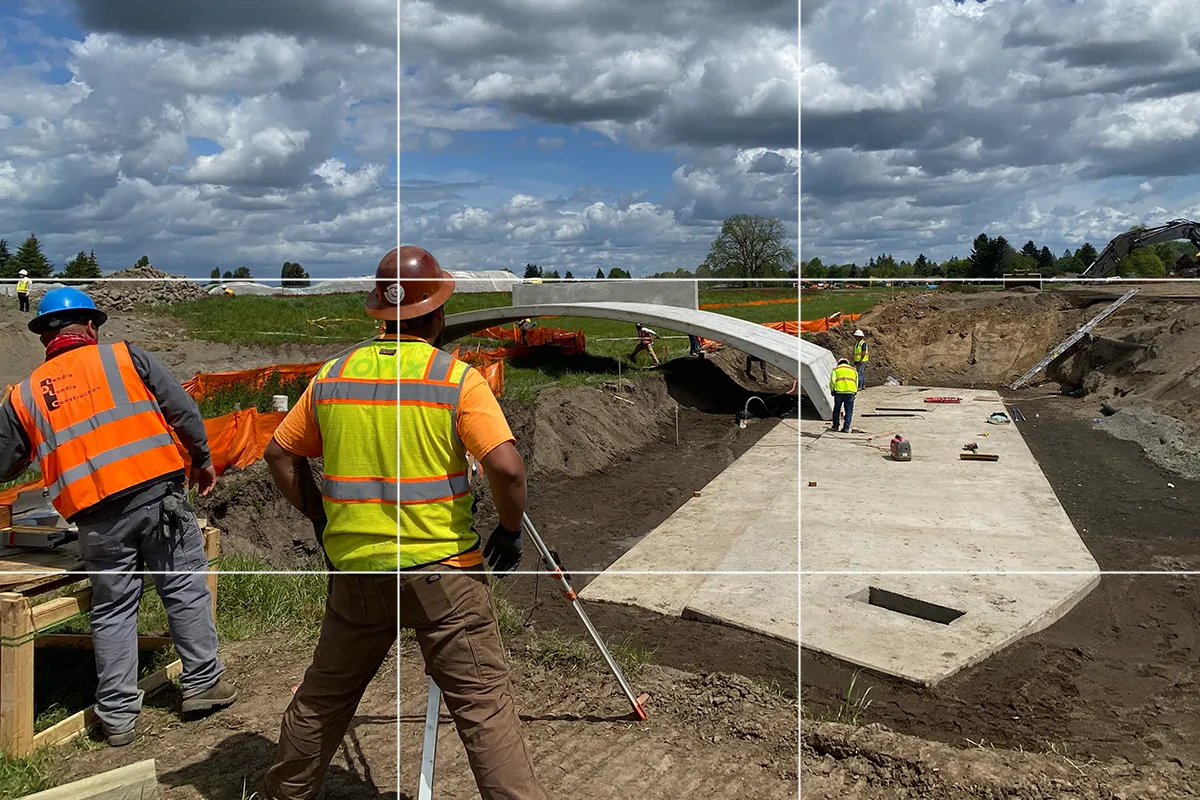
Construction documentation does not need to look like architectural photography, but basic composition makes photographs easier to understand.
Turn on the grid on your phone or camera. It can help you:
- Keep walls and vertical elements straight
- Center important subjects when appropriate
- Use the rule of thirds
- Avoid unintentionally cutting off important parts of the scene
- Maintain more consistent framing
Also look around the edges of the image before taking the shot. Make sure the item you need is completely within the frame.
6. Take Photos From Consistent Locations
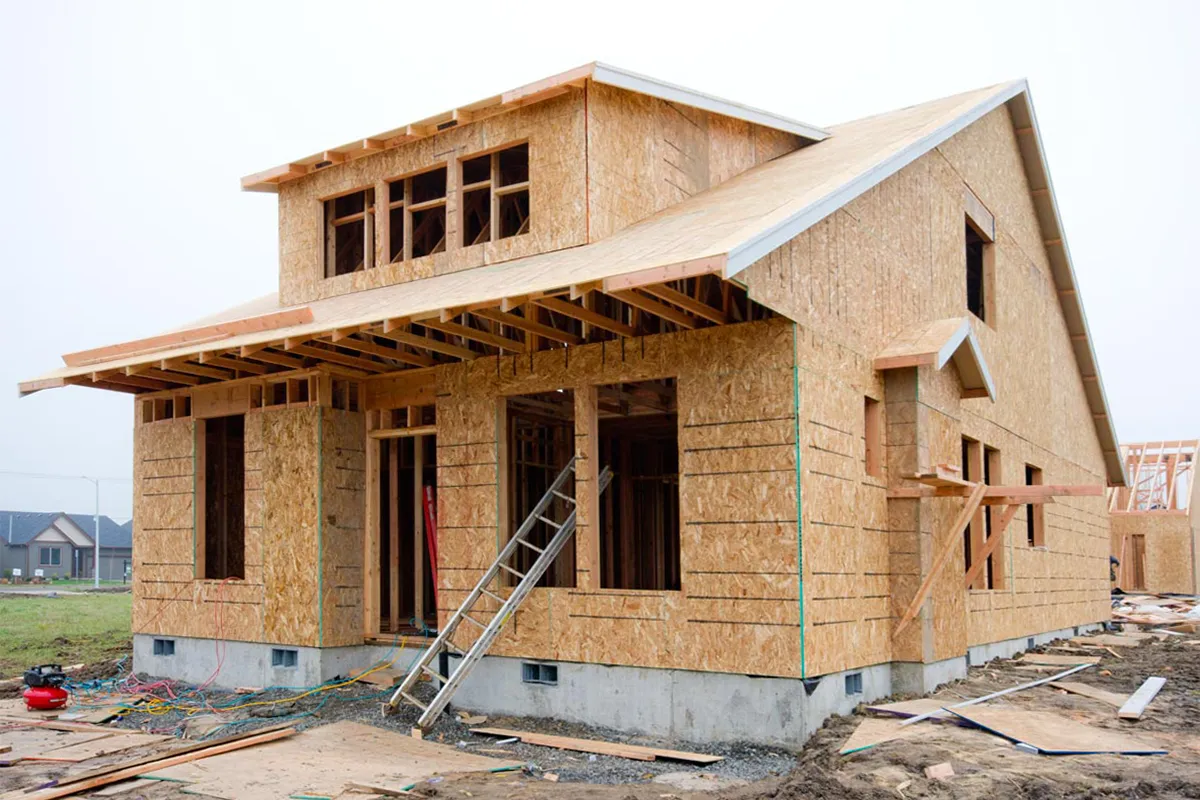
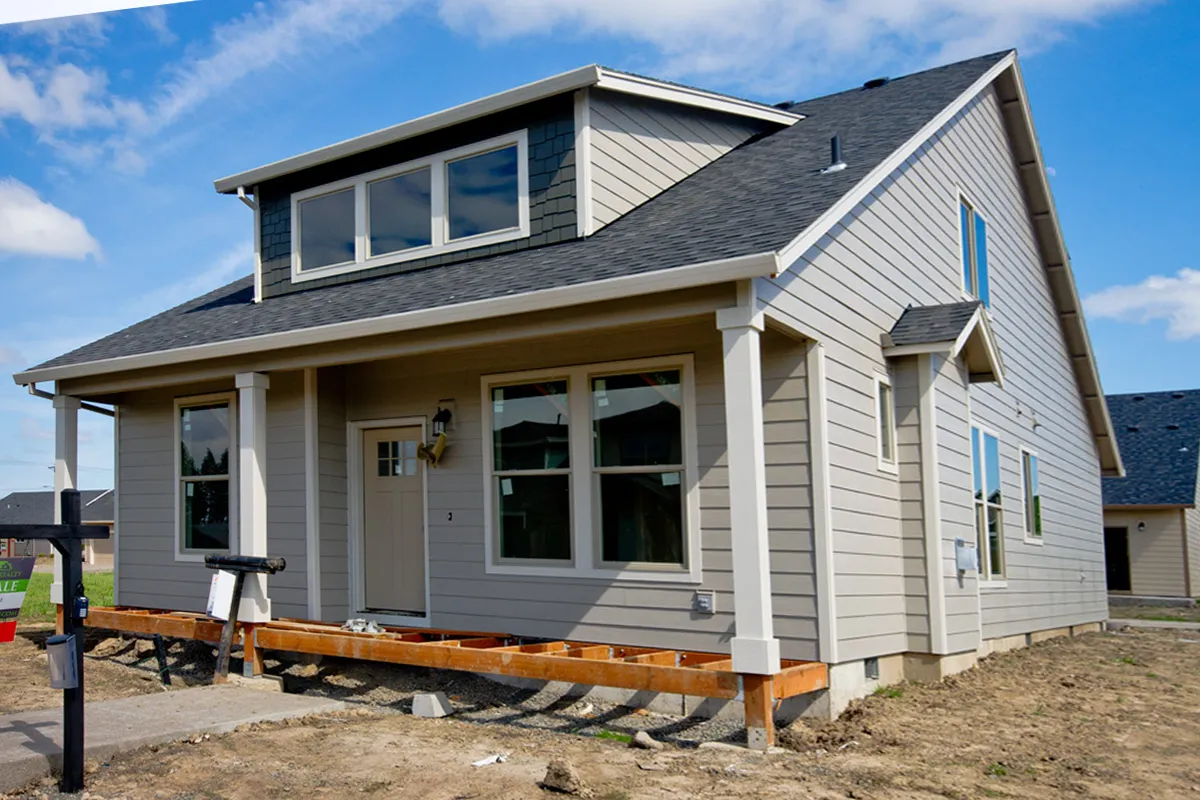
When documenting progress over several weeks or months, try to return to some of the same viewpoints.
A photograph taken from approximately the same location during excavation, foundation, framing, rough-in, drywall, and finishes can create a useful visual timeline.
Consistency makes changes much easier to recognize.
Consider identifying several repeatable locations around larger projects. These can become your standard progress-photo positions for every documentation visit.
Capturing the same views can also help with closing and marketing. This can help with clean before and after shots.
7. Use Aerial Photography When It Adds Context
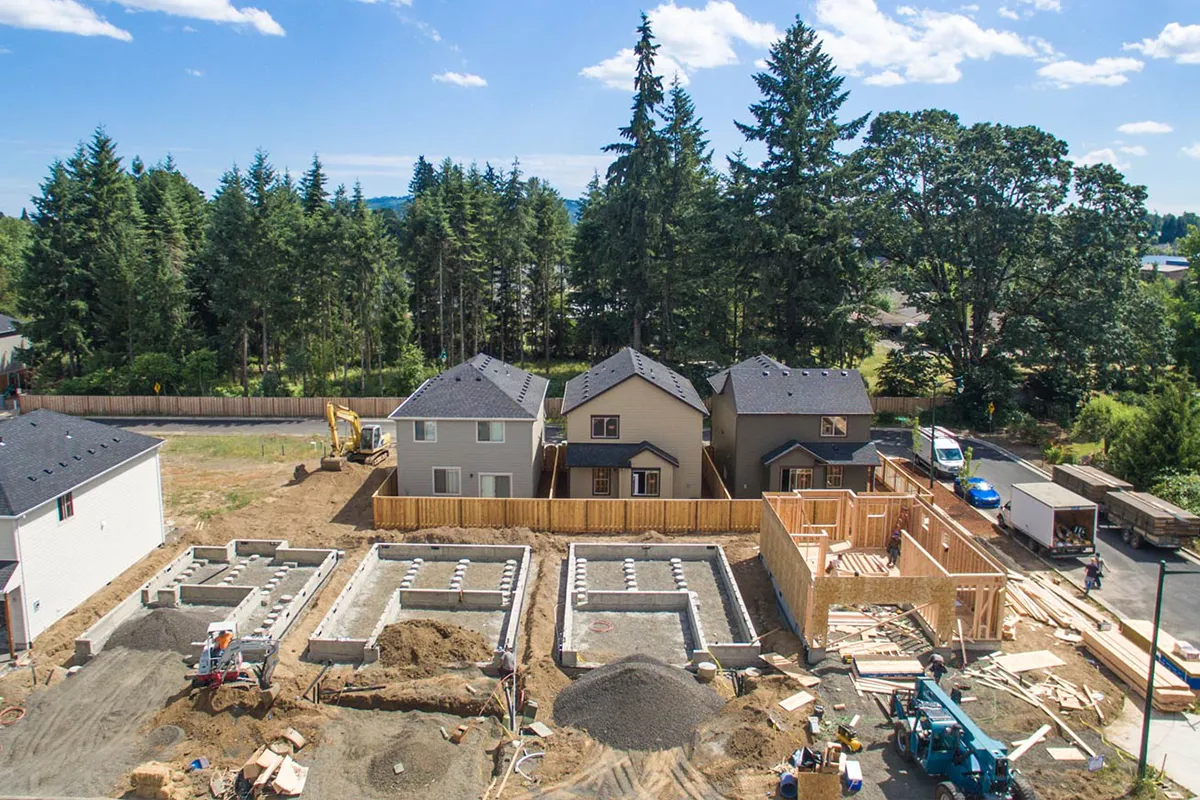
Ground-level photographs cannot always show the scale or layout of a large project.
Where conditions, regulations, and site access permit, drone or aerial construction photography can provide broader context.
Aerial images can be particularly useful for documenting:
- Site preparation
- Excavation
- Foundations
- Building footprints
- Roofing
- Exterior progress
- Material staging
- Large developments
- Overall construction progress
Aerial photography should complement ground-level documentation rather than replace it. You will still need detailed photographs of conditions that cannot be seen from above.
8. Photograph People and Equipment When They Help Tell the Story
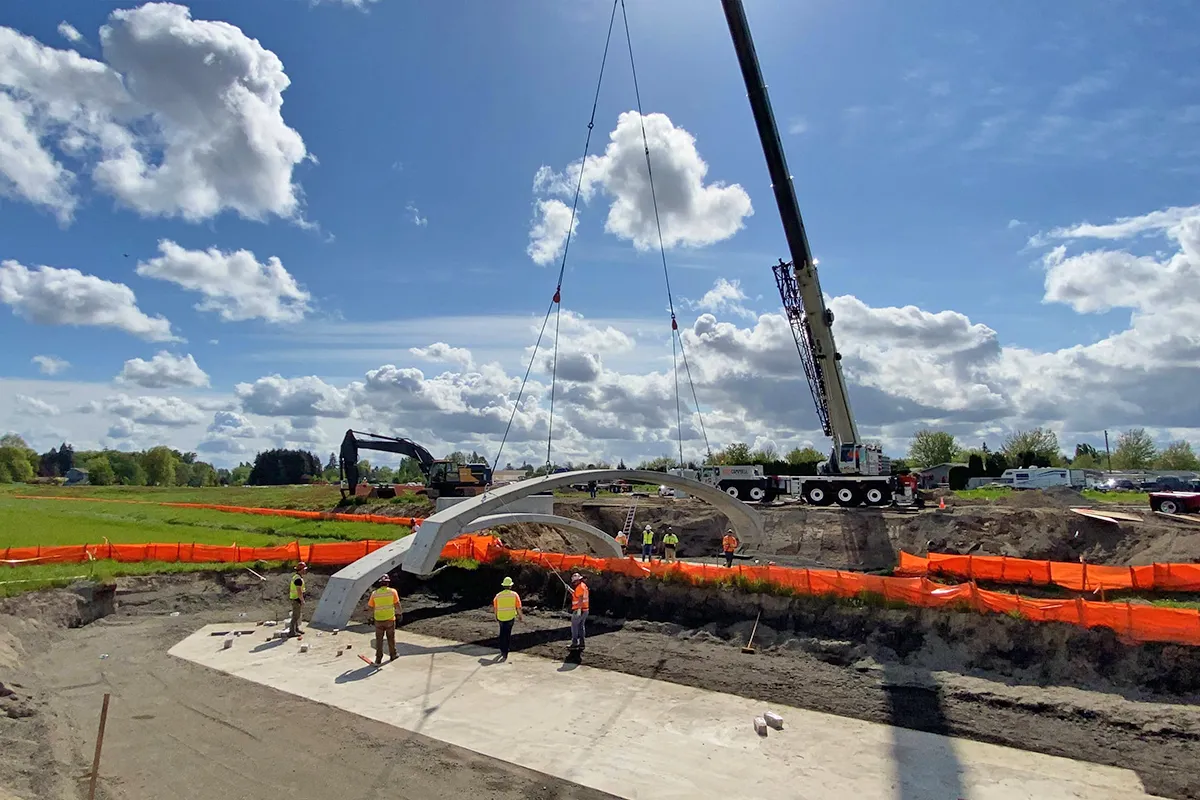
Not every construction photo needs to show an empty jobsite.
Workers, trades, equipment, cranes, concrete trucks, excavators, and other activity can provide useful context about what was happening during a particular visit.
These photographs can also make progress reports more meaningful for owners, developers, lenders, investors, and other stakeholders who are not regularly on site.
Just make sure people are not distracting from something you specifically need to document.
9. Capture Identifying Details
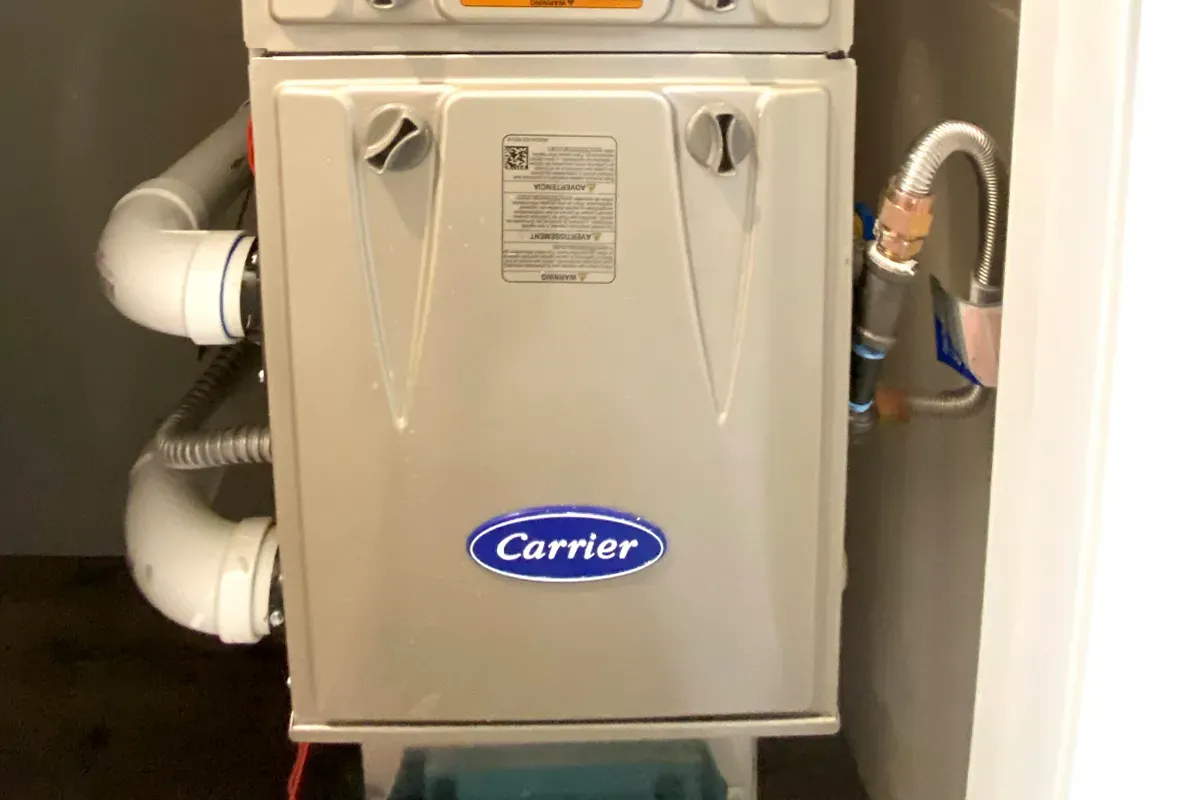
Sometimes a photograph needs more than visual context.
Consider capturing:
- Equipment labels
- Model numbers
- Serial numbers
- Product markings
- Panel information
- Material labels
- Room numbers
- Unit numbers
- Measurements
- Inspection stickers or visible tags when relevant
Take an overall photograph first, then move closer for the identifying information.
This gives you both context and detail.
10. Use GPS, Date, Location, and Other Metadata
A construction photo becomes more valuable when it carries information beyond the pixels.
Depending on the device and construction photo app you use, photographs may be associated with information such as:
- Date and time
- GPS location
- Project
- Milestone
- Floor plan
- Room or area
- Issue
- Notes or descriptions
Metadata helps answer one of the biggest problems with construction photos:
Where did this picture come from?
ACTABUILD, for example, is designed to organize jobsite photos around the project, milestone, floor plan location, room, area, date, and issue rather than leaving them as disconnected images in a camera roll.
11. Review Your Photos Before Moving On
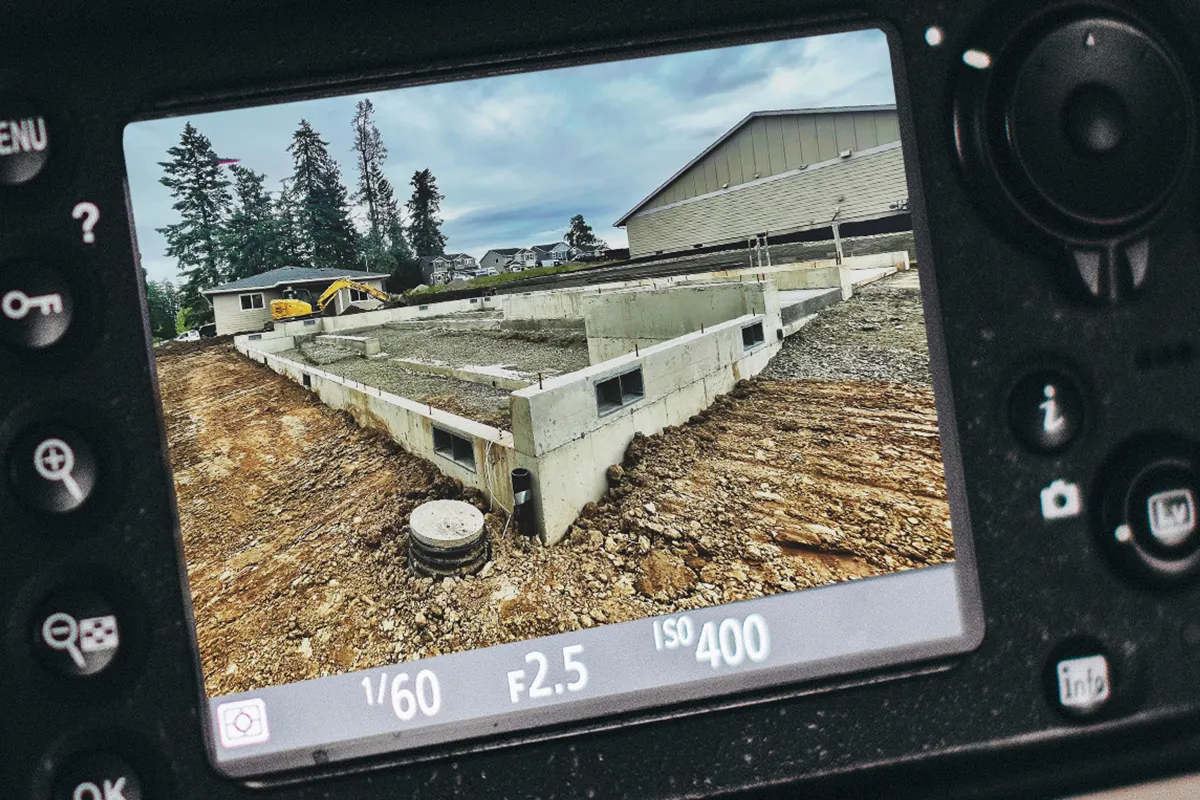
Do not assume every photograph you take is usable.
Before leaving an important area, quickly review the images.
Check for:
- Blur
- Poor focus
- Glare
- Overexposure
- Dark areas
- Obstructions
- Missing details
- Incorrect framing
Zoom in when necessary.
Finding a bad photograph while standing ten feet away takes seconds to correct. Finding it after leaving the jobsite could require another site visit.
12. Bring the Right Gear
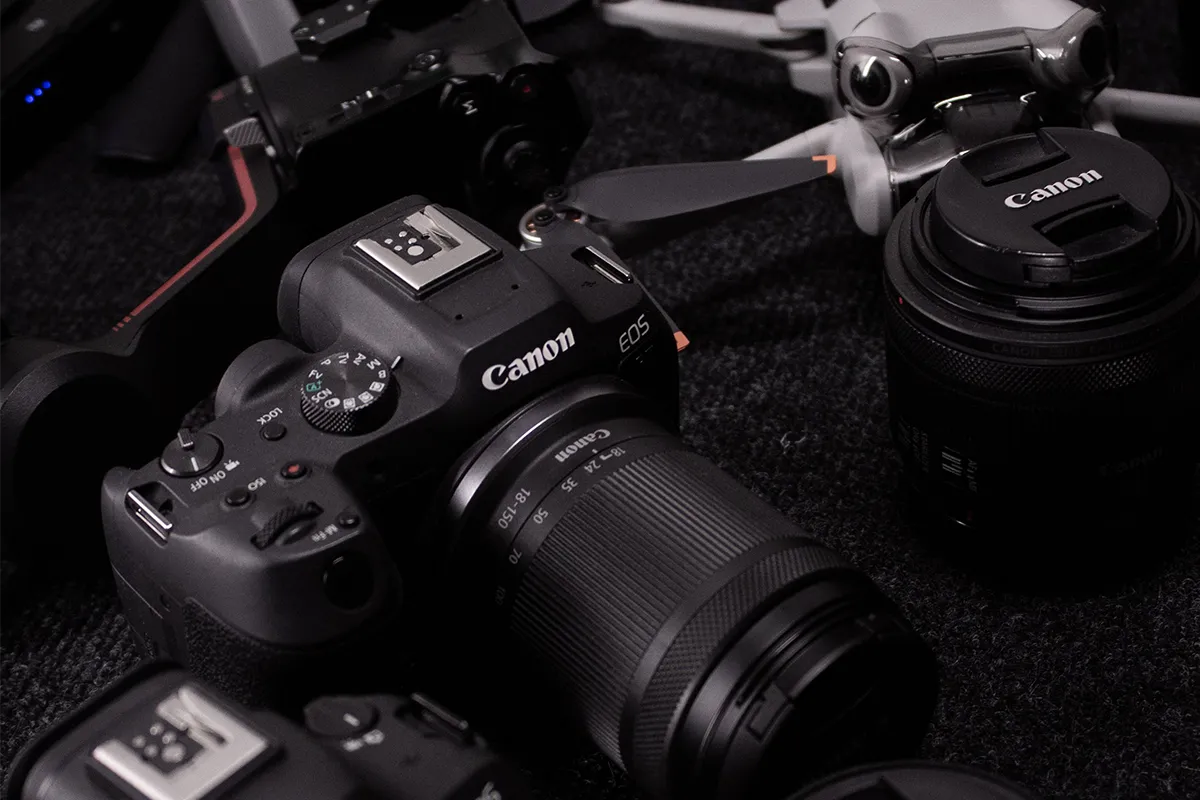
A successful documentation visit starts before you arrive.
Depending on the project, your kit might include:
- Phone or camera
- Extra batteries
- Battery bank or charger
- Additional memory cards or storage
- Appropriate lenses
- Flashlight or portable lighting
- Cleaning cloth
- 360 camera when needed
- Drone and supporting equipment when appropriate
- Required PPE
Check batteries and available storage before beginning the visit.
Running out of storage halfway through a project or discovering that your camera battery is nearly dead can turn a simple documentation visit into a return trip.
A way to make sure you have what you need is to create a checklist of items and verify that you have them. The need to go and get the equipment because you forgot is a waste of time and money.
13. Use 360 Photos When a Standard Photo Cannot Provide Enough Context
Standard photographs are excellent for details, but sometimes it is difficult to understand what surrounds the photographed subject.
A 360 photo can preserve the broader room or project area from a single capture point.
This can be particularly useful during framing, rough MEP, pre-drywall, renovations, and other stages where spatial context matters.
Learn more about using 360 construction documentation on jobsites.
A strong documentation record can combine 360 images for context with standard photographs for specific details.
14. Take Extra Photos, But Do Not Photograph Everything
Digital photography makes it easy to overshoot. Taking a few additional photographs is good insurance, especially when documenting something important. Taking 30 nearly identical photographs usually is not. Every unnecessary image eventually has to be reviewed, stored, organized, or deleted.
A better rule is:
Capture enough photographs to clearly document the condition, then move on.
Quality and coverage matter more than raw photo count.
15. Be Aware of Your Surroundings
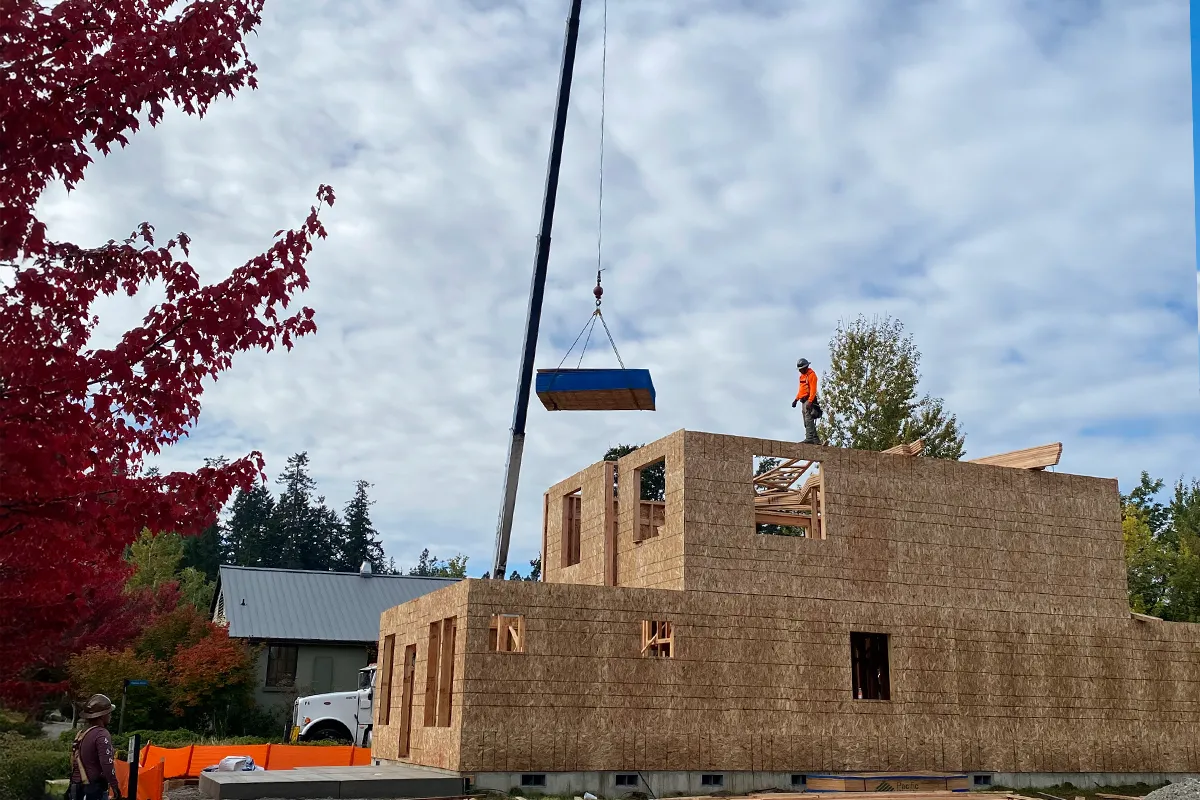
Construction sites are active environments.
Never become so focused on your camera that you stop paying attention to what is happening around you.
Watch for:
- Moving equipment
- Vehicles
- Overhead work
- Uneven surfaces
- Trenches and openings
- Materials being moved
- Active trades
- Restricted areas
Do not stand somewhere simply because it gives you a better photograph if doing so interferes with work or creates a safety problem.
The photograph is never more important than jobsite safety.
This also can be helpful in capturing moments that you might ultimately miss.
16. Stay Out of the Way
Superintendents and trades are trying to keep the project moving. You being on site is something they might have to do. And most of the time they think of you as a nuisance.
Whenever possible, work around active operations rather than asking everyone else to work around you.
Learn the site layout. Know what you need to photograph. Bring your own equipment. Follow site requirements. Ask questions when necessary, but avoid repeatedly pulling someone away from their work.
The more self-sufficient you can be, the easier it becomes to document an active construction site without disrupting it.
17. Clean Up the Frame When It Is Practical
Construction sites are messy because work is happening.
You do not need to turn every area into a photo shoot.
However, if a small piece of trash, scrap material, cord, bucket, or temporary object is distracting from an otherwise useful photograph, moving it may improve the image.
Use judgment.
If cleanup takes substantial time, interferes with someone else's work, changes the condition you are supposed to document, or requires moving materials you should not touch, leave it alone.
Remember that documentation should represent the actual condition of the jobsite.
Good Construction Photos Create a Better Project Record
The best construction photography is systematic.
You know what needs to be documented. You capture the surrounding context. You move closer for important details. You check the photograph before leaving. Then you organize the image so someone can understand it later.
That last step matters.
Even excellent photographs lose much of their value when they disappear into someone's camera roll or a folder containing thousands of unnamed files.
If you want to see what organized documentation can look like across an entire project, review our construction photo documentation examples.
ACTABUILD helps construction teams turn jobsite photos into an organized project record by connecting images with projects, milestones, floor plans, locations, dates, and issues.
Explore the ACTABUILD Construction Photo Documentation Platform