
How to Document Existing Site Conditions Before Construction
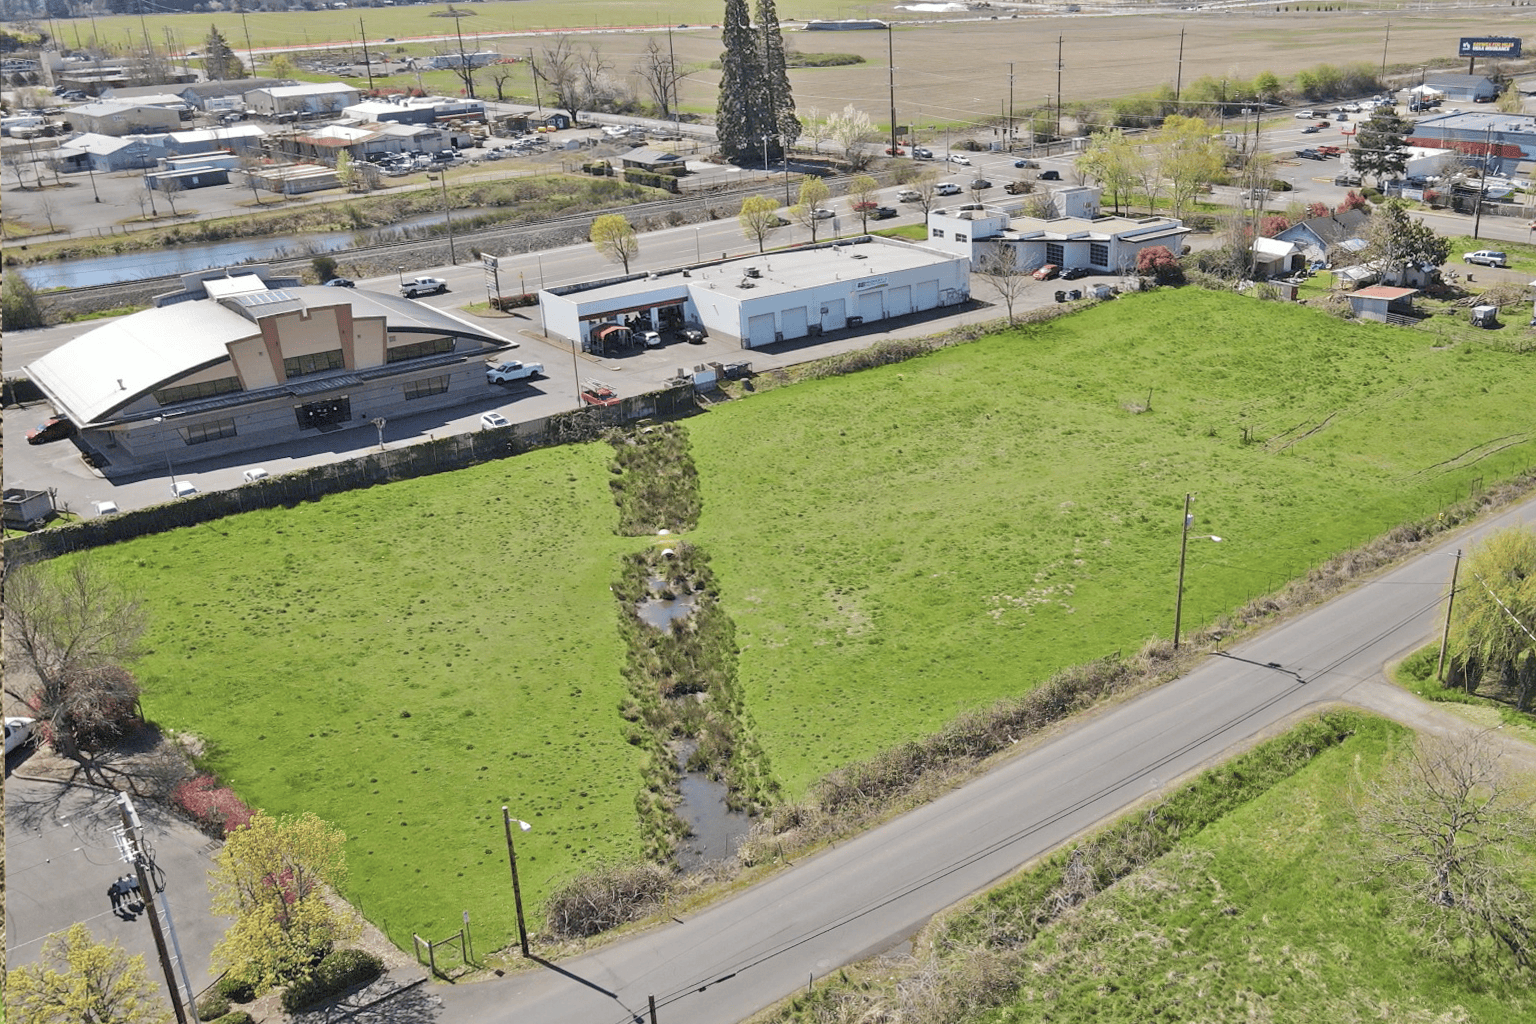
Every construction project begins with an existing condition regardless of it being built or not. The goal is to capture the site and immediate surroundings for context and potential issues.
Before excavation changes the ground, demolition removes old materials or equipment begins crossing the property, the site contains details that may become important later. A cracked sidewalk, leaning fence, drainage problem or damaged finish can easily be overlooked until someone asks whether construction caused it.
Preconstruction photo documentation creates a visual baseline for answering that question. It records the project site, surrounding property and visible damage before work begins, giving the team a reliable point of comparison throughout construction.
The goal is not to photograph every object on the property. It is to capture the areas most likely to be changed, disturbed or questioned, then organize those images by location so they remain useful months or years later.
What Is Preconstruction Photo Documentation?
Preconstruction photo documentation is the visual record created before physical construction activity begins.
It may include photographs, 360 images, videos, site plans, location notes and descriptions of visible conditions. The goal is to show what the project site and surrounding areas looked like before they were affected by construction.
This terminology is commonly used in construction specifications. For example, Caltech’s photographic documentation specification identifies preconstruction photographs as a distinct part of the project record and calls for documentation of the site, surrounding property, existing buildings and adjacent conditions before work starts.
Requirements will vary by project. Always review the contract documents, project specifications and owner requirements before determining what must be captured.
Why Document Existing Conditions Before Construction?
When questions arise later, memory is rarely enough.
A property owner may remember that a driveway was undamaged before construction. A contractor may believe a crack was already present. A neighbor may report settlement, staining or landscape damage after equipment has been operating nearby.
Without photographs from before the work began, it can be difficult to determine the original condition.
A preconstruction record can help the project team:
- Establish a visual starting point
- Record existing cracks, stains and surface damage
- Preserve views of areas that will be demolished or altered
- Document surrounding property that could be affected
- Compare conditions before and after construction
- Respond to questions from owners, neighbors or project stakeholders
- Support project closeout and future reference
- Maintain a more complete construction history
The purpose is not simply to take a large number of photos. The purpose is to create an organized record that another person can understand later
What Should Be Included in Preconstruction Photo Documentation?
The exact coverage should reflect the type of project, the construction limits and the areas that could reasonably be affected by the work.
1. Property Boundaries and Construction Limits
Begin by documenting the overall project site and the visible limits of the planned work.
Capture:
- Property lines or visible boundary markers
- Survey stakes and construction fencing
- Excavation limits
- Areas scheduled for demolition
- Temporary protection
- Setback areas
- Connections between the site and neighboring property
If construction limits have been marked, include those markers in the photographs when appropriate. This helps show where the work was expected to occur.
2. Roads, Curbs, Sidewalks and Driveways
Construction traffic can place additional stress on nearby paved surfaces. Photograph the access points and travel paths that workers, trucks and equipment are expected to use.
Document:
- Street surfaces near the project
- Curbs and gutters
- Sidewalk panels
- Driveway aprons
- Parking areas
- Alleys
- Loading areas
- Existing potholes, cracks or settlement
- Stains, tire marks or surface wear
Capture both the general condition and close-up views of noticeable damage.
3. Adjacent Buildings and Neighboring Property
Nearby structures may be important to the existing-condition record, especially during demolition, excavation, shoring or heavy equipment operation.
Photograph visible portions of:
- Neighboring buildings
- Exterior walls and foundations
- Garages and accessory structures
- Shared driveways
- Property walls
- Fences
- Walkways
- Landscaping near the construction limits
- Windows, siding and exterior finishes facing the project
Remain within authorized access areas. Do not enter neighboring property without permission.
4. Existing Cracks, Stains and Surface Damage
Pre-existing damage should receive more detailed coverage.
Look for:
- Cracks in concrete, masonry or drywall
- Chipped curbs or broken pavement
- Settlement or uneven surfaces
- Water stains
- Rust or discoloration
- Damaged siding
- Deteriorated sealant
- Scratches and dents
- Broken fencing
- Damaged finishes
Start with a wider photograph showing where the condition is located. Follow it with a medium view and a close-up showing the detail.
When measurements are required by the project specifications, use an appropriate measurement reference and follow the method established by the responsible project professional.
5. Landscaping, Fencing and Retaining Walls
Landscaping and site features can be affected by deliveries, excavation, temporary access and construction staging.
Document:
- Trees and large shrubs
- Planting beds
- Lawn conditions
- Irrigation components that are visible
- Fences and gates
- Retaining walls
- Landscape walls
- Mailboxes
- Signs
- Site lighting
- Decorative improvements
Pay particular attention to items near access routes and construction limits.
6. Drainage, Standing Water and Erosion
Site drainage conditions can change as grading and excavation begin. Capture visible conditions before the ground is disturbed.
Photograph:
- Existing slopes
- Drainage paths
- Catch basins
- Ditches and swales
- Culverts
- Downspout discharge locations
- Standing water
- Muddy areas
- Existing erosion
- Sediment buildup
- Areas with visible drainage problems
Weather conditions should be noted when they materially affect what the photographs show.
7. Utilities and Visible Service Locations
Photograph visible utility features before sitework begins.
These may include:
- Utility poles
- Transformers
- Electrical meters
- Gas meters
- Water meters
- Fire hydrants
- Utility vaults
- Cleanouts
- Manholes
- Irrigation controls
- Visible service entrances
- Utility markings
Photo documentation does not replace utility locating or professional site investigation. Its purpose is to record what was visibly present.
8. Access Routes, Gates and Staging Areas
Construction often affects more than the building footprint. Delivery vehicles, cranes, dumpsters and material storage can place stress on surrounding areas.
Document:
- Vehicle entrances
- Pedestrian access
- Gates
- Loading zones
- Material staging locations
- Dumpster areas
- Temporary roadways
- Areas where equipment will turn or operate
- Low branches, overhead obstructions or tight clearances
- Surfaces that will receive construction traffic
These images can also help the project team plan site access before larger equipment arrives.
9. Existing Structures Scheduled to Remain
Some buildings or site improvements may remain in place while construction occurs around them.
Capture the visible condition of:
- Existing building elevations
- Foundations
- Roof edges
- Doors and windows
- Exterior finishes
- Mechanical equipment
- Canopies
- Stairs and railings
- Site walls
- Permanent fixtures
Record both the overall structure and specific areas close to the planned work.
10. Interior Conditions Before Renovation or Demolition
Preconstruction documentation is also valuable inside an occupied building, commercial space or home scheduled for renovation.
Interior coverage may include:
- Floors, walls and ceilings
- Doors and windows
- Cabinets and countertops
- Stairs and railings
- Plumbing fixtures
- Electrical fixtures
- Mechanical equipment
- Existing cracks and stains
- Water damage
- Finish damage
- Areas where demolition will connect to existing construction
- Furniture or equipment remaining during the work
For larger buildings, organize photographs by floor, room, unit, corridor or project zone.
How to Capture Useful Existing-Condition Photographs
An effective record should make it easy to understand where each photograph was taken and what it shows.
Start With Wide Establishing Views
Wide photographs show the relationship between the project site, surrounding property and construction limits.
Walk the perimeter and capture the property from multiple directions. Include entrances, street frontage, adjacent structures and major site features.
Add Medium Views of Each Area
After capturing the overall site, move closer to photograph individual areas such as a driveway, retaining wall, building elevation or interior room.
Medium views connect the overall location with the smaller details captured next.
Capture Close-Ups of Existing Damage
Use close-ups for cracks, chipped surfaces, stains, settlement and other visible damage. Make sure at least one wider image shows where the damage is located.
A close-up without location context may be difficult to identify later.
Photograph From Repeatable Locations
Select several locations that can be photographed again during and after construction.
Useful repeatable viewpoints may include:
- Each corner of the property
- Primary site entrances
- Key building elevations
- Main interior corridors
- Corners of important rooms
- Areas facing adjacent property
- Locations near excavation or equipment routes
Repeatable photographs make before-and-after comparisons easier.
Connect Photos to a Plan or Project Location
A construction photo becomes more useful when it is tied to a specific place.
Connect each photograph to the relevant:
- Site plan
- Floor plan
- Building
- Unit
- Room
- Elevation
- Project zone
- Construction limit
- Access route
ACTABUILD can organize jobsite photographs around project locations, plans and milestones so the team is not relying on filenames or camera-roll dates alone. Learn more about using a construction photo app for jobsite documentation.
Include the Date and a Short Description
Each image should retain its capture date and enough information to understand the subject.
A description might read:
Existing diagonal crack at the southeast corner of the neighboring garage foundation before excavation.
That is much more useful than a filename such as IMG_4837.jpg.
Use 360 Photos to Preserve Surrounding Context
Standard photos are best for focused views and close-up details. A 360 photo can preserve the broader surroundings of a room, site area or building perimeter from one capture point.
For example, a 360 image placed near a site entrance could show the gate, driveway, curb, nearby landscaping, adjacent structure and staging area together.
The strongest record often combines both formats:
- 360 photos for spatial context
- Standard photos for focused details
- Close-ups for visible damage
See how 360 construction documentation can be incorporated into a larger jobsite record.
Review the Record Before Work Begins
Do not wait until excavation or demolition starts to discover that an important area was missed.
Before construction begins, confirm that:
- The full construction perimeter was covered
- Access routes were documented
- Existing damage has wide and close-up views
- Adjacent property was captured where appropriate
- Photographs are assigned to the correct locations
- Dates and descriptions are present
- Images are clear and in focus
- Required contract views have been completed
Once an existing condition has been changed, the original view cannot be recreated.
Repeat Selected Views During and After Construction
Preconstruction photos become more valuable when selected viewpoints are repeated.
Photograph important areas again:
- After demolition
- During excavation
- After heavy equipment use
- Following utility installation
- After site restoration
- During punch-list work
- At project completion
Using the same or a similar viewpoint helps the team compare how a condition changed over time.
Preconstruction documentation should be the beginning of the visual project record, not a separate folder that is forgotten after work starts. Our broader guide explains how to build reliable construction progress documentation from existing conditions through closeout.
Repeat Selected Views During and After Construction
Do not wait until excavation or demolition starts to discover that an important area was missed.
Before construction begins, confirm that:
- The full construction perimeter was covered
- Access routes were documented
- Existing damage has wide and close-up views
- Adjacent property was captured where appropriate
- Photographs are assigned to the correct locations
- Dates and descriptions are present
- Images are clear and in focus
- Required contract views have been completed
Once an existing condition has been changed, the original view cannot be recreated.
Who Should Complete the Documentation?
The work may be completed by:
- A superintendent
- A project manager
- A designated field team member
- An in-house documentation specialist
- A third-party construction documentation provider
- A combination of field staff and an outsourced provider
Regardless of who takes the photos, responsibility should be assigned before work begins. Someone should verify the required areas, review the images and confirm that the record is organized correctly.
Read more about who is responsible for construction photo documentation.
Visual Documentation Is Not a Professional Survey
The phrase “existing-condition survey” is sometimes used broadly, but it can imply a scope beyond photography.
Unless the service includes measurements, professional observations or work performed by qualified surveyors, engineers or inspectors, it is more accurate to describe the service as:
- Preconstruction photo documentation
- Existing-condition documentation
- Visual existing-condition documentation
- Preconstruction photography
ACTABUILD records visible site and property conditions. This documentation does not replace a property survey, engineering evaluation, inspection or professional assessment.
Begin the Project Record Before the Site Changes
Preconstruction photo documentation establishes where the project started.
By capturing the site, adjacent property, access routes, existing structures and visible damage before construction begins, the project team creates a clearer visual baseline for future comparison.
The record becomes even more useful when every photograph is connected to its date, location, project phase and reason for capture.
ACTABUILD helps construction teams capture and organize existing-condition photographs, 360 images and ongoing progress documentation inside one project record.
For projects in the Portland area, ACTABUILD also provides done-for-you construction documentation photography at scheduled project milestones.
Frequently Asked Questions
What is preconstruction photo documentation?
Preconstruction photo documentation is a visual record of the project site, surrounding property and existing conditions before demolition, excavation or construction begins.
What should be photographed before construction starts?
Photograph the overall site, property limits, adjacent buildings, roads, curbs, sidewalks, driveways, landscaping, drainage, utilities, access routes, structures scheduled to remain and any visible damage.
Should neighboring property be photographed?
Visible portions of neighboring property may be important when they are close to excavation, demolition, access routes or other construction activity. Remain within authorized areas and obtain permission before entering private property.
Are 360 photos useful for existing-condition documentation?
Yes. A 360 photo can preserve the surrounding context of a room or site area. Standard photographs should still be used for close-ups, damage and other focused details.
When should preconstruction photographs be taken?
Complete the documentation before demolition, excavation, site clearing, material deliveries or heavy equipment operation changes the property.
Is preconstruction photography the same as an existing-condition survey?
Not necessarily. Visual documentation records visible conditions. A professional survey, engineering evaluation or inspection may include measurements, testing and professional opinions that photography alone does not provide.