
Construction Photo Management Best Practices for Better Jobsite Records

A construction photo is most valuable when it can answer a question.
Where was this taken? What stage of work does it show? What is behind that wall? Was the issue corrected? What should the owner know?
Unfortunately, many jobsite photos cannot answer those questions. The image may exist, but its location, purpose, and connection to the project have been lost.
Construction photo management is the process of preserving that context. It gives project teams a consistent way to document important conditions, connect images to the work, and retrieve useful records when questions arise.
The following best practices can help builders, general contractors, project managers, superintendents, and field teams create a photo record that remains understandable from the first site visit through project closeout.
1. Decide What Needs to Be Documented
Effective photo management begins before anyone opens a camera.
Not every part of a project requires the same level of documentation. A short planning conversation can help the team identify which stages, systems, and conditions are most important to capture.
Consider documenting:
- Existing site and building conditions
- Material deliveries
- Underground work
- Structural connections
- Waterproofing assemblies
- Mechanical, electrical, and plumbing rough-ins
- Wall backing and blocking
- Insulation and firestopping
- Work that will soon be concealed
- Installation details
- Project changes
- Items requiring correction
- Completed milestones
- Final conditions

Responsibilities should also be clear. For example, a superintendent might document overall progress and scheduled milestones, while project managers or trade partners capture specific installations, changes, and issues.
The goal is not to create a complicated photo policy. It is to give the field team enough direction to know what matters, when to capture it, and where the documentation belongs. Having a system will help add clarity and allow your team to follow through.
2. Create Milestone and Pre-Cover Checkpoints
Some construction conditions can be photographed again tomorrow. Others disappear as soon as the next activity begins.
Underground utilities are buried. Reinforcement is covered by concrete. Insulation conceals rough-in work. Drywall hides framing, blocking, wiring, plumbing, and mechanical systems.
These moments should be treated as documentation checkpoints rather than informal reminders.
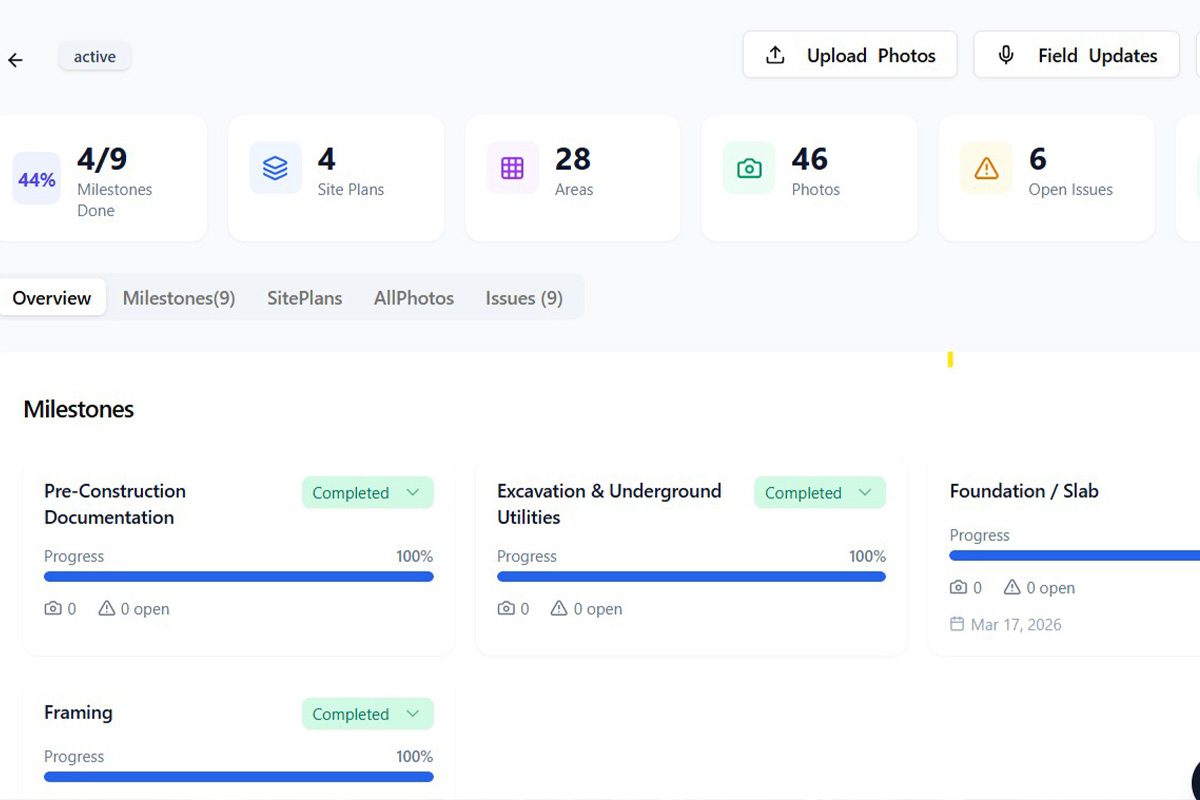
Common checkpoints may include:
- Existing conditions
- Excavation and site preparation
- Underground utilities
- Foundation reinforcement
- Framing
- Roofing and dry-in
- Rough mechanical, electrical, and plumbing
- Waterproofing
- Pre-insulation
- Pre-drywall
- Interior finishes
- Punch list
- Final completion
Add critical checkpoints to the construction schedule or milestone workflow. This allows the team to capture the work while it remains visible instead of attempting to reconstruct the record after it has been covered.
A missing progress photo may be inconvenient. A missing pre-cover photo may be impossible to replace.
3. Follow a Repeatable Capture Route
A collection of unrelated pictures does not provide the same value as consistent coverage of the project.
Following a repeatable route helps teams document active areas without overlooking rooms, elevations, floors, or systems. It also makes progress easier to compare across multiple visits.
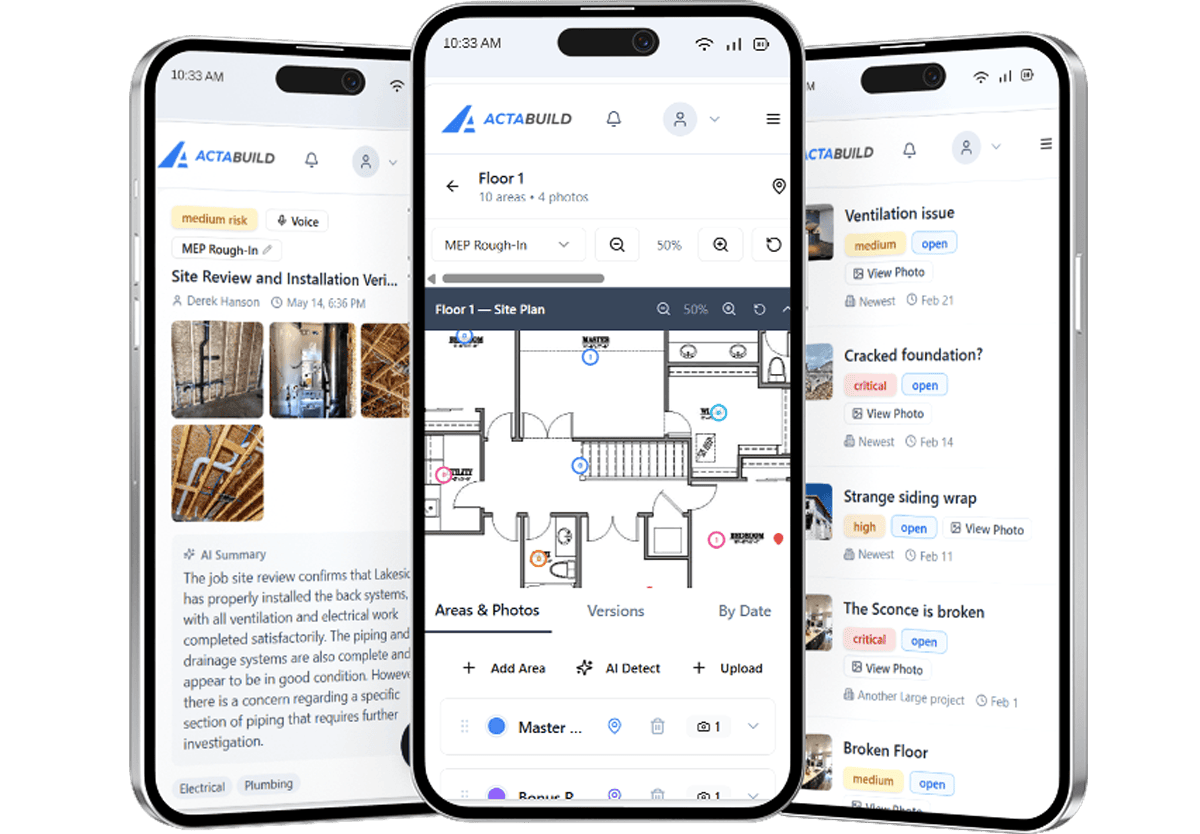
A typical capture route might include:
- Photograph exterior elevations and overall site conditions.
- Move through the building in a consistent direction.
- Capture a wide view of each active area.
- Photograph important installations and concealed components.
- Capture close-up details where additional clarity is needed.
- Record changes, damage, incomplete work, or questions separately.
- Review the required milestone before leaving the area.
The exact routine will depend on the project. A home builder may move room by room, while a commercial contractor may organize documentation by floor, zone, trade, or work package.
Consistency is more important than the particular route. Someone reviewing the project later should be able to follow how the work progressed.
4. Capture Location and Detail Together
A close-up can clearly show a pipe connection, fastener, penetration, or damaged material. It may not show where that condition exists.
A wide photo can establish the room or work area but fail to capture the detail someone needs to examine.
Useful construction documentation often requires both.
Start with a context photo that shows the surrounding wall, room, elevation, or project area. Then capture the specific installation or condition in greater detail.
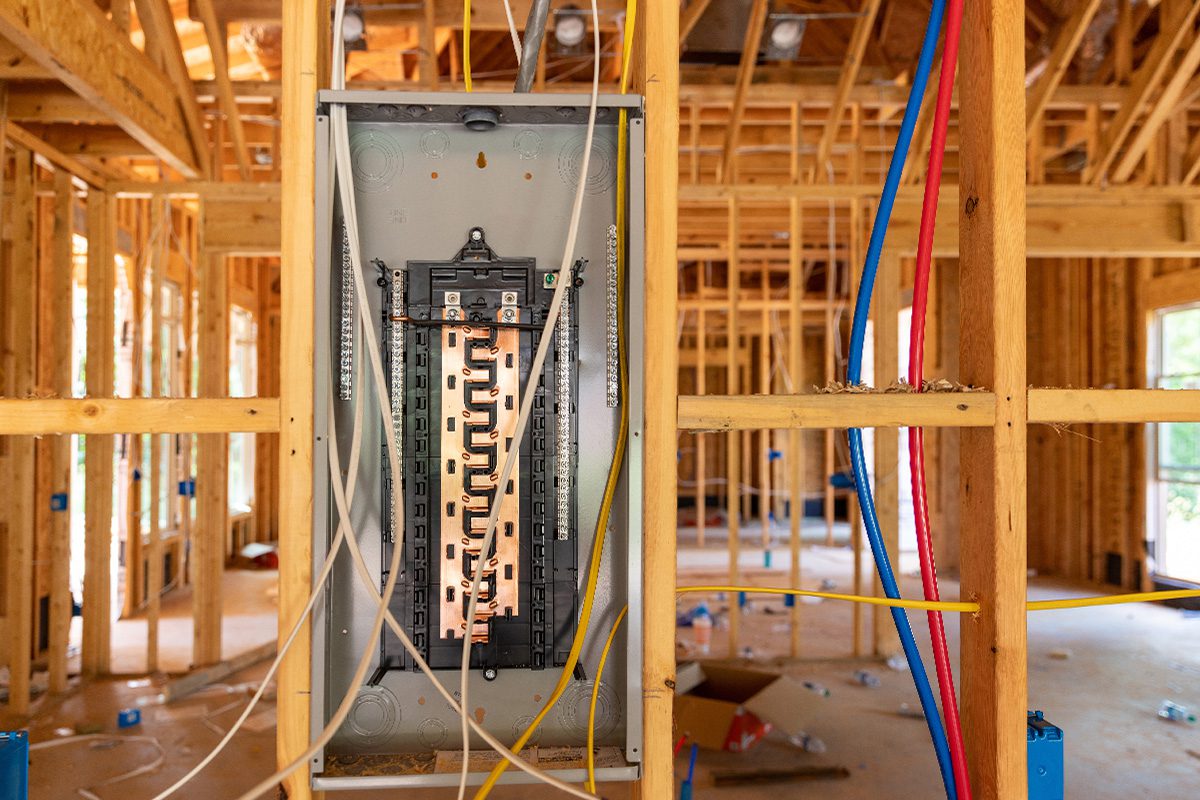
For example, when documenting an electrical box before drywall:
- Take a wide photo showing the wall and its position within the room.
- Take a medium view showing the relevant framing bay.
- Take a close-up showing the box, wiring, fasteners, or surrounding components.
This sequence allows someone who was not present to locate and understand the subject.
The same approach can be used for waterproofing details, structural connections, underground utilities, wall backing, equipment installations, damage, and corrective work.
5. Connect Photos to Plans and Project Locations
Written descriptions are helpful, but jobsite terminology is not always consistent.
One person may describe a location as “Bedroom 2.” Another may call it the “north bedroom.” A subcontractor might refer to the same space by a unit number or plan designation.
Connecting photos to a floor plan or site plan provides a shared spatial reference. Photos become more useful when they are connected to the larger jobsite documentation record.
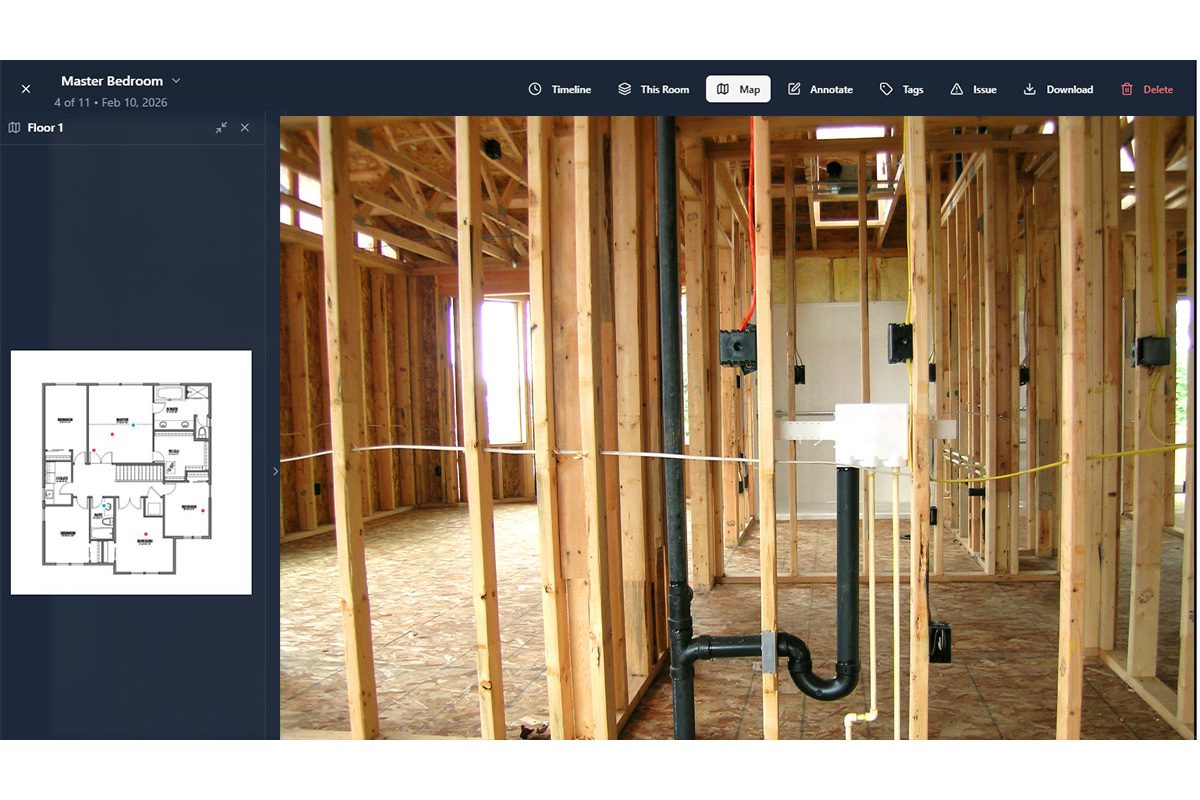
Plan-based photo organization can help teams document:
- Rooms and zones
- Building elevations
- Units or tenant spaces
- Utility routes
- In-wall components
- Site improvements
- Punch list locations
- Warranty concerns
It also reduces dependence on complicated file names. Instead of trying to interpret IMG_4827.jpg, a reviewer can begin with the project plan, select the relevant area, and view the documentation associated with it.
ACTABUILD allows jobsite photos and 360 images to be connected to project plans, rooms, zones, and milestones. For areas where individual photos do not provide enough context, 360 construction documentation can preserve a broader view of the space.This keeps the image associated with the part of the project it documents.
6. Separate Progress Records From Actionable Issues
Not every jobsite photo represents a problem.
Progress documentation shows what has been completed and how the project is developing. Issue documentation identifies something that may require review, clarification, or corrective action.
These records can be related without being treated as the same thing.
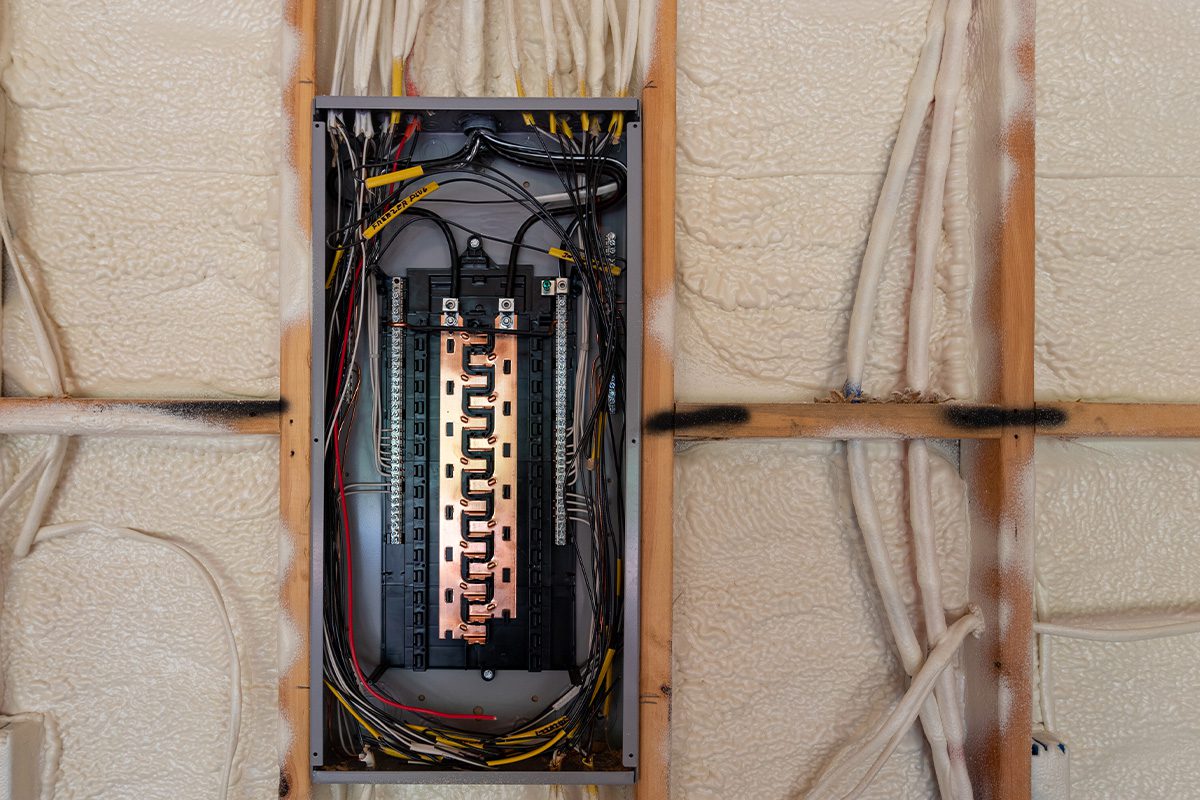
Progress photos may document:
- Current site conditions
- Completed installations
- Work performed since the previous visit
- Material placement
- Milestone completion
- Overall room or building progress
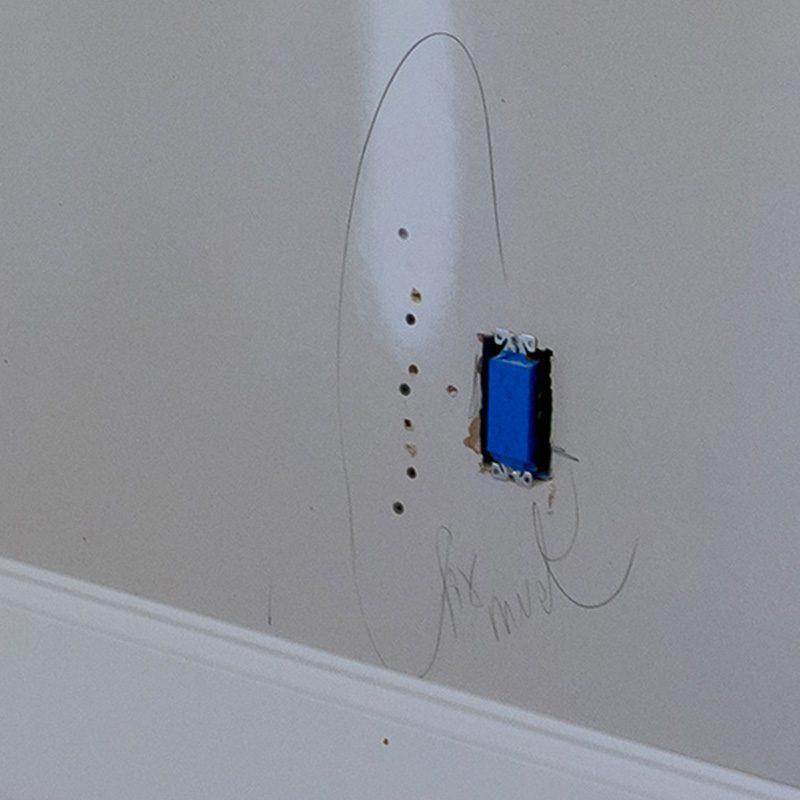
Issue photos may document:
- Incomplete work
- Installation concerns
- Damaged materials
- Conflicts between trades
- Unexpected conditions
- Work requiring clarification
- Items that must be reviewed again
When an issue is identified, connect the image to the relevant location and record what requires attention. If possible, include its status, responsible party, due date, comments, and resolution documentation.
This preserves the relationship between the original condition and the action that followed. It also prevents important issues from becoming buried among ordinary progress images.
Within ACTABUILD, issues can be connected to photos, plan locations, annotations, statuses, and follow-up activity.
7. Review and Label Photos While Context Is Fresh
A photo can make perfect sense to the person who took it and very little sense to everyone else.
That problem becomes worse with time. Six months later, even the original photographer may not remember why an image was important.
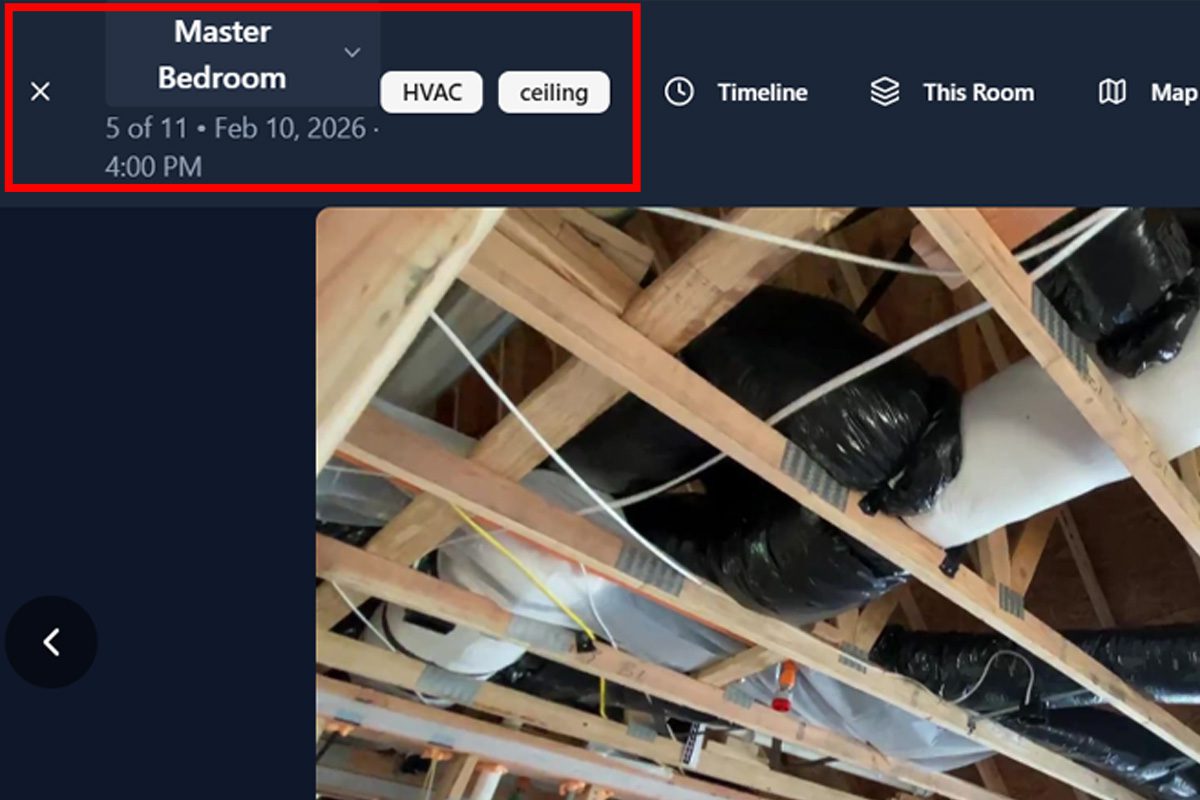
Before leaving an area, confirm that:
- The images are clear and properly exposed.
- The correct location was captured.
- Important details are visible.
- Context and close-up views are both available.
- The required milestone or system was documented.
- Issue photos clearly show the condition.
- Photos were uploaded to the correct project.
During review, remove accidental, blurry, duplicate, or unrelated images. More images do not automatically create better documentation. Unnecessary files can make relevant information harder to find.
Add short, factual notes where an image requires explanation. A useful note might identify:
- What the photo shows
- Where the condition is located
- Why it was documented
- The related trade or system
- Whether follow-up is required
Annotations can also help direct attention to a particular crack, penetration, connection, missing component, or correction area. Use them selectively and preserve the unedited image so the original condition remains available.
System-generated dates and timestamps should be retained whenever possible. The date establishes when the image was captured, while the location, milestone, and notes explain what it means.
8. Prepare Documentation for Sharing and Closeout
Construction documentation serves several audiences.
A superintendent may need detailed field records. An owner may want milestone updates. A project manager may need issue documentation. A warranty team may need to locate concealed systems after the project has been completed.
These people do not necessarily need access to the same information.
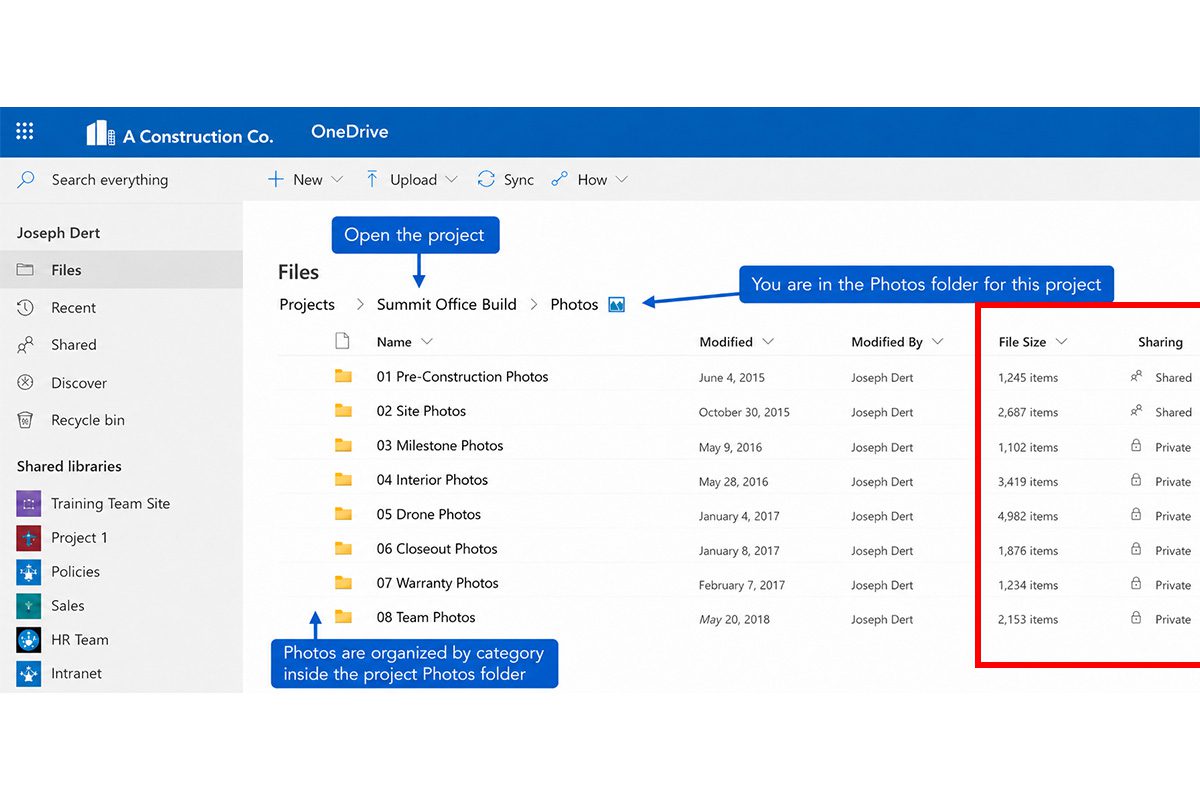
Instead of sending a large folder of images, provide the documentation that is relevant to the recipient. Depending on the situation, that might include:
- A milestone update
- Selected progress photos
- An annotated issue record
- A room or location view
- A PDF report
- A shareable project link
- A closeout archive
Maintain one primary project record even when photos are shared through email, reports, text messages, or other communication channels. Copies may travel, but the original documentation should remain connected to the project. A dedicated construction photo app can provide this structure without relying on manual folder names and personal camera rolls.
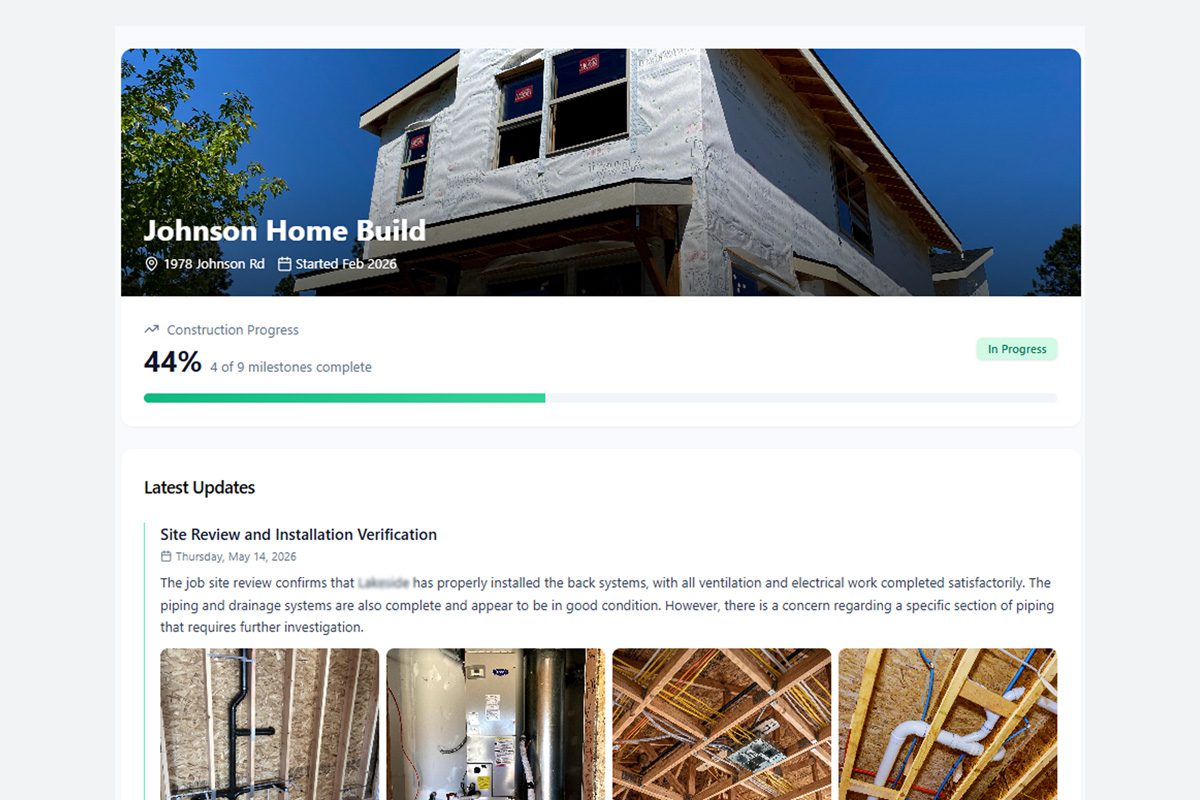
Closeout should also be considered from the beginning. Properly organized photo records can later support:
- Warranty research
- Maintenance planning
- Future renovations
- Locating concealed systems
- Owner and facility-manager reference
- Review of completed milestones
- Questions about previous site conditions
Waiting until substantial completion to organize the documentation often means sorting through disconnected files without enough context. When location, milestone, issue, and date information are captured throughout construction, the closeout record is largely assembled already.
A Simple Test for Every Construction Photo
Construction photo management is not about documenting every visible surface. It is about creating a record that can answer project questions later.
Before leaving a work area, completing a milestone, or closing a wall, ask:
- Did we capture the necessary condition?
- Can someone identify where it is located?
- Does the image include enough surrounding context?
- Is it connected to the correct milestone or issue?
- Will someone unfamiliar with the work understand it later?
When those answers remain attached to the image, a jobsite photo becomes more than a file. It becomes usable construction documentation.