
Construction Closeout Documentation Checklist: What Should Be Included?
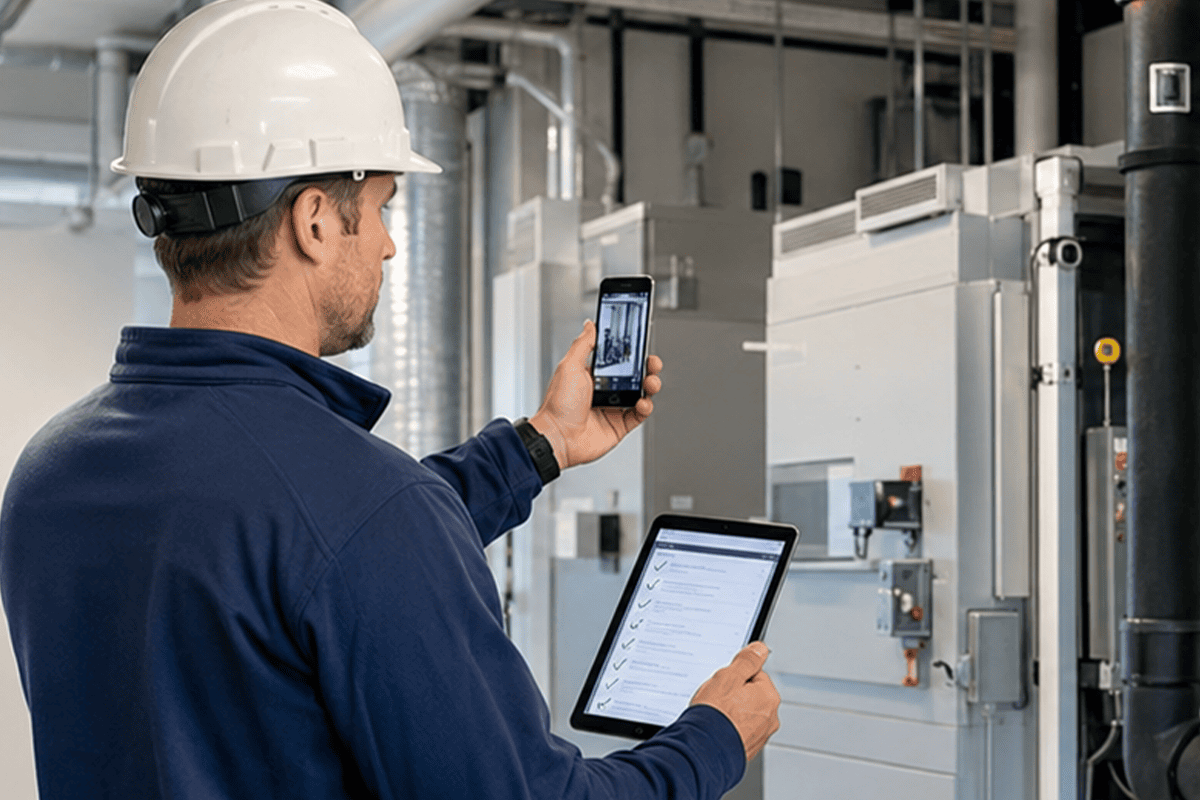
Construction closeout is when project information moves from active use to long-term reference. Final approvals, warranties, as-built drawings, completion photos, equipment records, and other documents must be gathered and delivered to the appropriate people.
The challenge is not simply collecting these files. The closeout record needs to be organized well enough that someone can find the right information months or years later.
A construction closeout documentation checklist helps project teams identify what should be captured before crews leave, temporary protection is removed, and access to important areas becomes limited.
What Is Construction Closeout Documentation?
Construction closeout documentation is the collection of records delivered at or near the completion of a project. The exact requirements depend on the contract, project type, and owner, but a typical closeout package may include:
- Final inspection records
- Certificates of occupancy
- As-built drawings
- Operations and maintenance manuals
- Product warranties
- Equipment information
- Approved change documentation
- Punch-list records
- Final construction photos
- Training and handover information
Photo documentation does not replace these formal documents. It adds visual context that drawings, warranties, and written reports may not provide.
A photo can show where equipment was installed, what a completed repair looked like, or how an area appeared when the project was turned over.
Why Photos Belong in the Closeout Record
Construction photos are often taken throughout a project but never assembled into a usable final record. They may remain scattered across phones, emails, text messages, shared drives, and project management platforms.
That limits their value after construction.
An organized construction photo closeout can help project teams:
- Confirm completed conditions
- Show the location of concealed systems
- Provide context for approved changes
- Verify that punch-list items were addressed
- Support warranty questions
- Help facilities teams locate equipment
- Respond to questions from owners or occupants
- Maintain a visual record of the project at turnover
The strongest closeout archive begins during construction. Photos captured at key milestones are much more useful than trying to recreate the project record at the end.
Learn more about building that record in our guide to construction progress documentation.
Construction Closeout Documentation Checklist
The following items can help builders, general contractors, owners, and project managers prepare a more complete handover record.
1. Final Exterior Conditions
Photograph the completed exterior from multiple viewpoints. Include:
- Each building elevation
- Entrances and exits
- Parking and access areas
- Walkways and hardscape
- Landscaping
- Roof access points
- Exterior equipment
- Drainage features
- Adjacent property conditions when relevant
Wide photos establish the overall condition of the site. Closer images can document finishes, connections, labels, and other details.
2. Completed Rooms and Project Areas
Capture the condition of each completed room, unit, floor, or project area.
Photos should provide enough coverage to show the overall space as well as important details. Depending on the project, this may include:
- Walls, ceilings, and flooring
- Doors, windows, and hardware
- Cabinets and millwork
- Plumbing fixtures
- Electrical devices
- Installed appliances
- Finished mechanical rooms
- Common areas
- Storage and utility spaces
For larger projects, organize photos by floor plan, room, unit, or zone so people can find the correct area later.
3. Equipment and System Locations
Photograph installed equipment and the surrounding area. Avoid capturing only a tight photo of the equipment label. Include a wider image that shows where the equipment is located.
Document items such as:
- Electrical panels
- Mechanical equipment
- Water heaters
- Pumps
- Shutoff valves
- Control systems
- Fire protection equipment
- Access panels
- Cleanouts
- Utility connections
Location context is especially important for future maintenance and emergency response.
4. Work Concealed Behind Finished Surfaces
Photos taken before drywall, insulation, ceilings, concrete, or other finishes were installed should be included in the closeout archive.
These records may show:
- Plumbing and electrical routes
- HVAC components
- Structural connections
- Blocking and backing
- Waterproofing
- Firestopping
- In-wall supports
- Underground utilities
- Reinforcement and embeds
This information cannot usually be recreated at closeout. It must be documented before the work is covered.
See our article on why pre-drywall photo documentation matters for more information about capturing concealed conditions.
5. Resolved Punch-List Items
Do not let the closeout archive show only the original deficiency. Include a follow-up photo that documents the completed correction.
Each resolved item should ideally include:
- The original issue
- Its project location
- The responsible party
- The completion status
- A final resolution photo
- The date of the follow-up
Keeping the original and corrected photos together creates a clearer record than storing them in separate folders.
6. Approved Changes
Photos may help show:
- The original condition
- Unexpected field conditions
- Demolition or access required
- Added or revised work
- The completed change
- Areas affected by the work
Photos support the written change-order record, but they should not replace signed approvals or other required contract documentation.
Read what photos to take for a construction change order for a more detailed capture process.
7. Model and Serial Number Photos
Change-order documentation should include the conditions connected to the change, the work performed, and the completed result when practical.
Photos may help show:
- The original condition
- Unexpected field conditions
- Demolition or access required
- Added or revised work
- The completed change
- Areas affected by the work
Photos support the written change-order record, but they should not replace signed approvals or other required contract documentation.
Read what photos to take for a construction change order for a more detailed capture process.
8. Warranties and Maintenance Information
Collect the required warranties, product information, maintenance schedules, and operations manuals.
When possible, connect these records to the corresponding equipment or project area. A folder containing hundreds of unrelated files is technically an archive, but it may still be difficult to use.
The objective is to help the owner or facilities team understand which documents apply to each system.
9. Final Inspection and Approval Records
Include the final approvals required for the project. Depending on the scope, these may include:
- Final inspection records
- Certificates of occupancy
- Testing reports
- Commissioning records
- Permit closeout documents
- Owner acceptance records
- Required training confirmations
Keep formal approvals separate from general progress photos while maintaining a consistent project structure.
10. Organized Photo Archive
A final photo archive should be organized by more than date alone. Useful organizational fields may include:
- Project
- Milestone
- Building
- Floor
- Unit or room
- Trade
- Issue
- Capture date
- Photo type
- Completion status
Clear organization is what turns a collection of construction photos into usable jobsite documentation.
Our construction photo management best practices explain how to create that structure before closeout begins.
11. Final Construction Photo Report
A final report can provide a simplified overview of the completed project while the photo archive preserves the larger record.
The report may include:
- Project information
- Documentation dates
- Final overview photos
- Photos organized by area
- Milestone coverage
- Resolved issue documentation
- Closeout observations
- References to additional project files
A report should summarize the documentation, not attempt to fit every project photo into one oversized PDF.
See what should be included in a construction photo report for a practical report structure.
What Should Be Documented Before Crews Leave?
The final weeks of a project can move quickly. Crews complete corrections, remove materials, clean work areas, and leave the site. Once that happens, missing information becomes harder to recover.
Before each trade finishes, verify that the project record includes:
- Completed work in the trade’s areas
- Equipment and identification labels
- Access points and shutoffs
- Approved changes
- Corrected punch-list items
- Required testing or startup records
- Warranties and maintenance information
- Photos of anything that may become difficult to access
This review should happen before the final day on site. Waiting until turnover increases the likelihood of incomplete records.
How Should Closeout Photos Be Organized?
Start with the way someone will search for the photos later.
A facilities manager may search by room or equipment type. A builder may search by milestone or trade. A warranty team may search by issue and project location.
For that reason, avoid relying entirely on generic folders such as:
- Jobsite Photos
- Final Photos
- Miscellaneous
- July Uploads
- Photos From Superintendent
A better structure connects each photo to a specific project location and construction stage.
Floor plan-based organization can make this easier by allowing users to view photos according to where they were captured. 360 construction documentation can also preserve broader spatial context for completed rooms and project areas.
Who Should Prepare the Closeout Record?
The project manager or closeout coordinator often owns the overall process, but several people may contribute information:
- Superintendents verify field conditions and completion
- Trade contractors provide equipment and warranty records
- Project managers collect approvals and contract documents
- Documentation specialists organize construction photos
- Office staff assemble and distribute the final package
- Owners identify handover and retention requirements
Responsibility should be assigned early. If everyone is expected to contribute but no one owns the final record, gaps are more likely to remain.
How ACTABUILD Supports Construction Closeout
ACTABUILD helps construction teams build a visual project record throughout construction instead of waiting until the final week.
Photos and 360 images can be organized by project, milestone, floor plan, room, and issue. Project teams can document progress, identify noticeable concerns, track follow-up photos, and create reports from the same record.
For teams that need field capture support, ACTABUILD also provides construction documentation photography in Portland and surrounding Oregon and Southwest Washington communities.
The goal is not to replace formal closeout documents. It is to provide an organized visual record that makes the rest of the closeout package easier to understand and use.
Final Construction Closeout Checklist
Before delivering the project record, confirm that you have:
- Final exterior and site photos
- Completed room and area photos
- Equipment location photos
- Readable model and serial numbers
- Pre-cover and concealed-condition photos
- Approved change documentation
- Resolved punch-list photos
- Warranties and maintenance information
- Final inspection and approval records
- An organized project photo archive
- A final construction photo report
- A designated location for long-term file access
A good closeout package does more than confirm that construction is finished. It preserves the information someone may need after the project team has moved on.